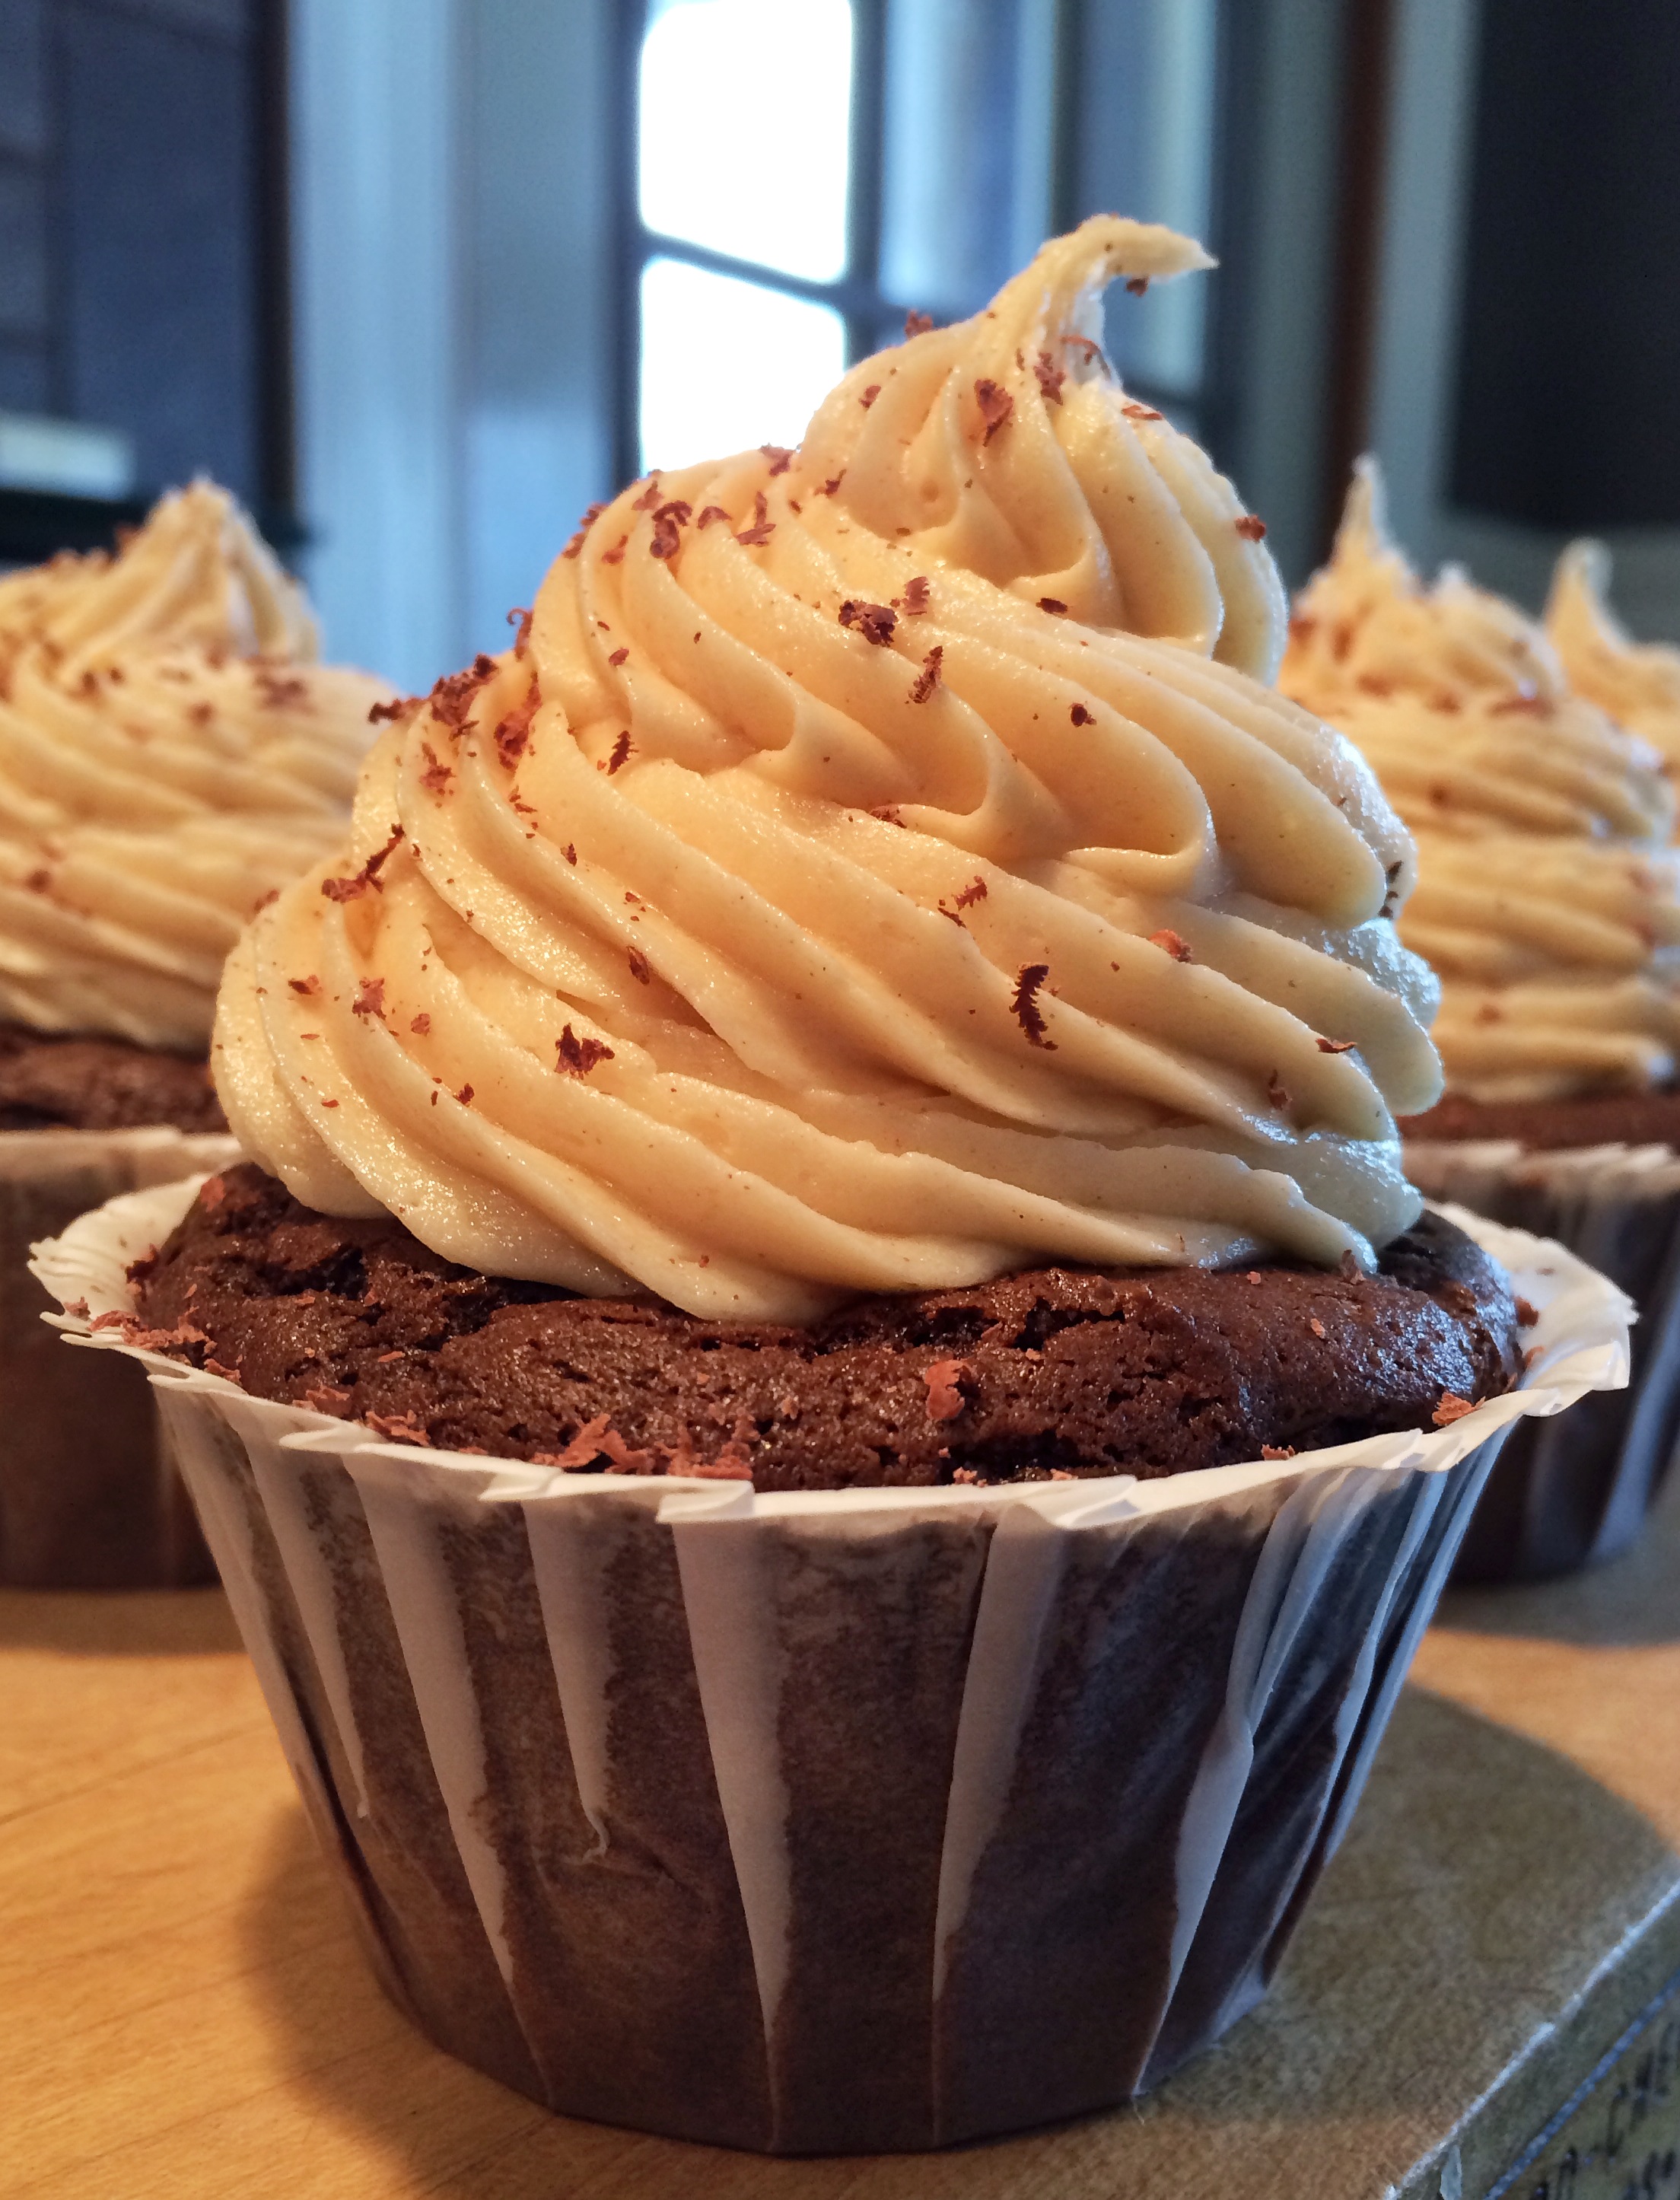
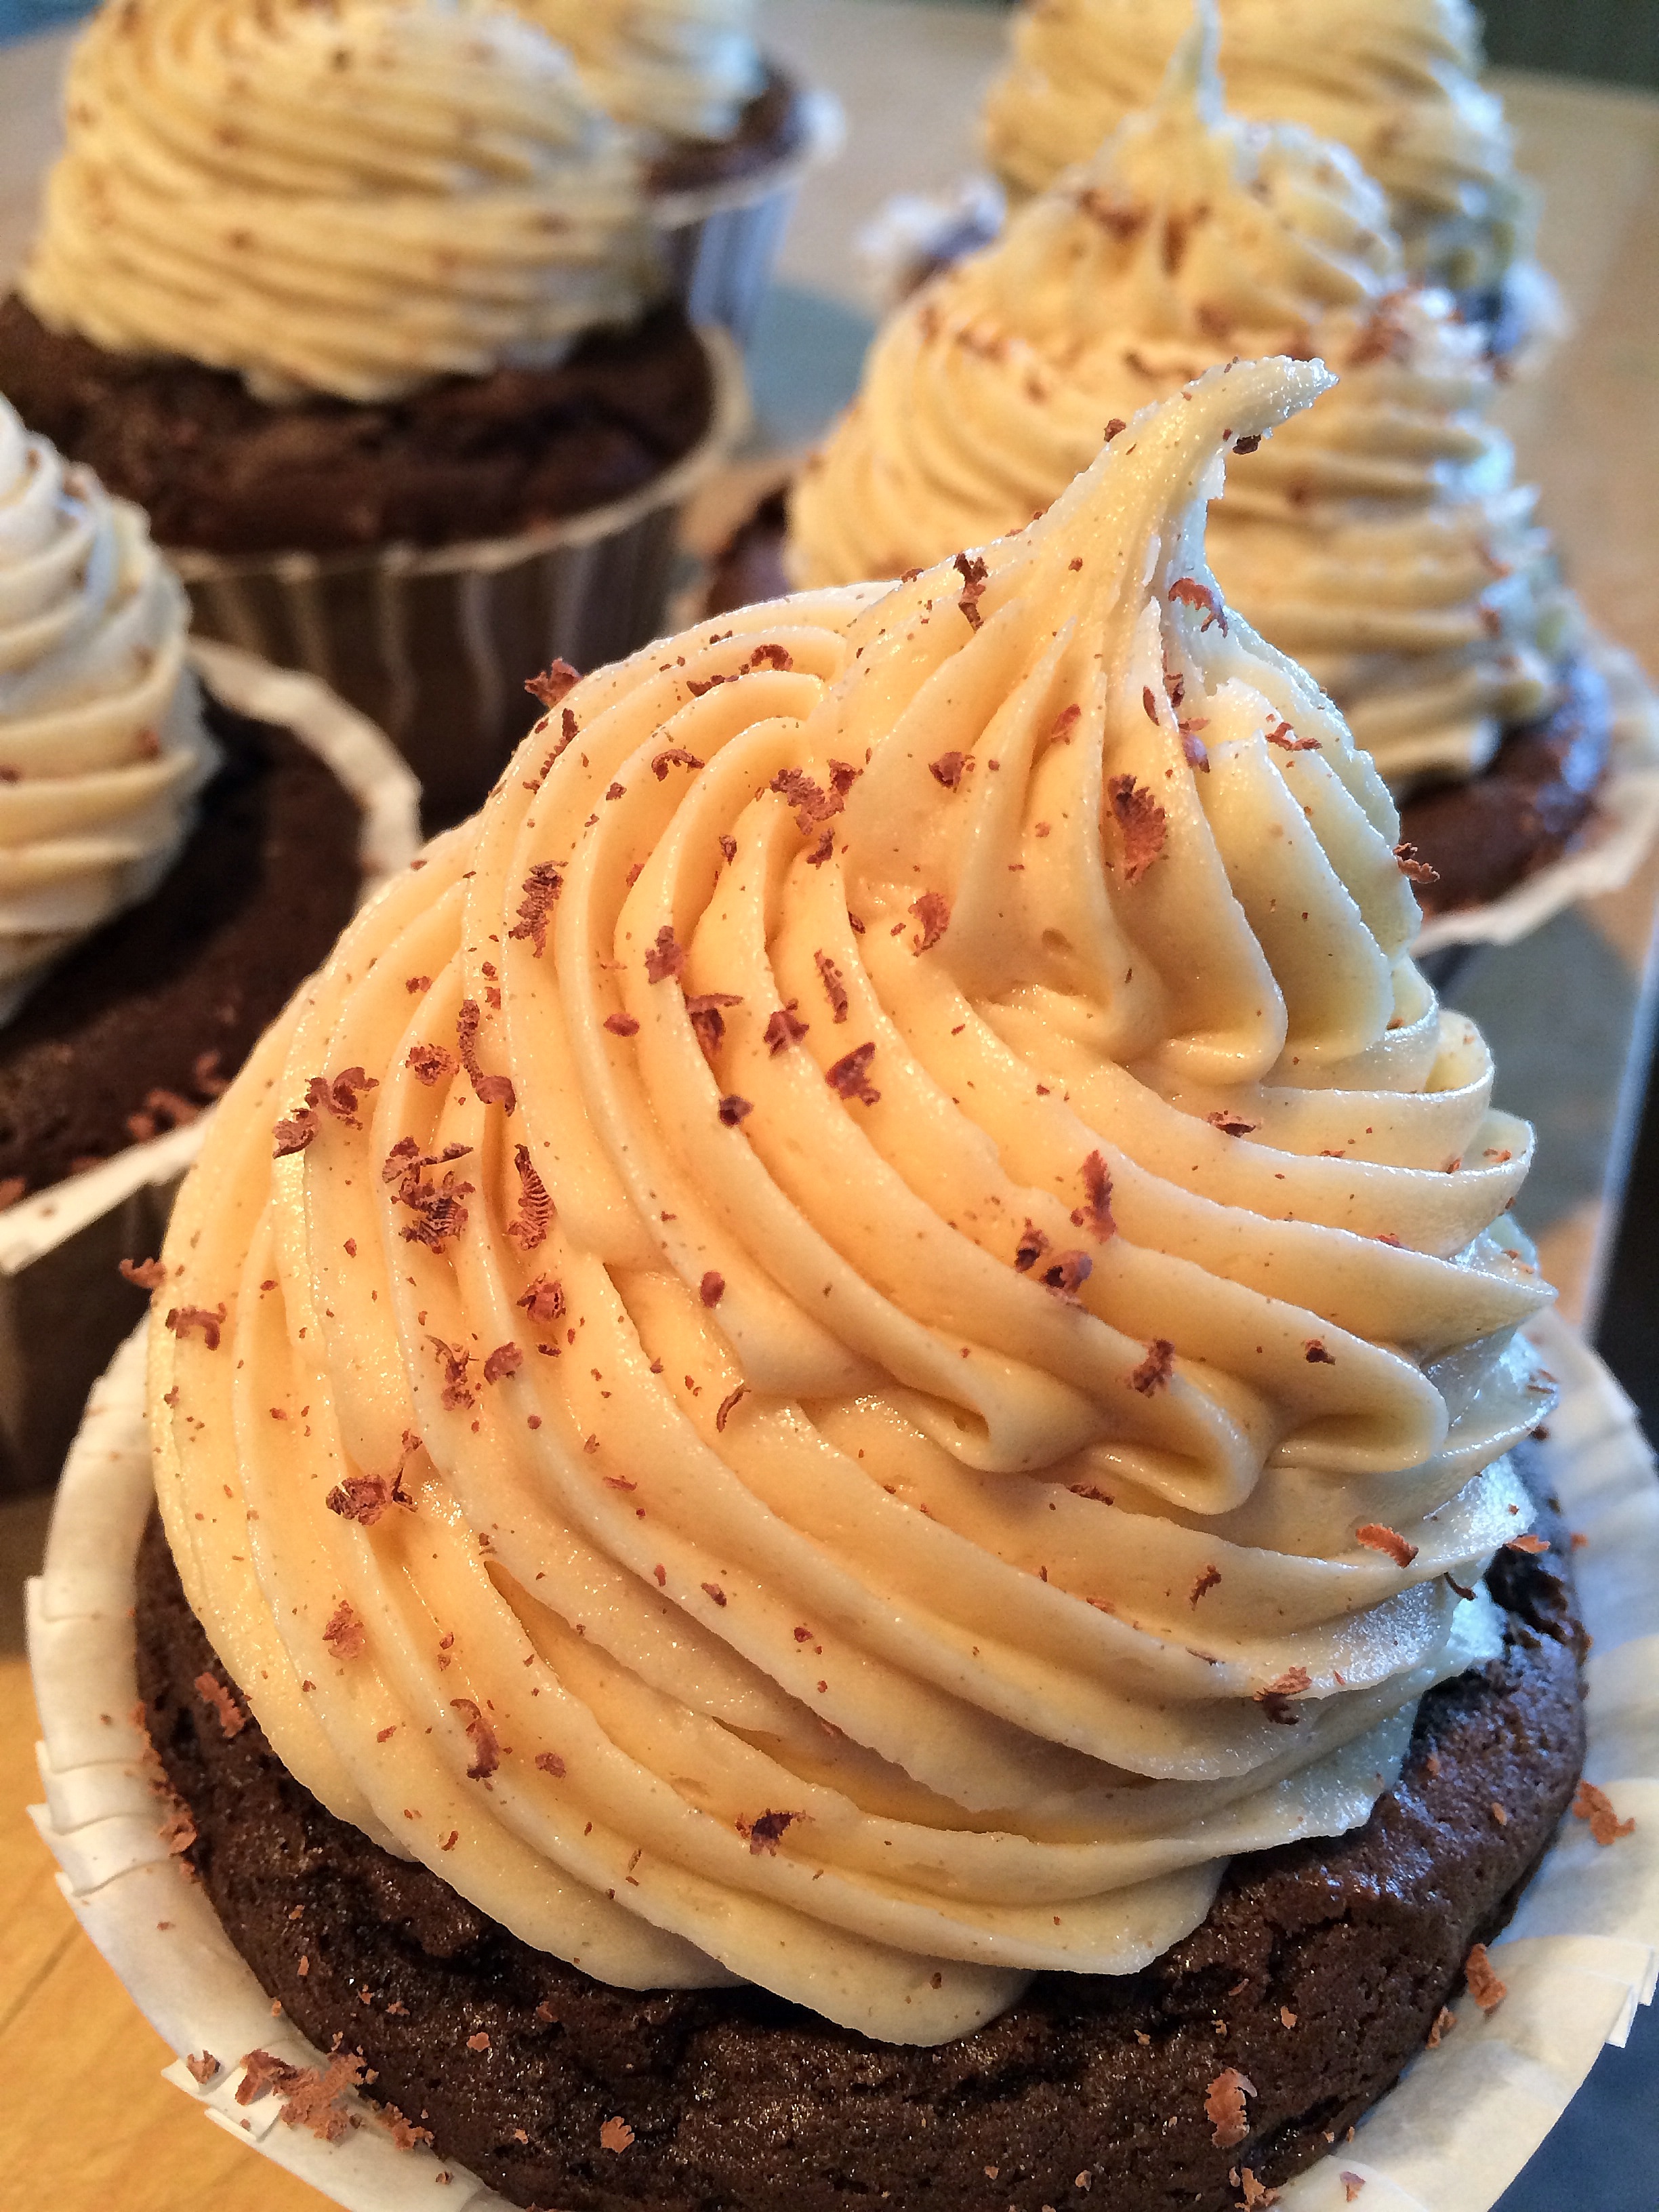
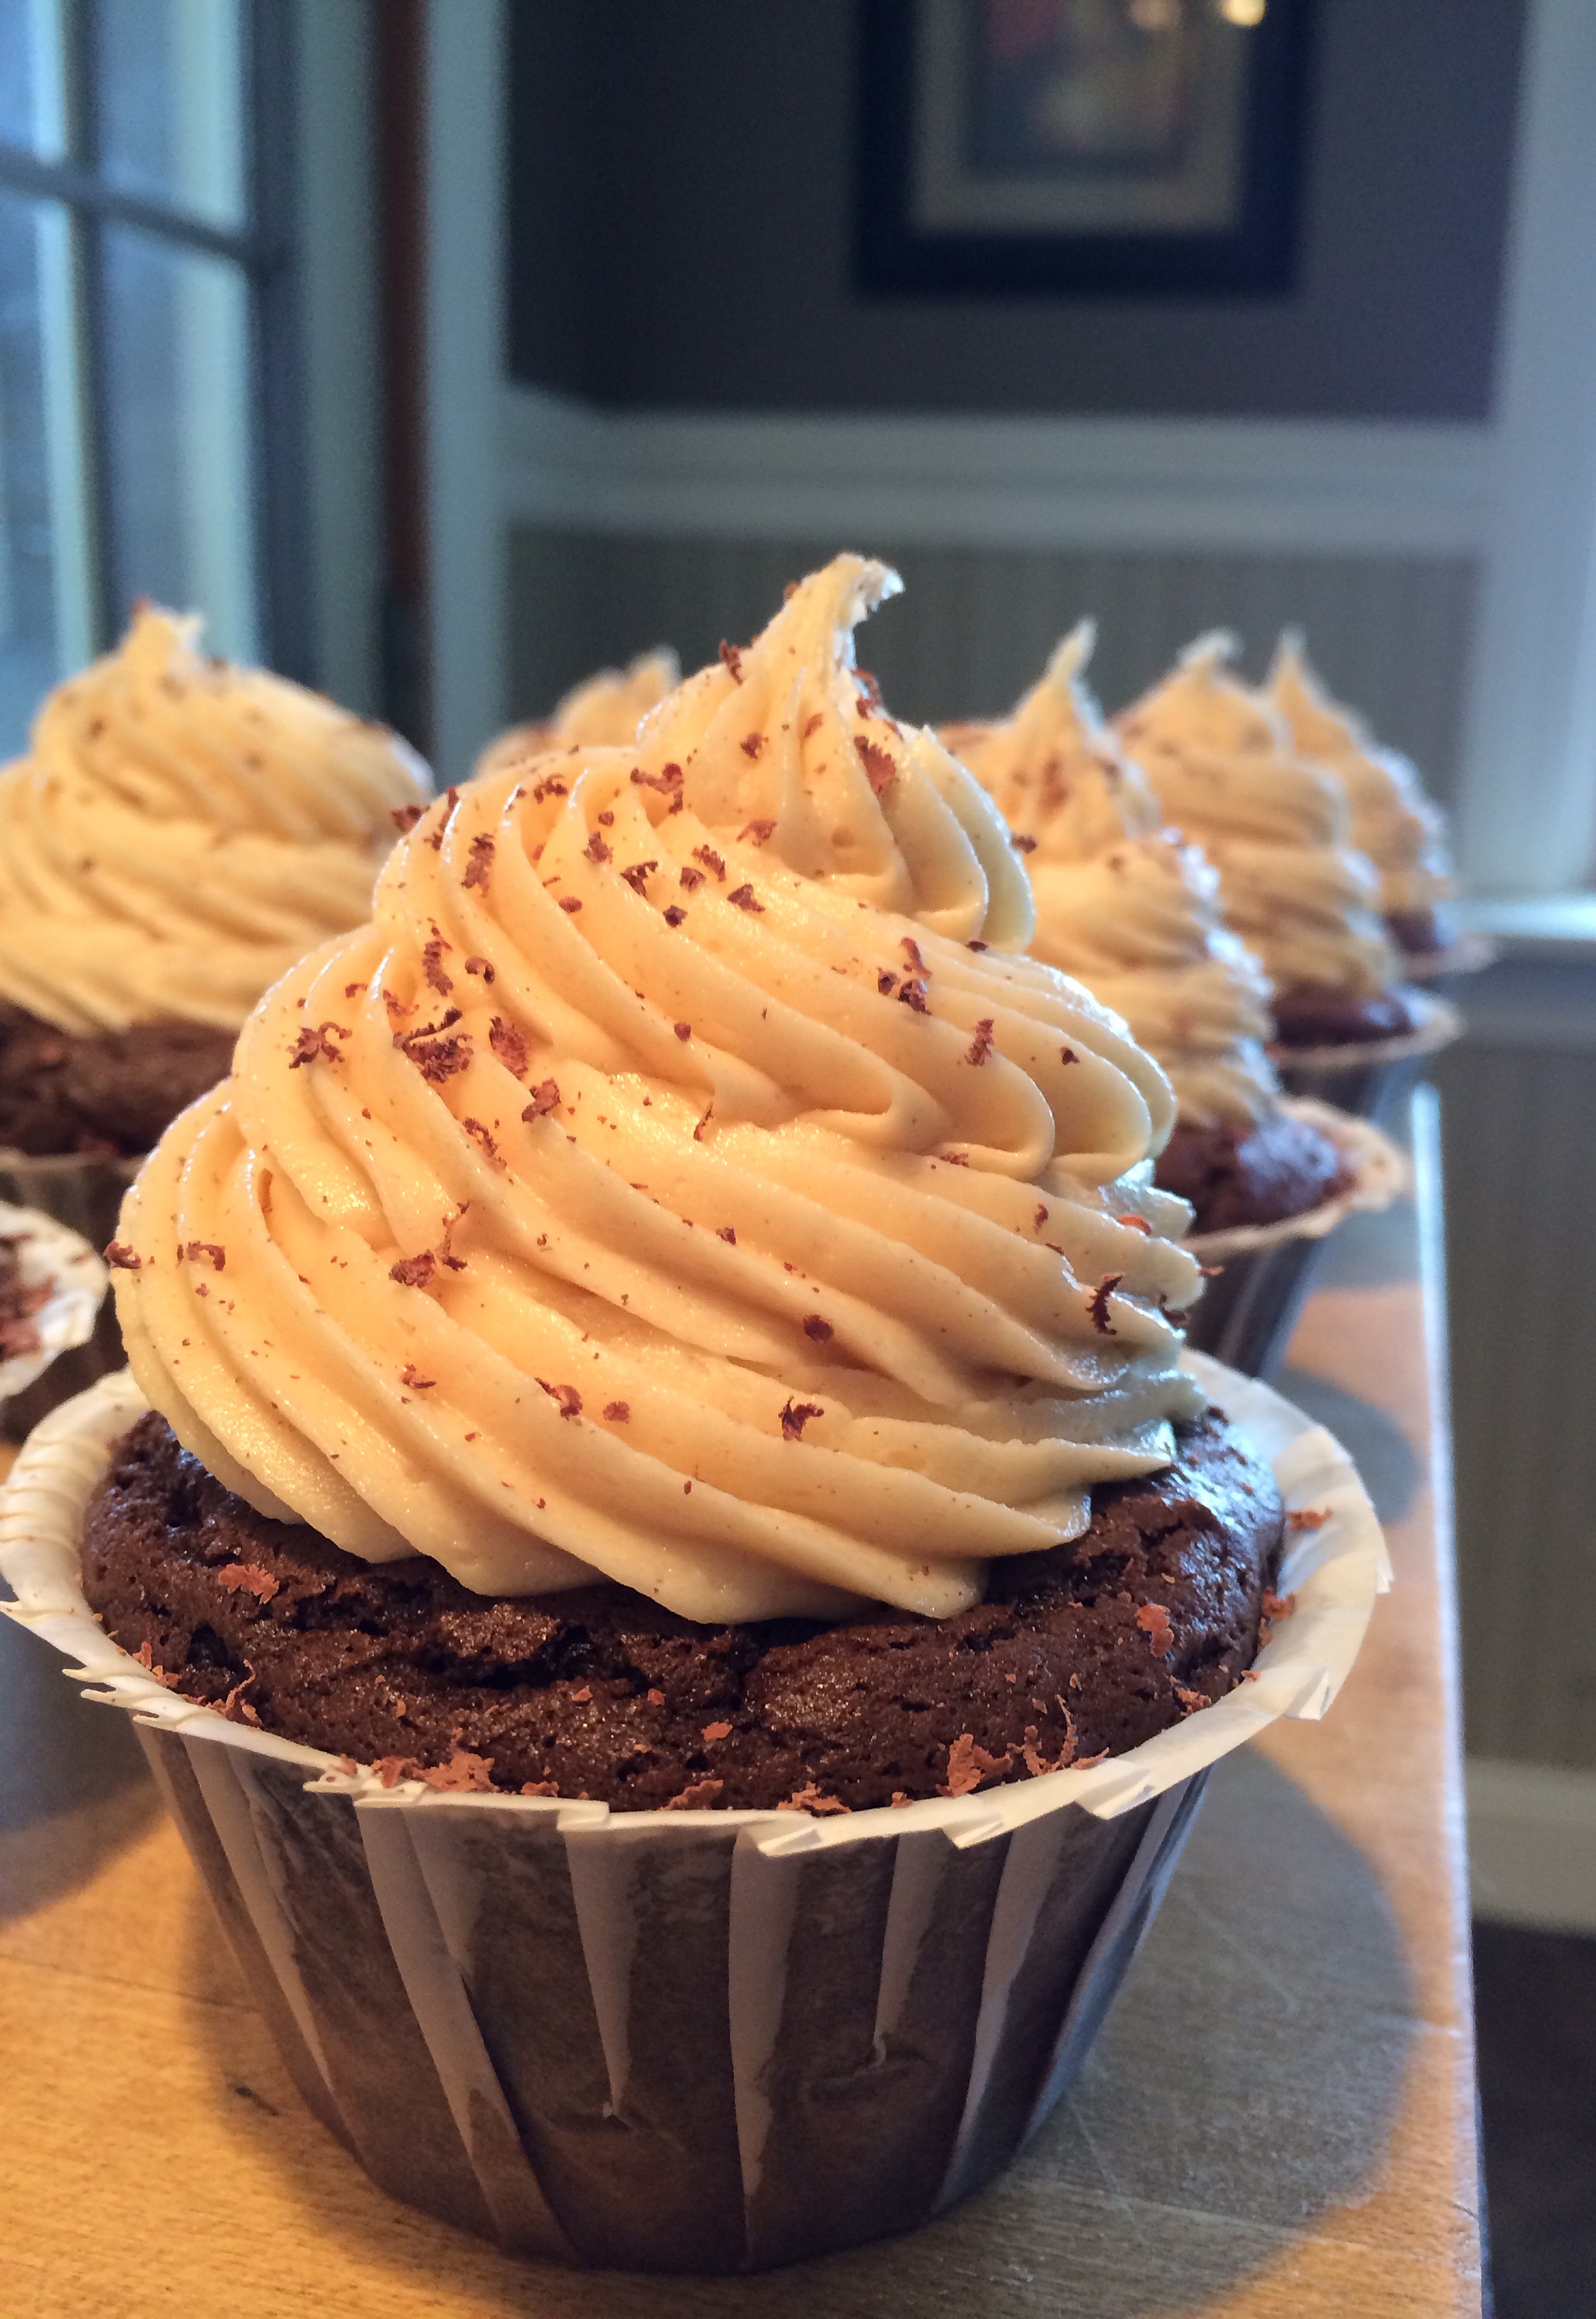
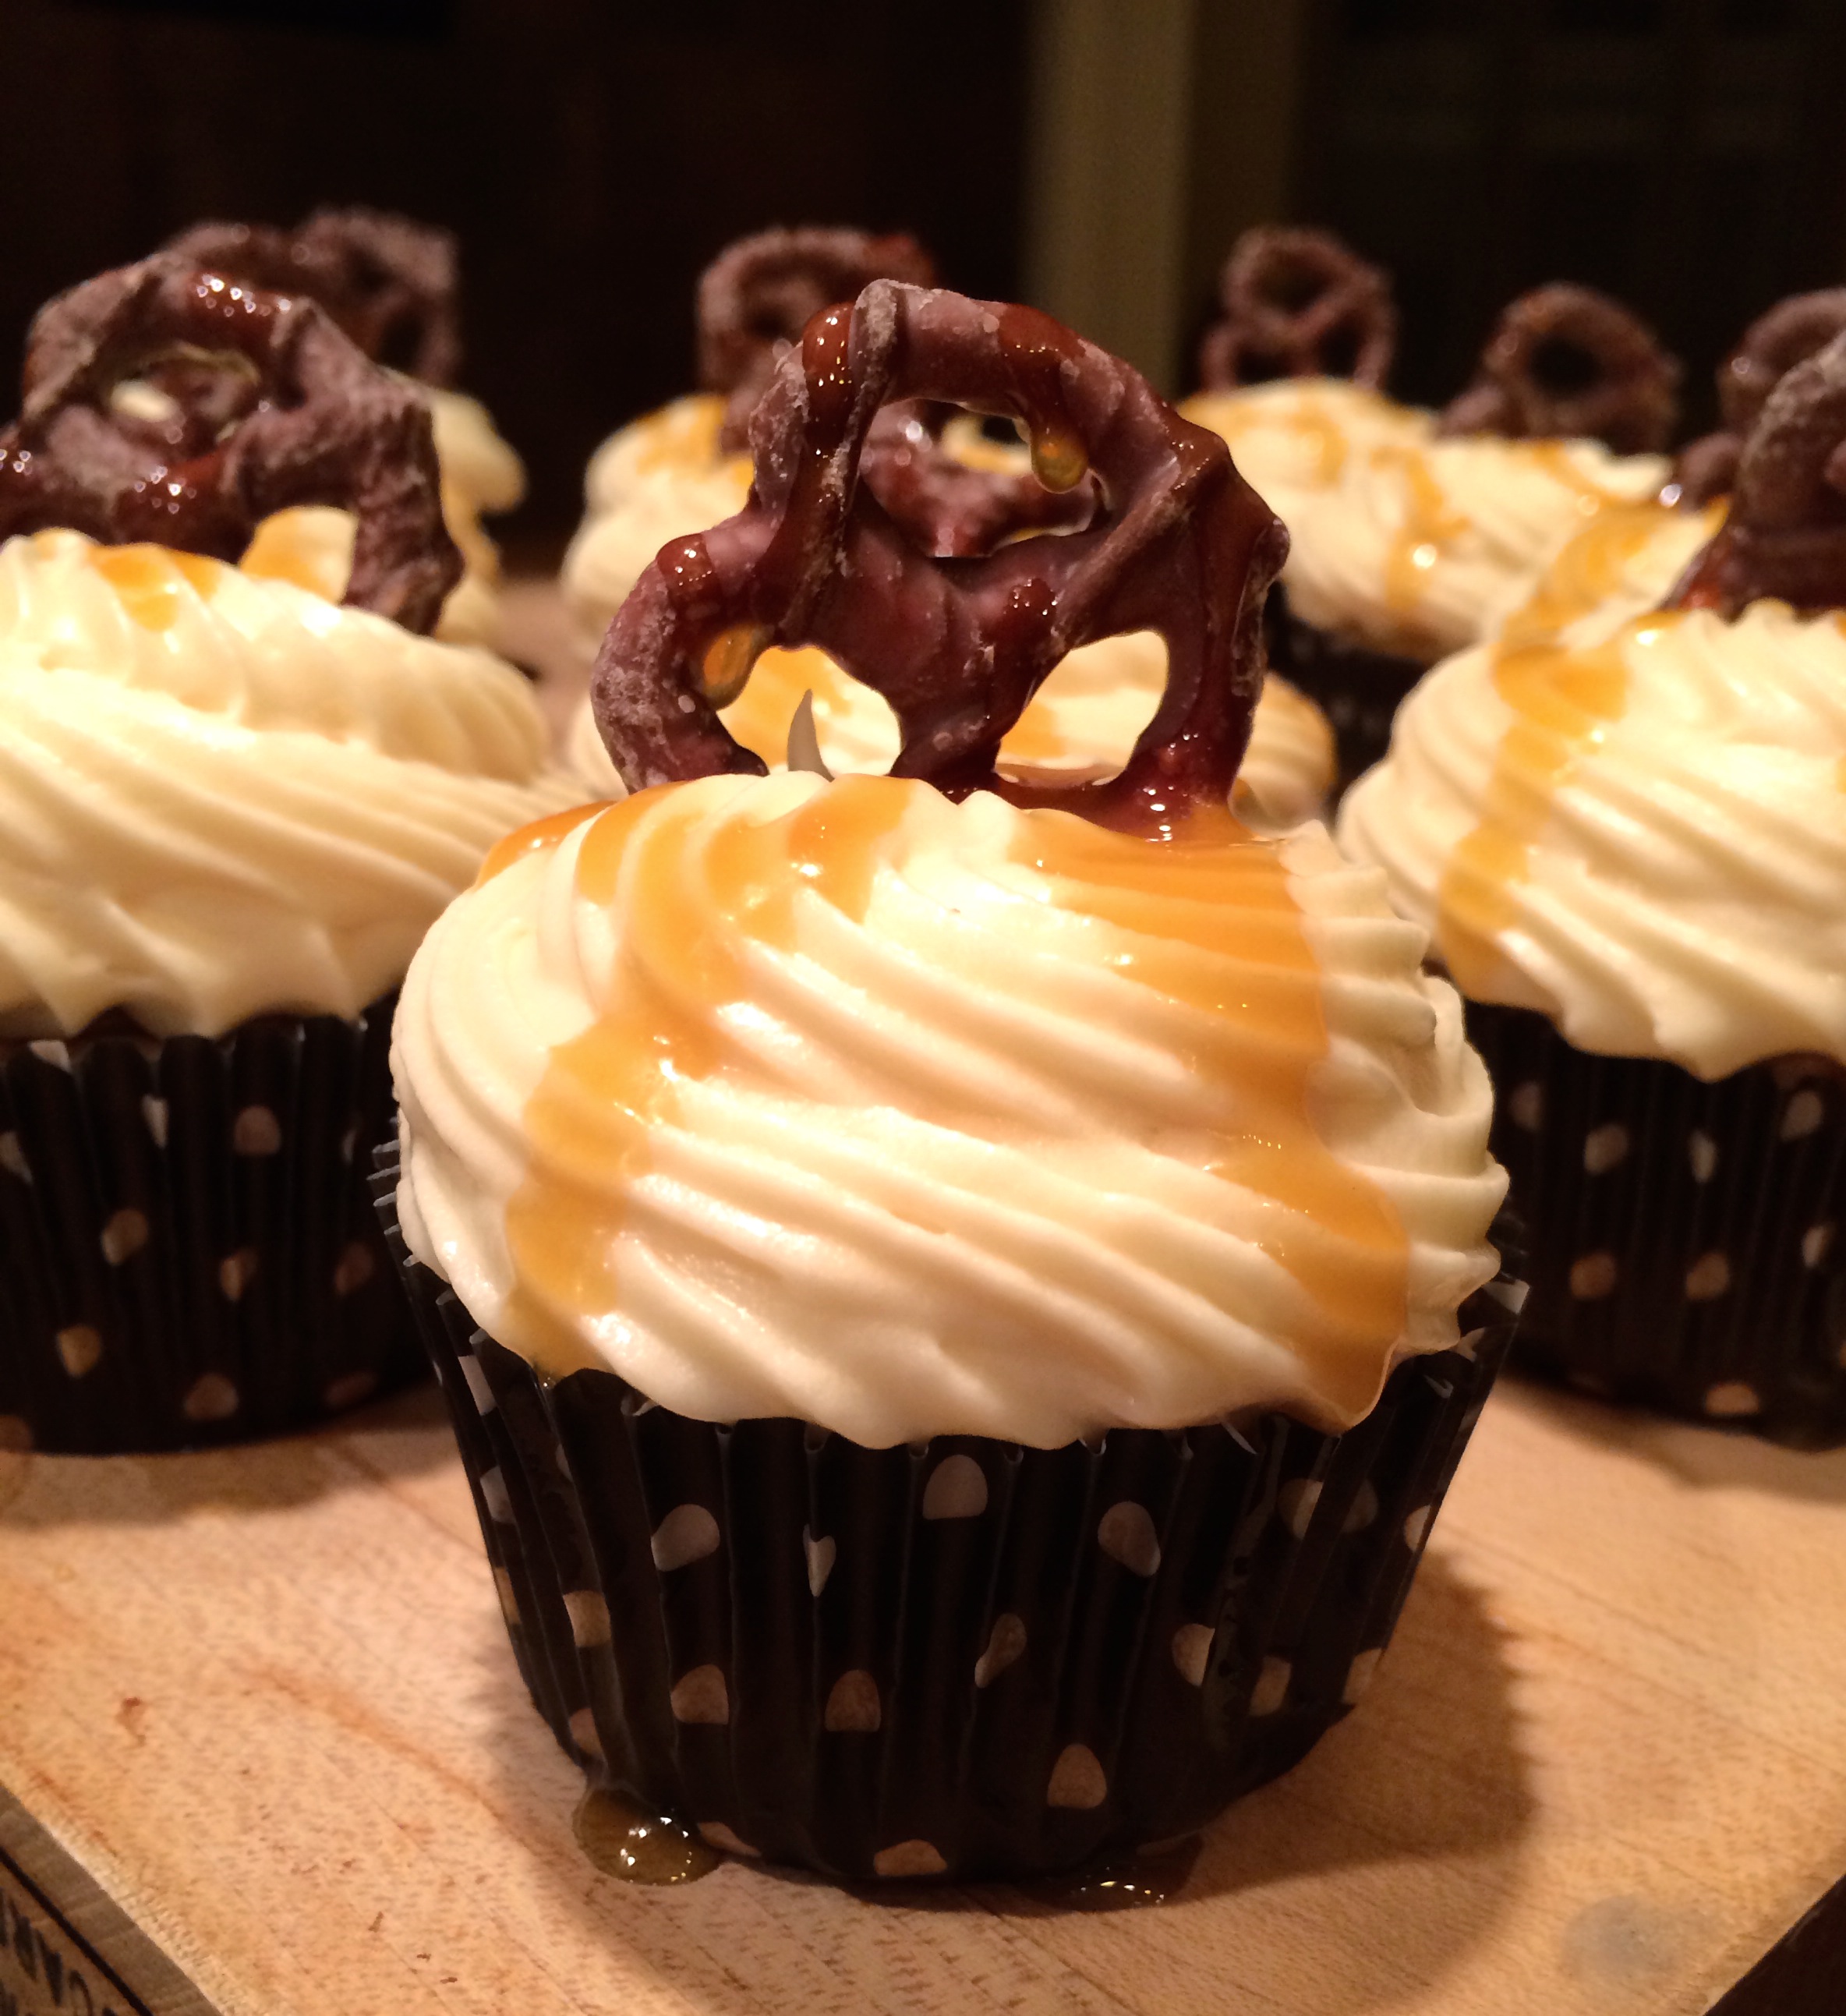
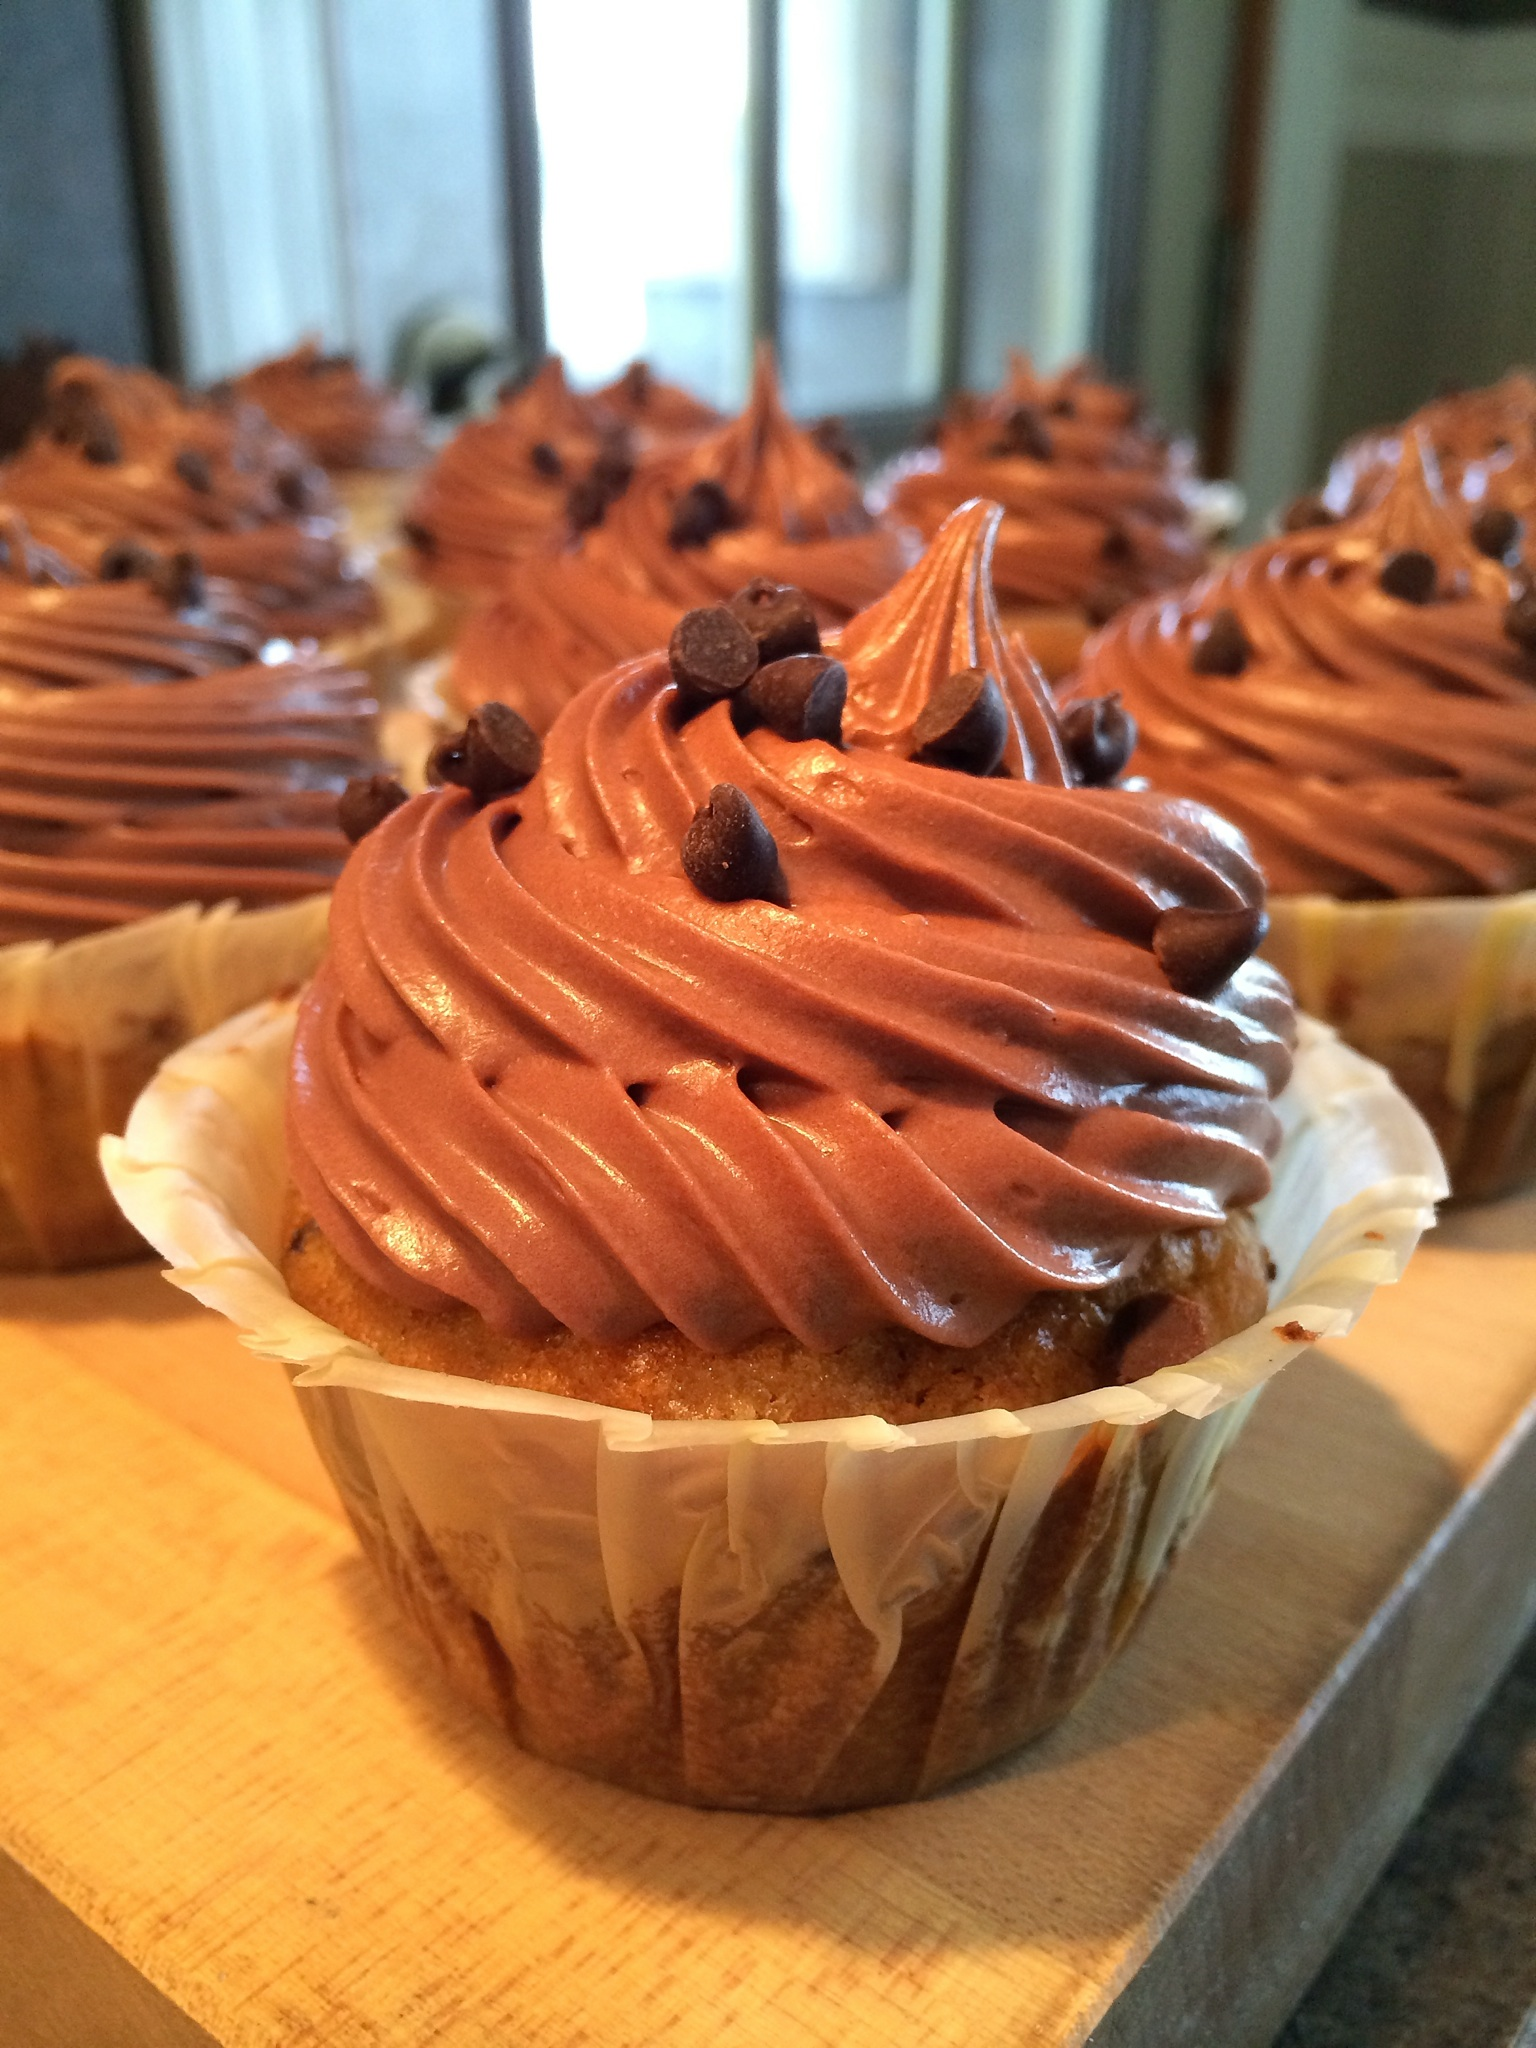
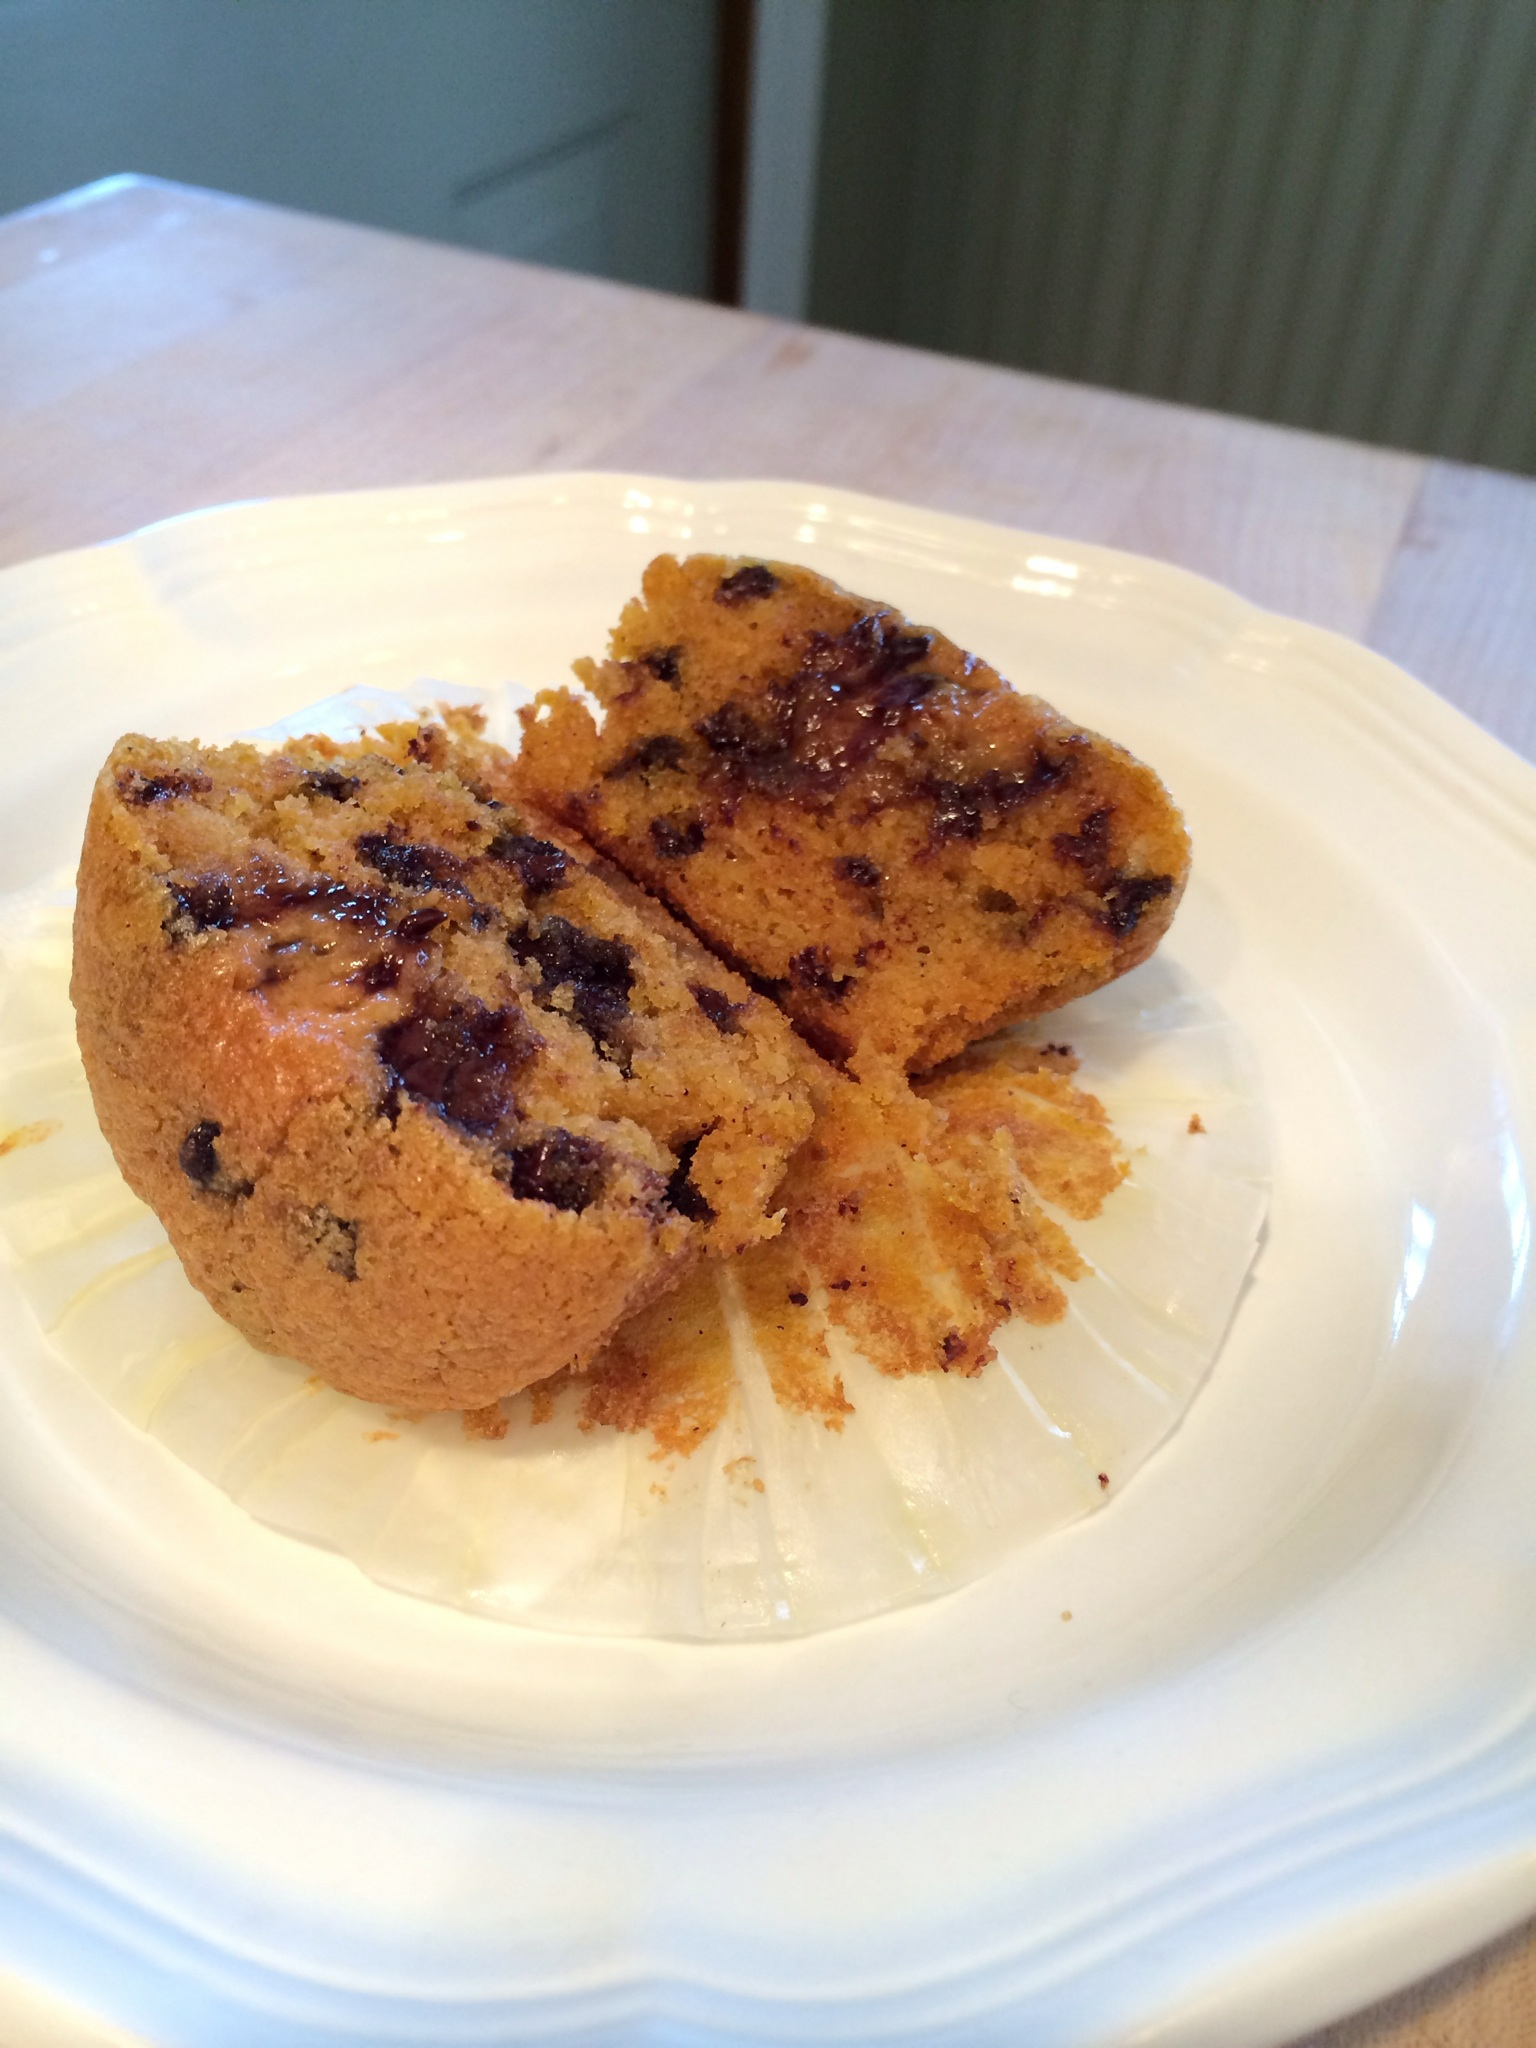
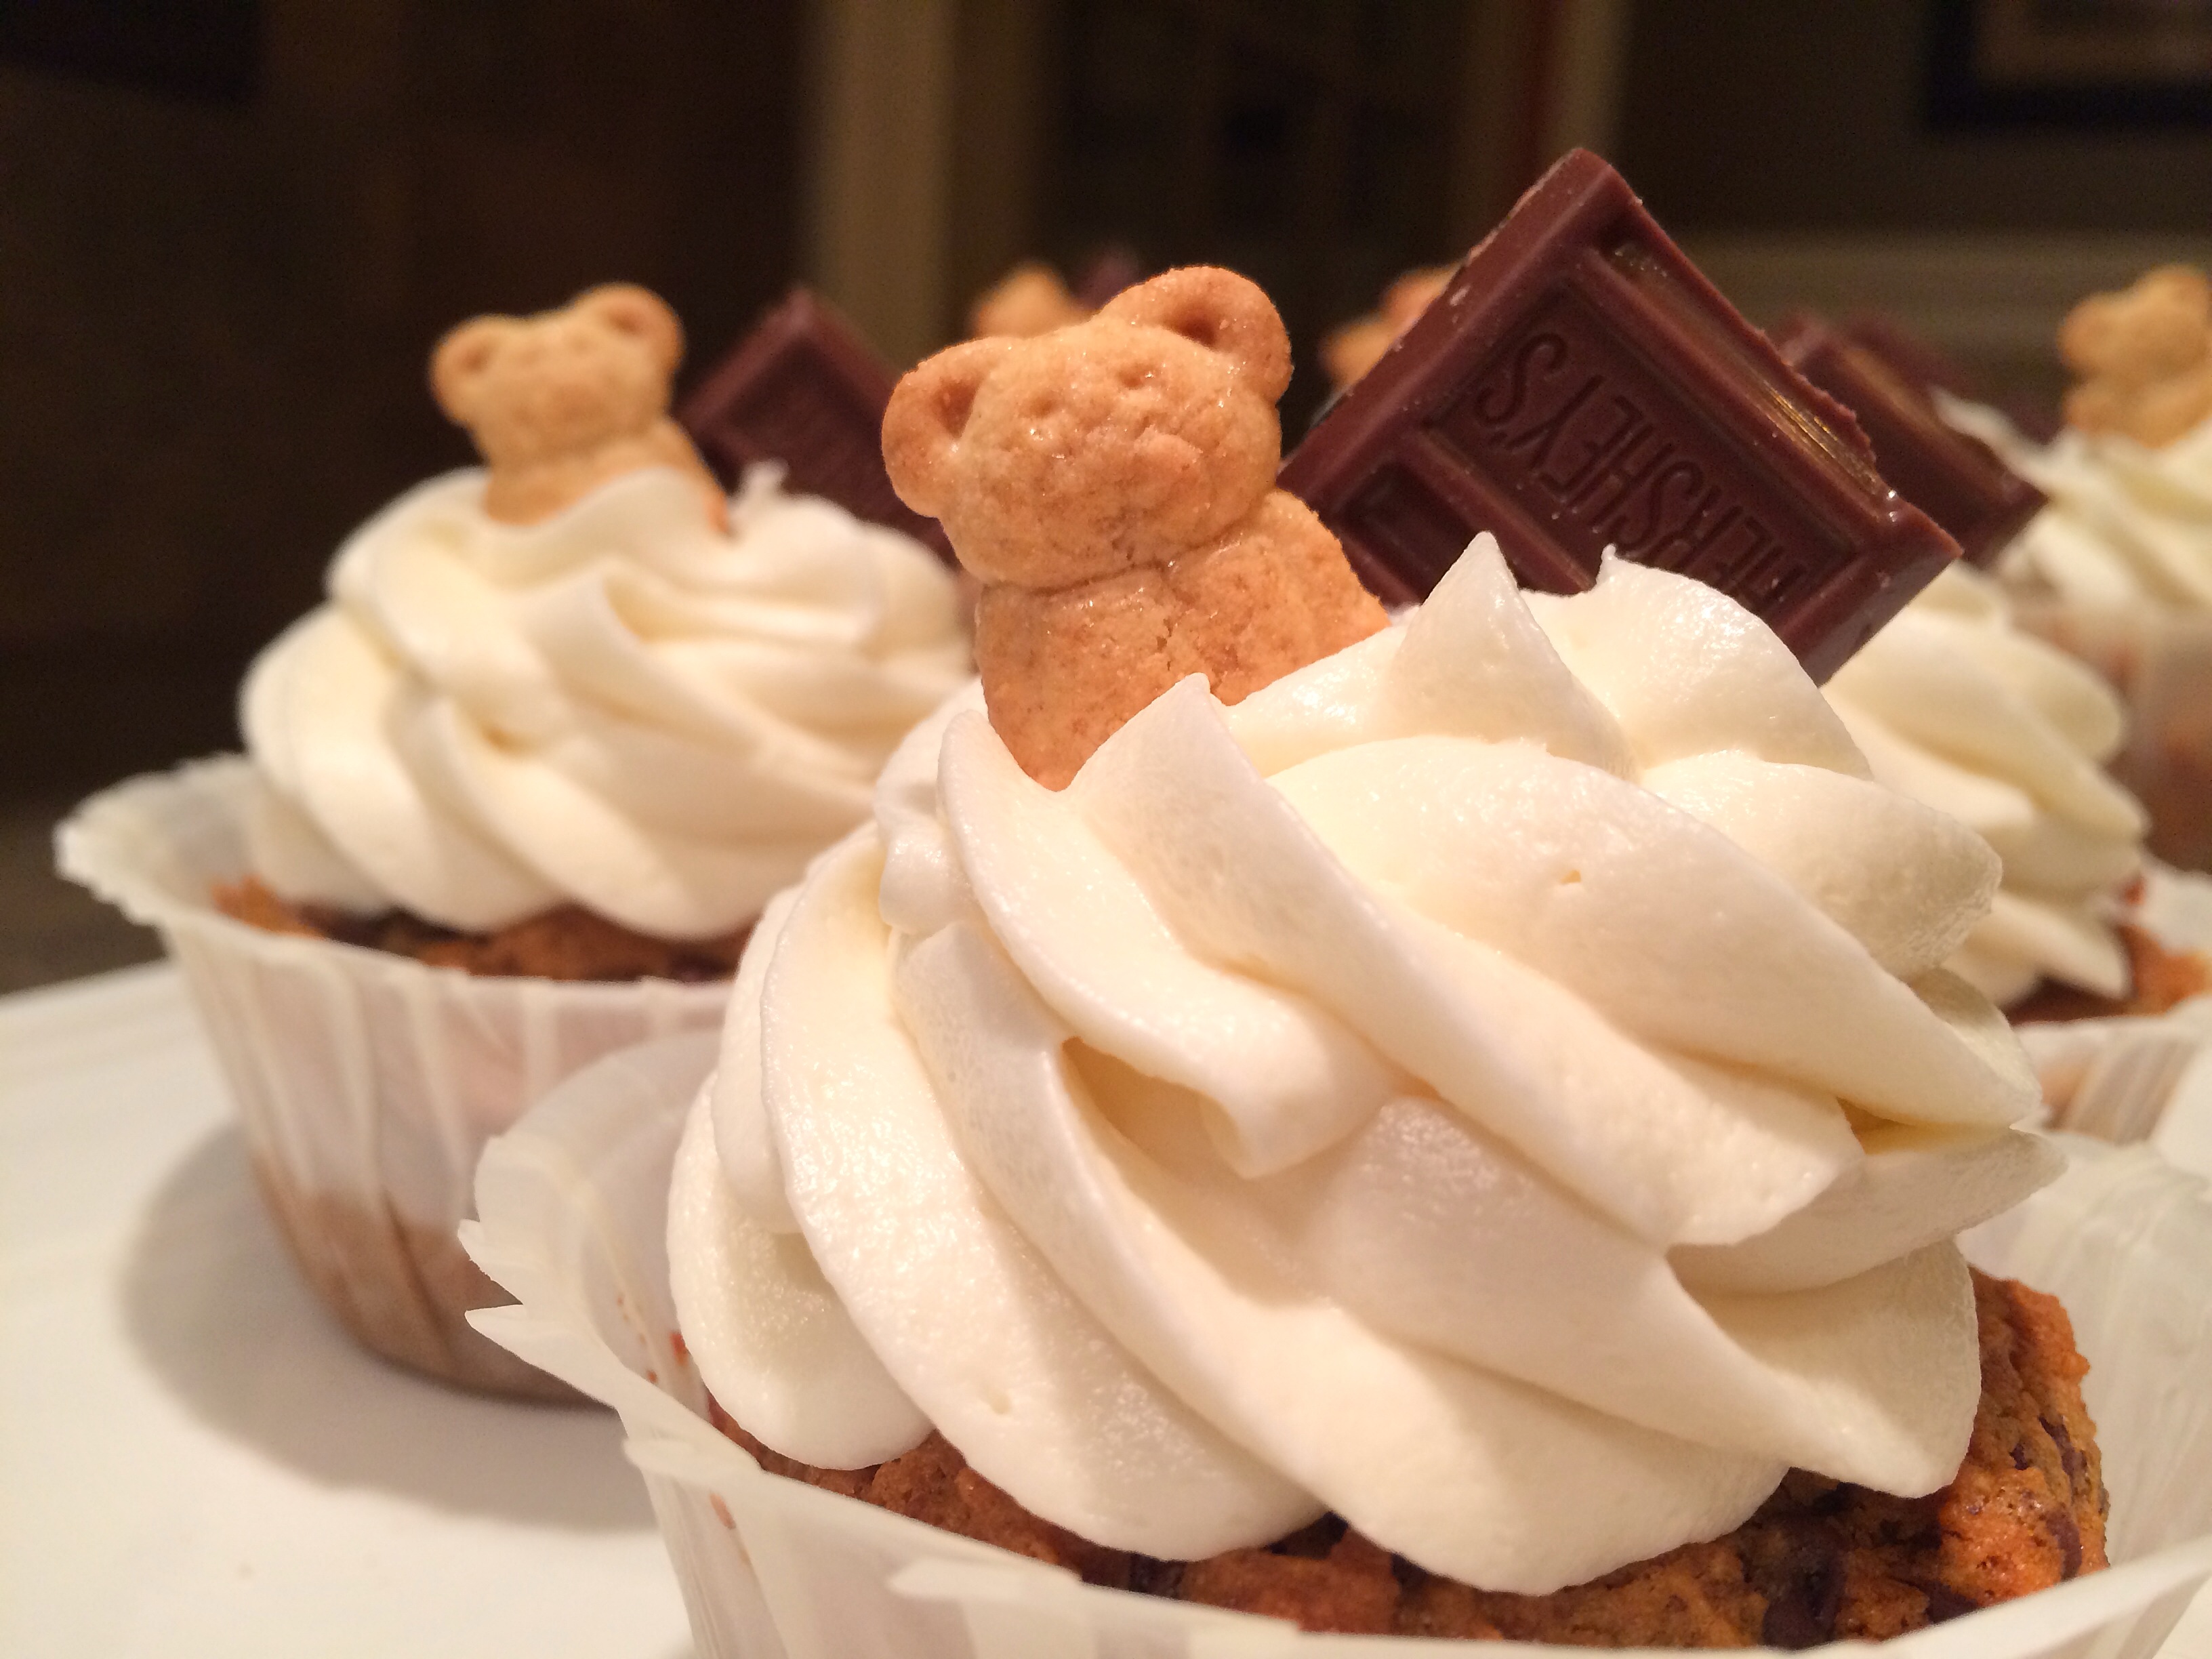
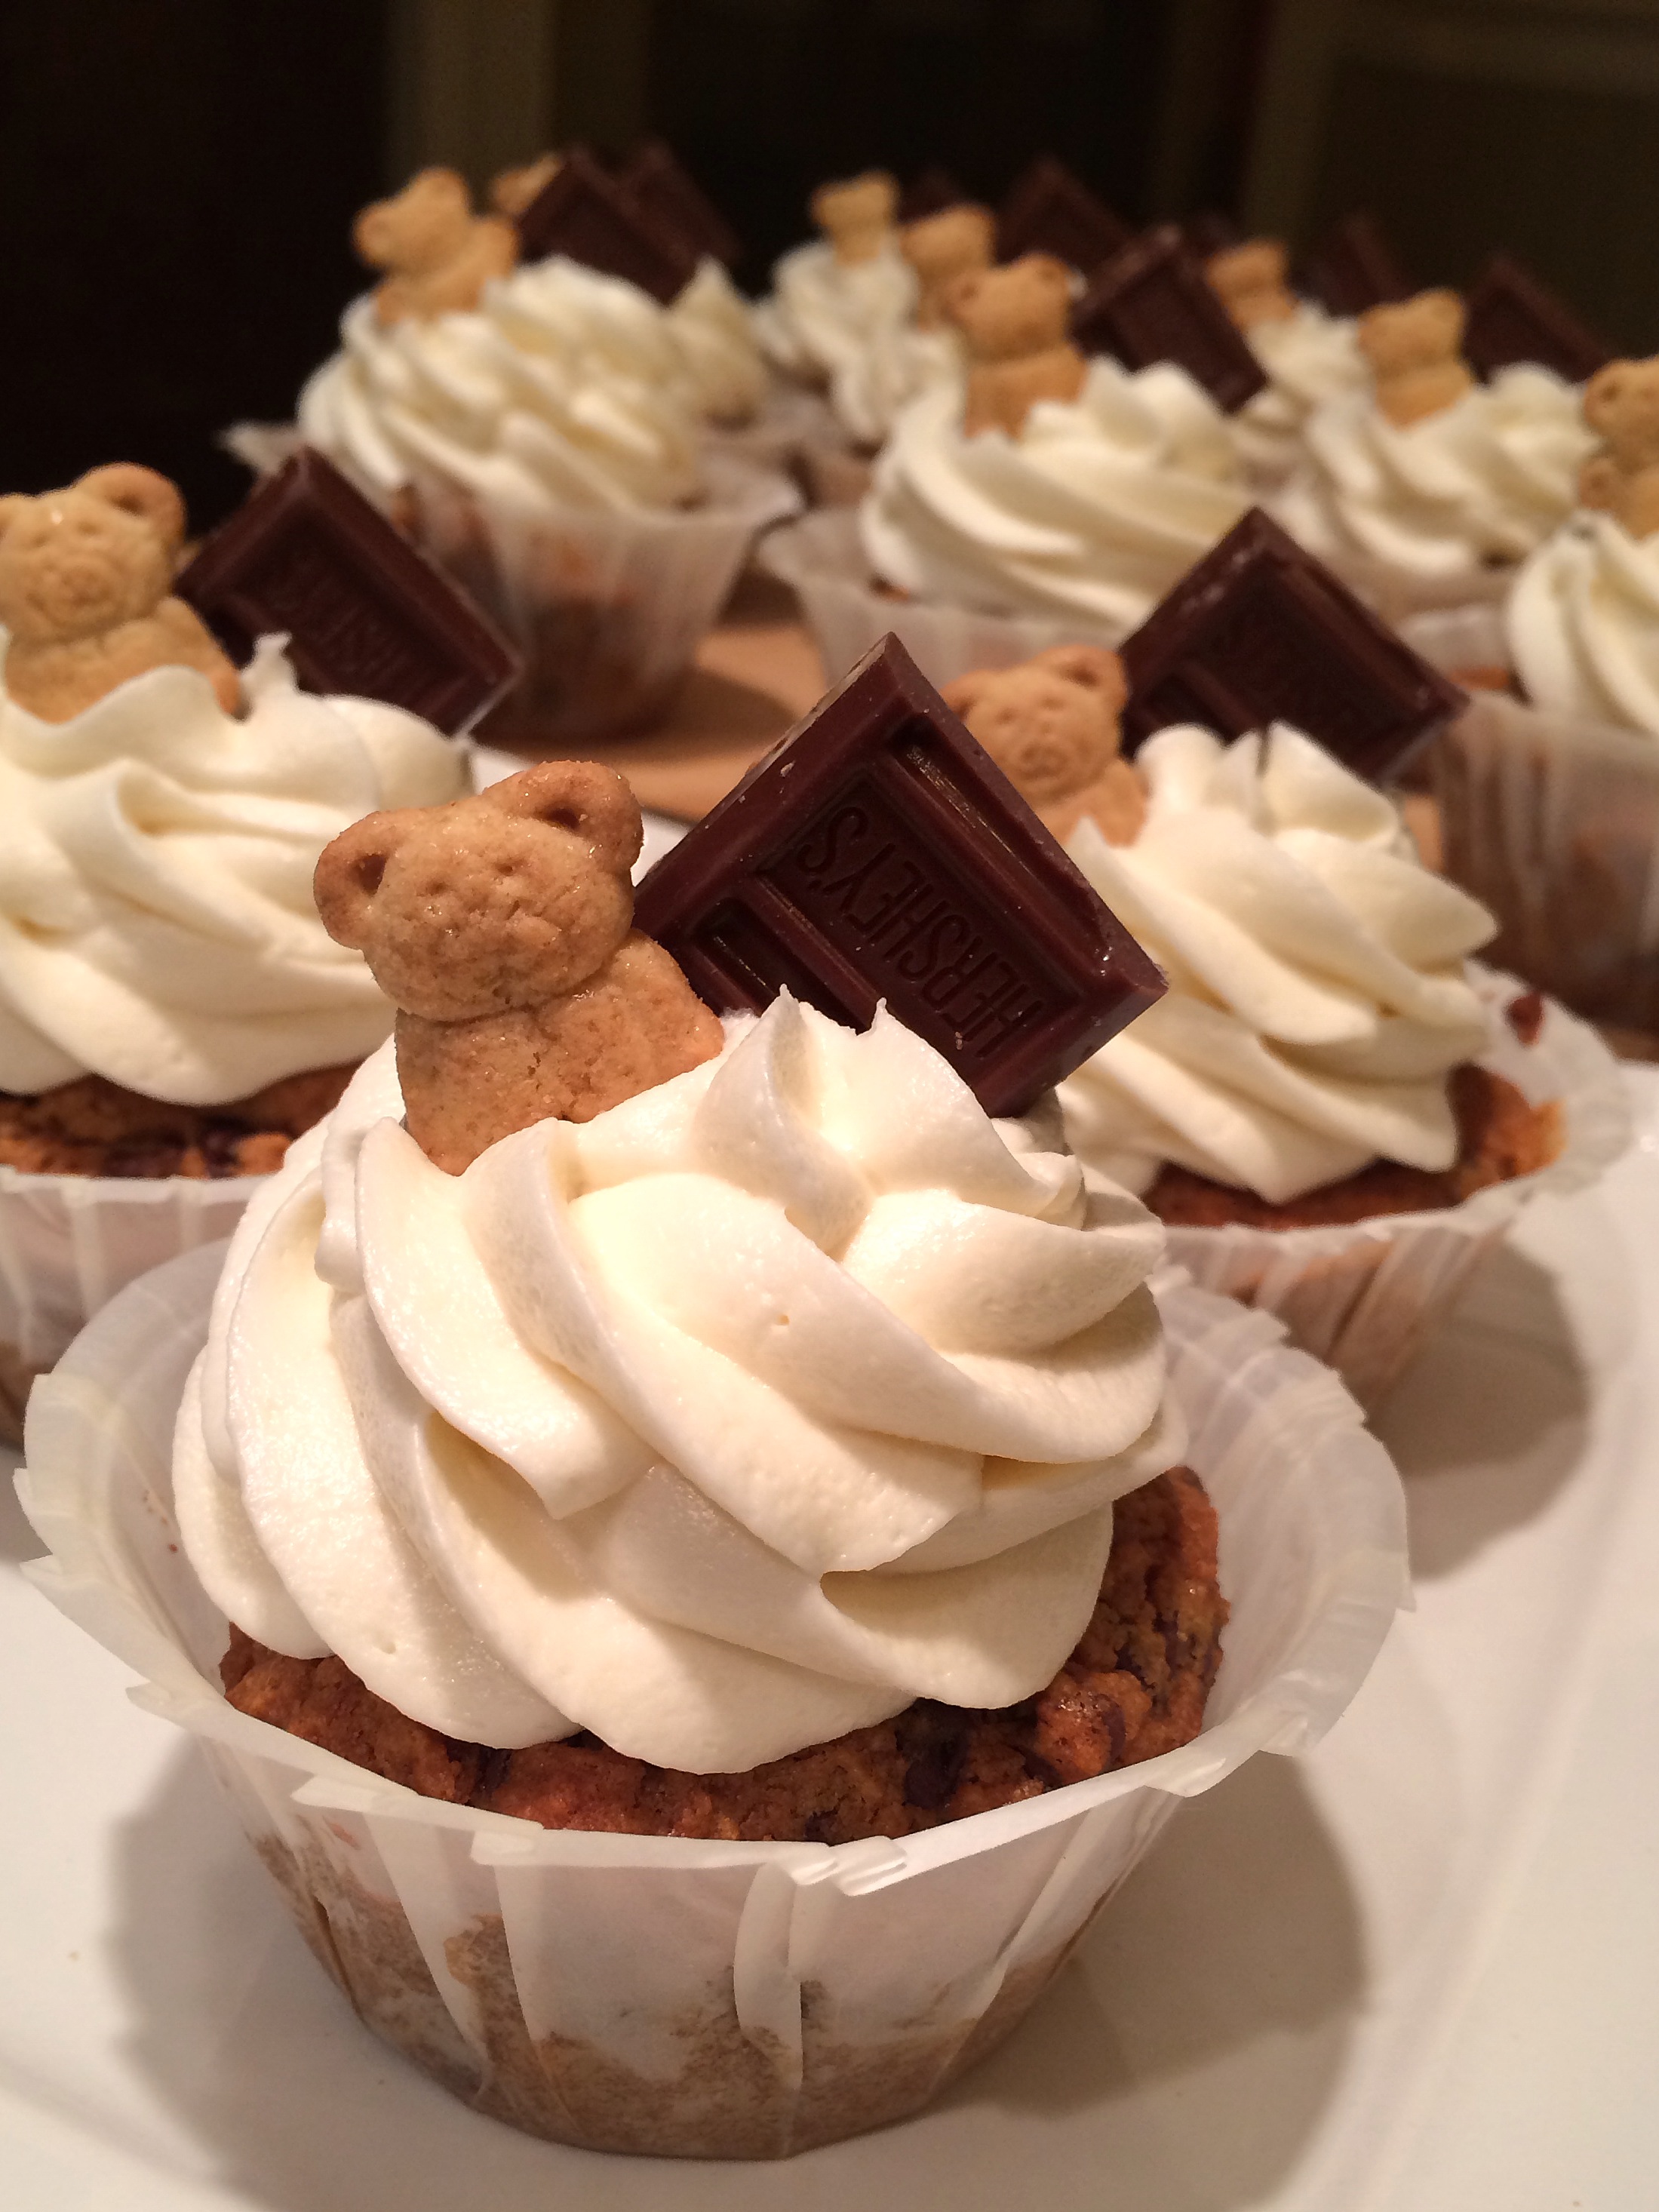
These cupcakes are a super simple recipe with a unique twist. The graham cracker cake is flourless – strictly made with graham cracker crumbs instead of flour. Very interesting. At first I was hesitant because I’ve never tried baking without my beloved flour. I anxiously watched through the oven window wondering if this recipe was a goner. It’s safe to say I was pleasantly surprised. The cupcakes plumped up perfectly.. Almost too perfect, which made me suspicious. Are they as great as they look? Did I mention they smelled delicious? I was just about ready to sink my teeth in this cupcake when I realized I almost forgot the frosting. What’s a s’more without the marshmallow? This marshmallow frosting created some kind of s’more perfection. I lathered up a graham cracker cupcake and finally tried this creation. Yes, it did taste as great as it looked. It was much lighter than your typical cupcake, which was nice for a change. It was airy, flavorful, and rich. It’s something I could definitely make again!

Ingredients:
2 cups Graham Cracker Crumbs
1 tbsp Light Brown Sugar
1 1/2 tsp Baking Powder
1/2 tsp Baking Soda
1/2 tsp Salt
2 Eggs
1/2 cup Honey
1 stick Butter – melted
1/2 tsp Vanilla Extract
1/2 cup Milk
1 cup Mini Chocolate Chips
Marshmallow Frosting:
1 stick Butter – room temperature
2 cups Powdered Sugar
1/2 tsp Vanilla Extract
2 cups Marshmallow Fluff
4 tbsp Heavy Cream
Super easy directions! Let’s go!
Directions:
Graham Cracker Crumb Cake:
1. Set oven to 350 degrees F. Line cupcake pans. Makes about 18-20 cupcakes.
2. In medium bowl combine graham cracker crumbs, brown sugar, baking powder, baking soda, and salt. (Dry Ingredients)
3. In electric mixer beat eggs and honey until combined. Add butter and vanilla. Continue to beat on medium speed.
Note: Make sure butter is melted.
4. Add dry ingredients to electric mixer. Mix on medium/high speed until combined. Add milk. Continue to mix.
5. Fold in chocolate chips.
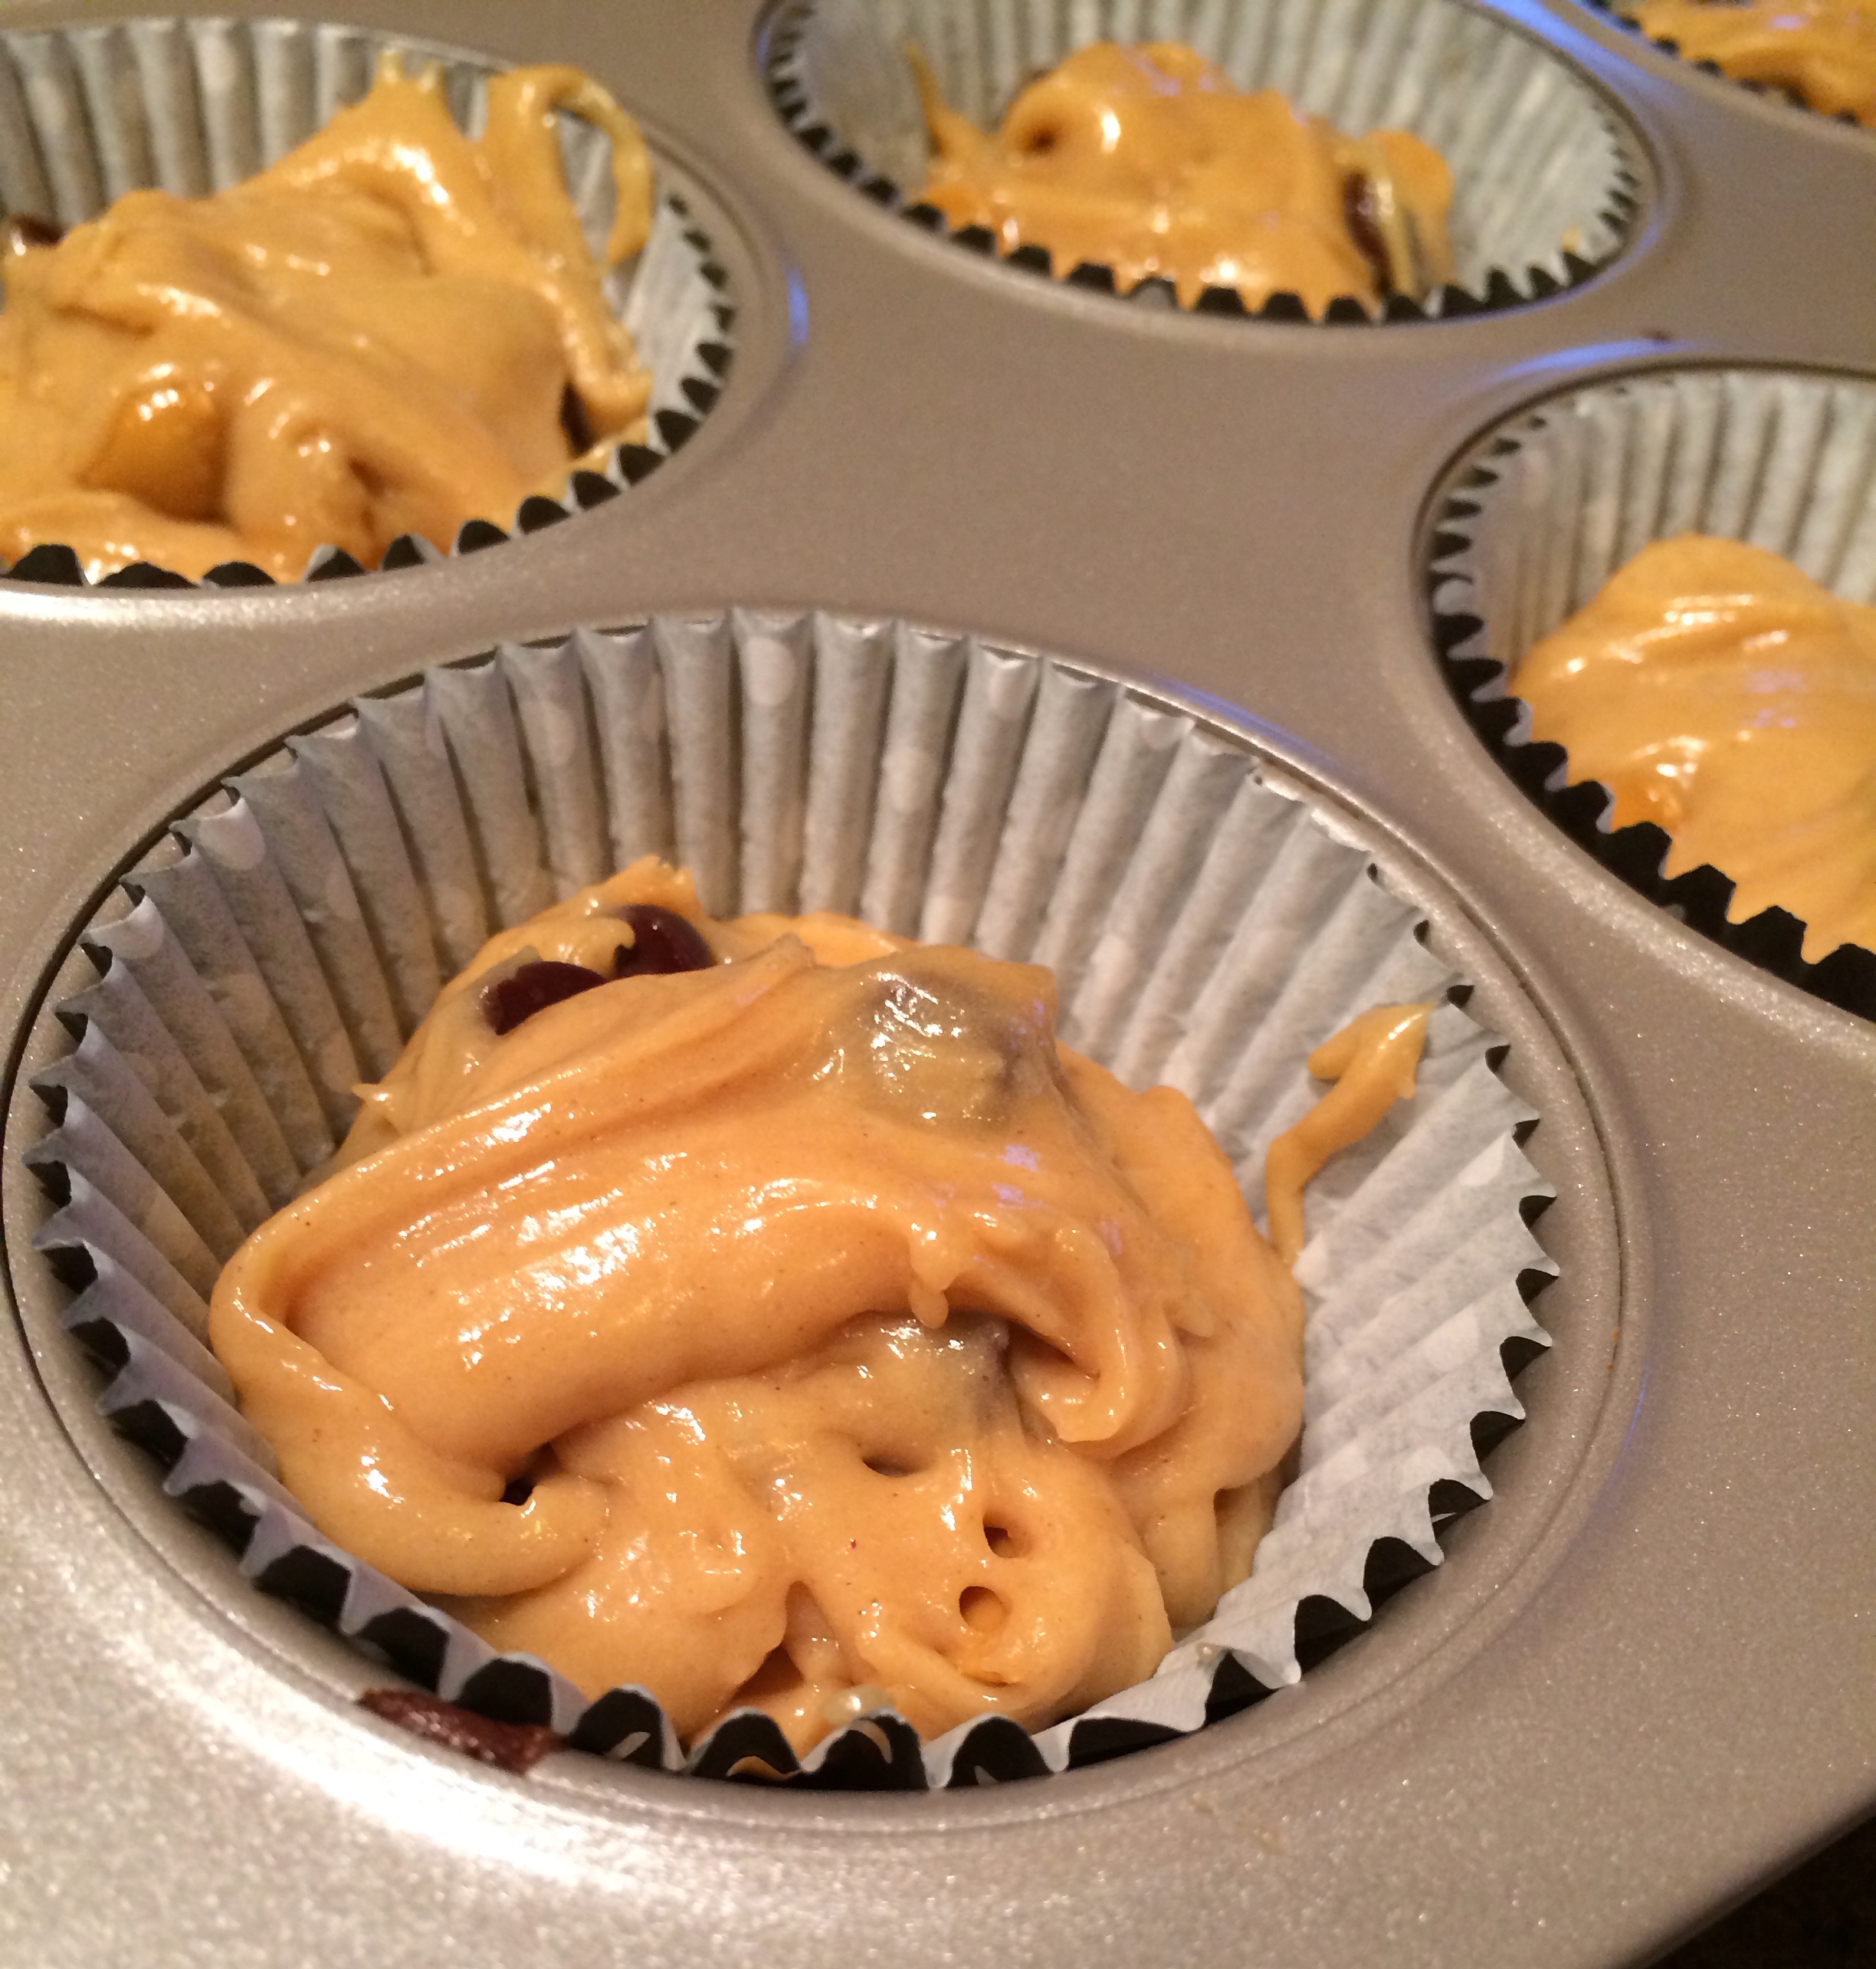
Note: This mixture will look loose. Don’t worry. These cupcakes plump up perfectly!
6. Fill cupcake liners about 2/3 full. Bake for about 18-20 minutes.
7. Allow cupcakes to cool before frosting!
Marshmallow Frosting:
1. In electric mixer beat butter until smooth and creamy.
2. Add powdered sugar and mix on medium/high speed.
Note: It will look thick – don’t worry!
3. Add vanilla extract and continue to mix. Add marshmallow fluff and mix until combined.
4. Add heavy cream. Mix until smooth and fluffy.
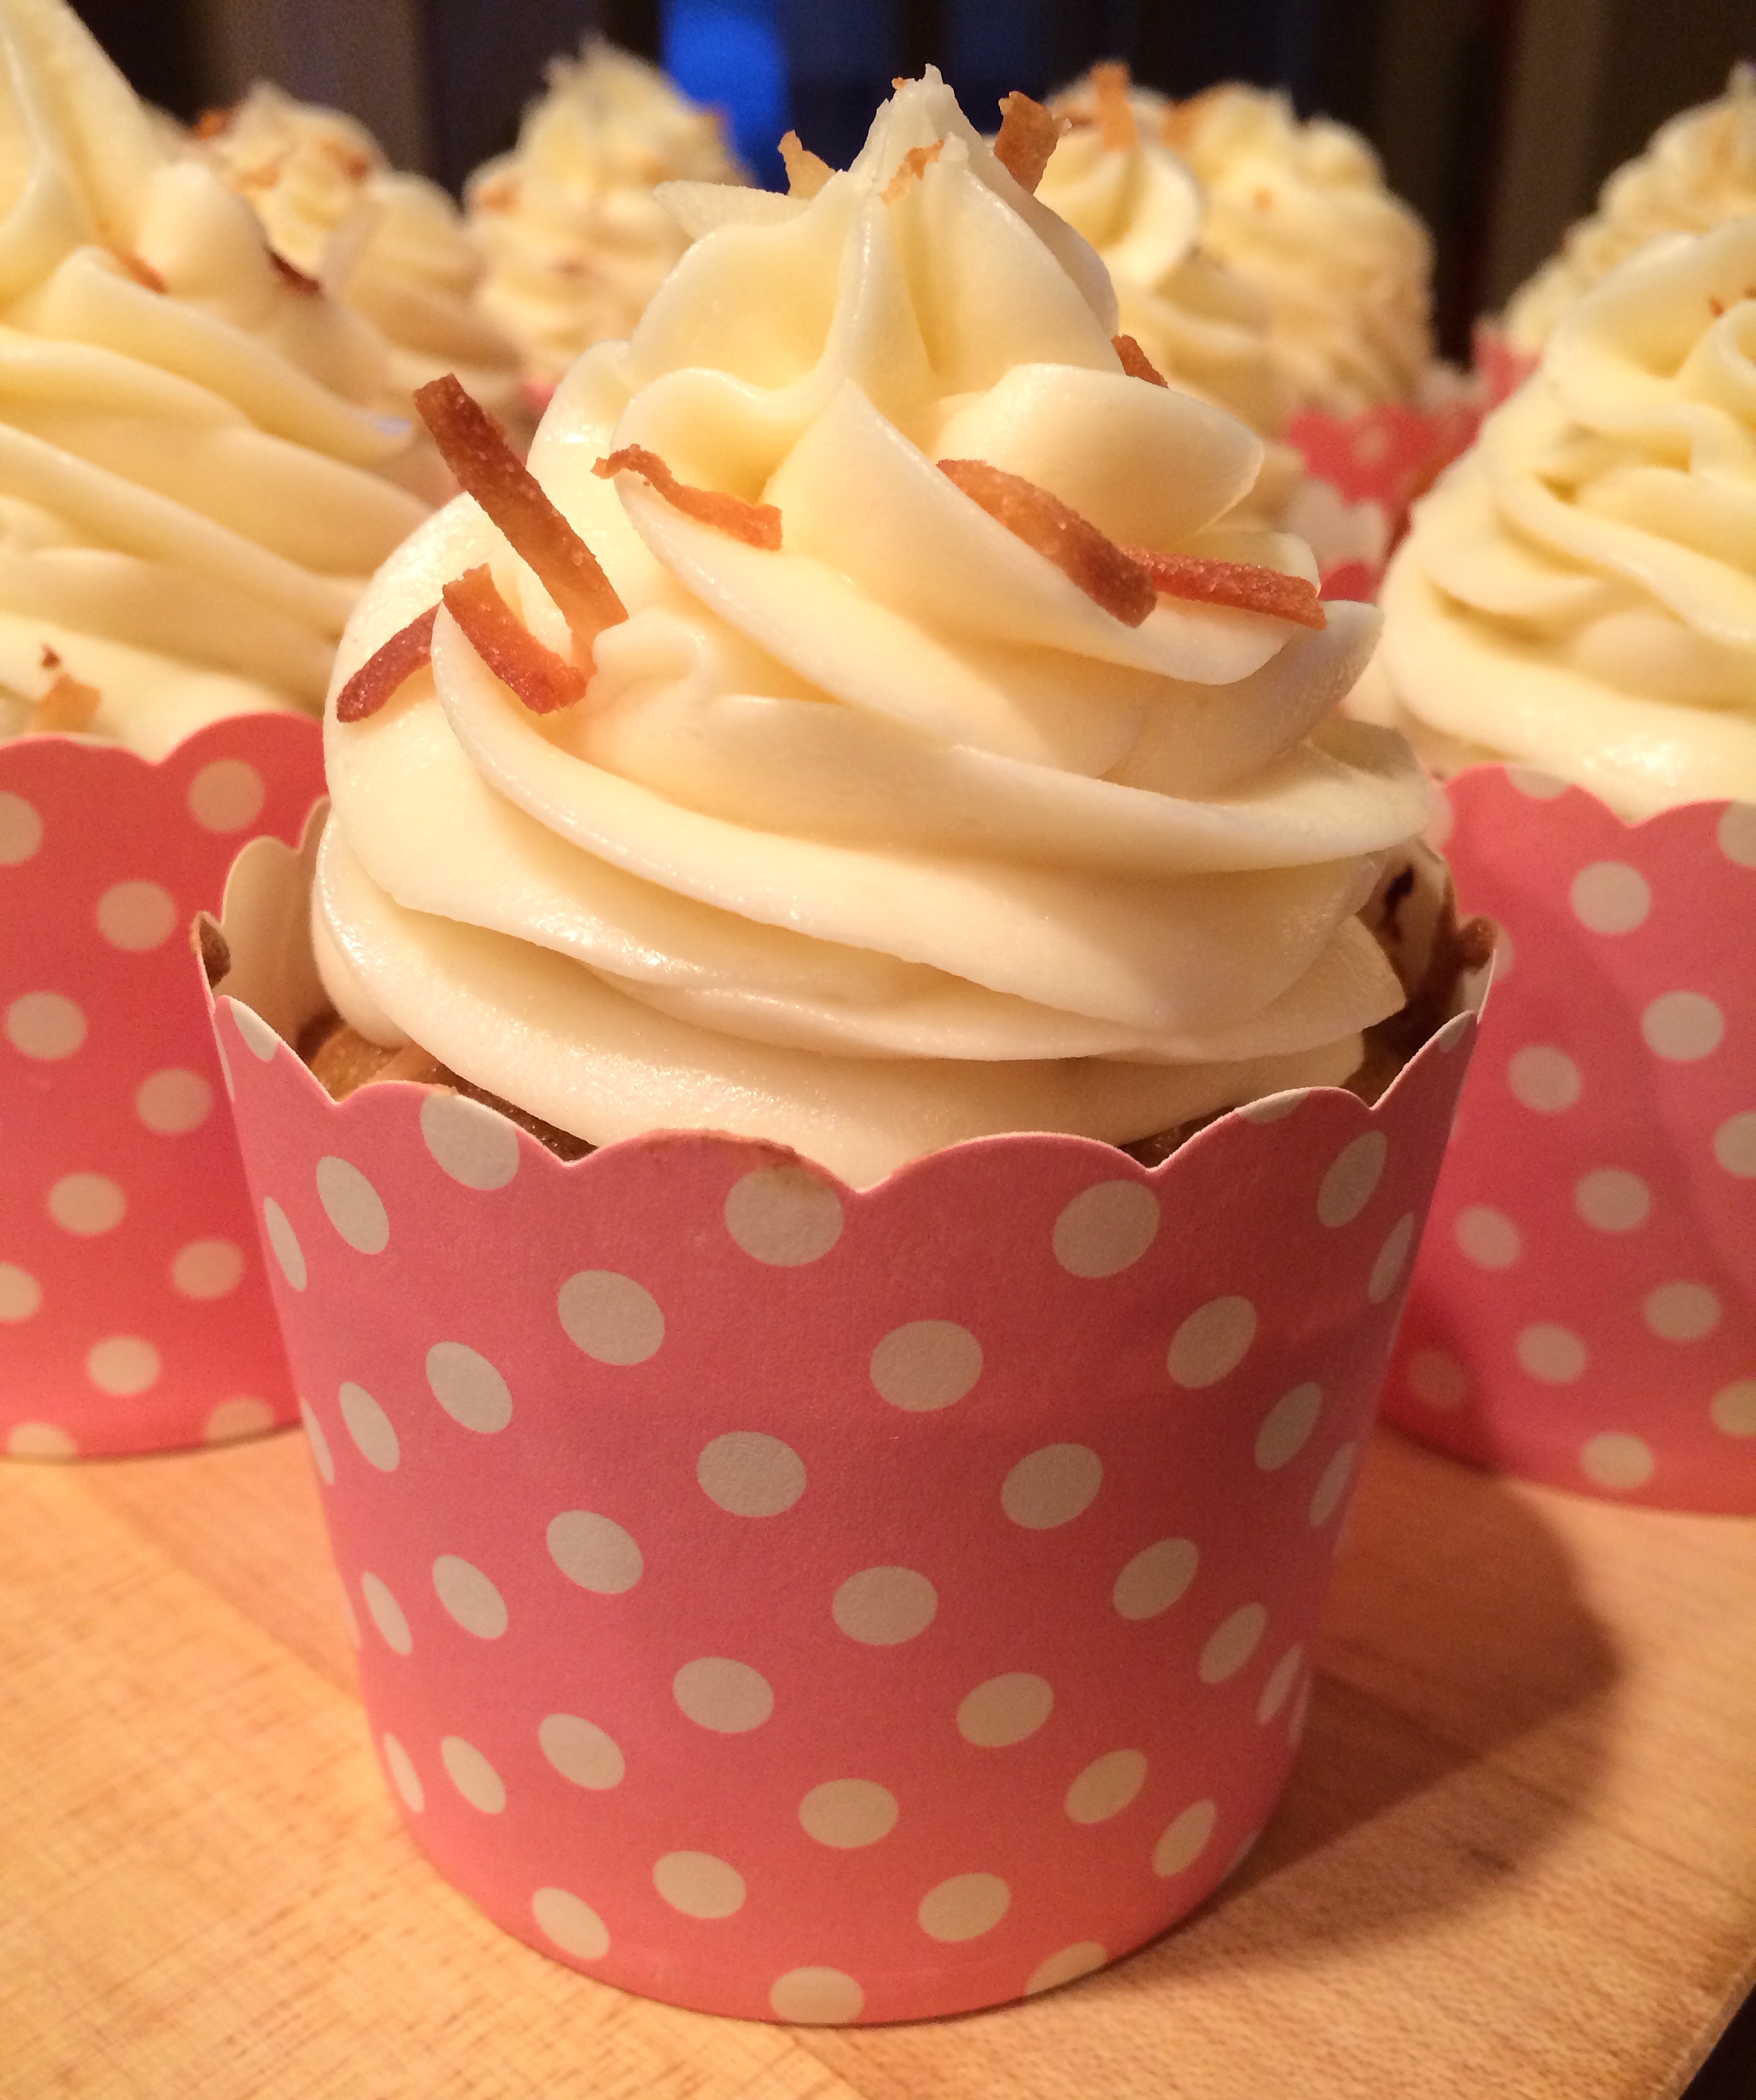
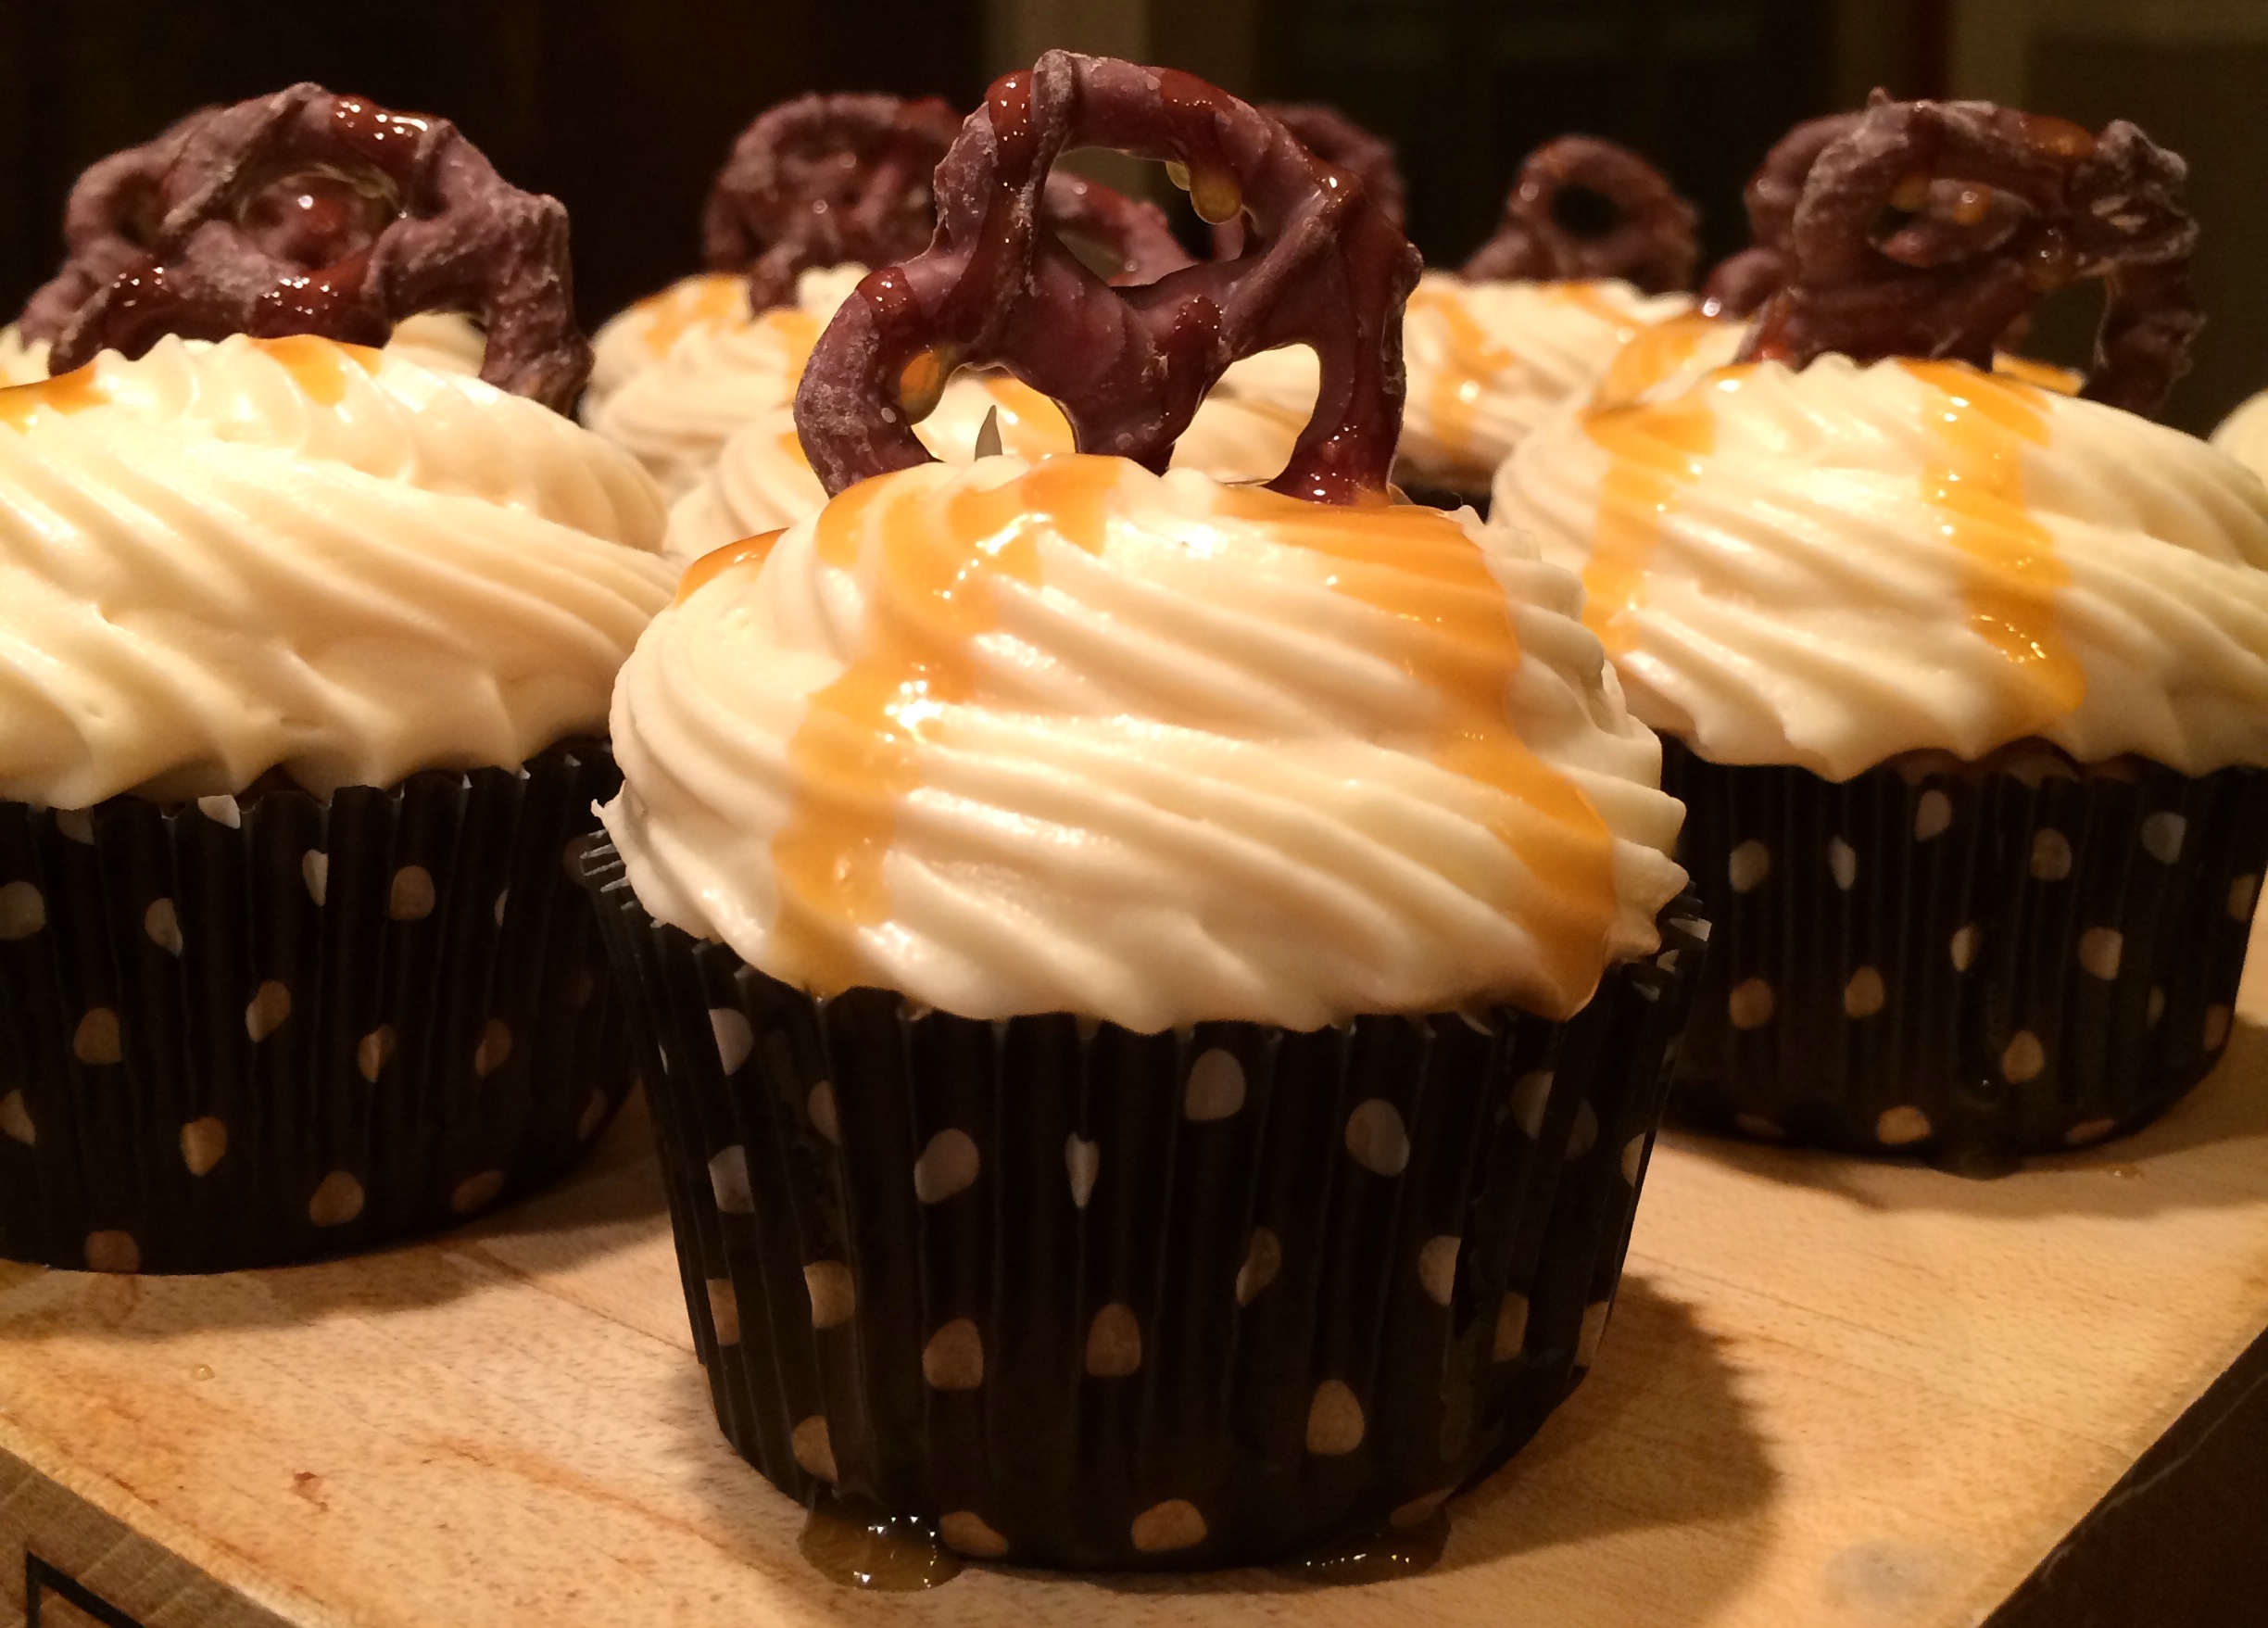
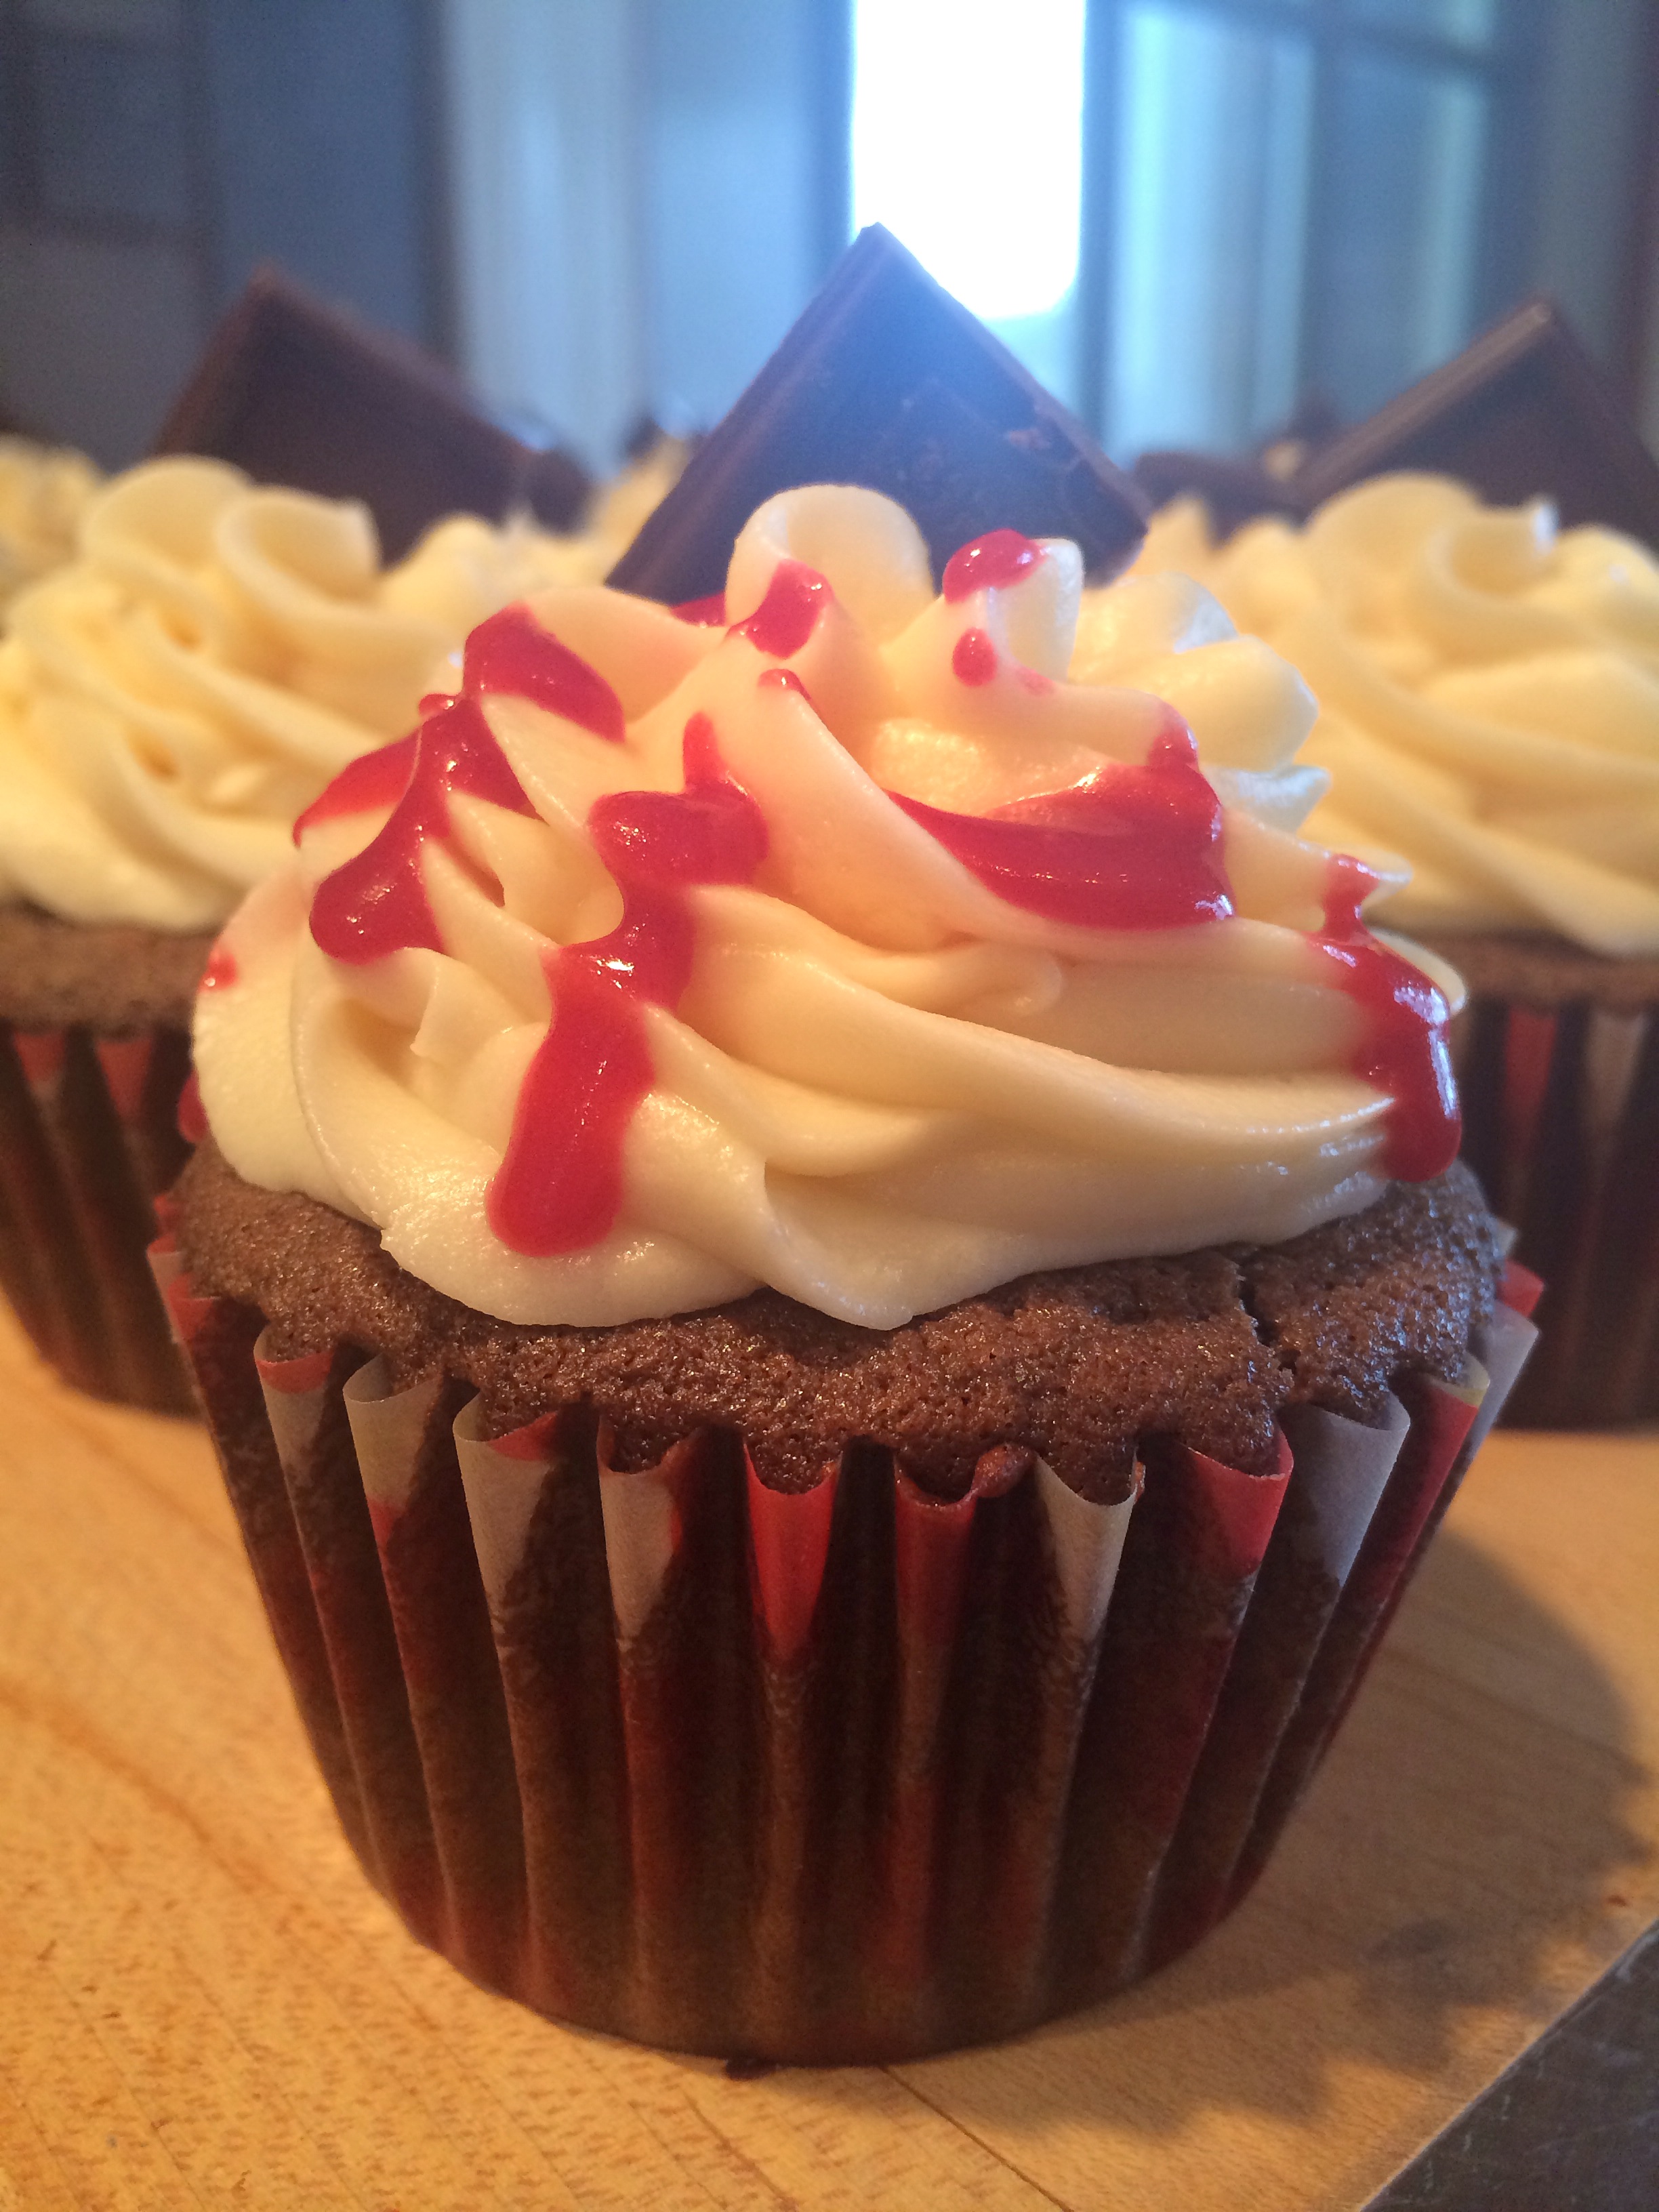
5. Frost your cupcakes!
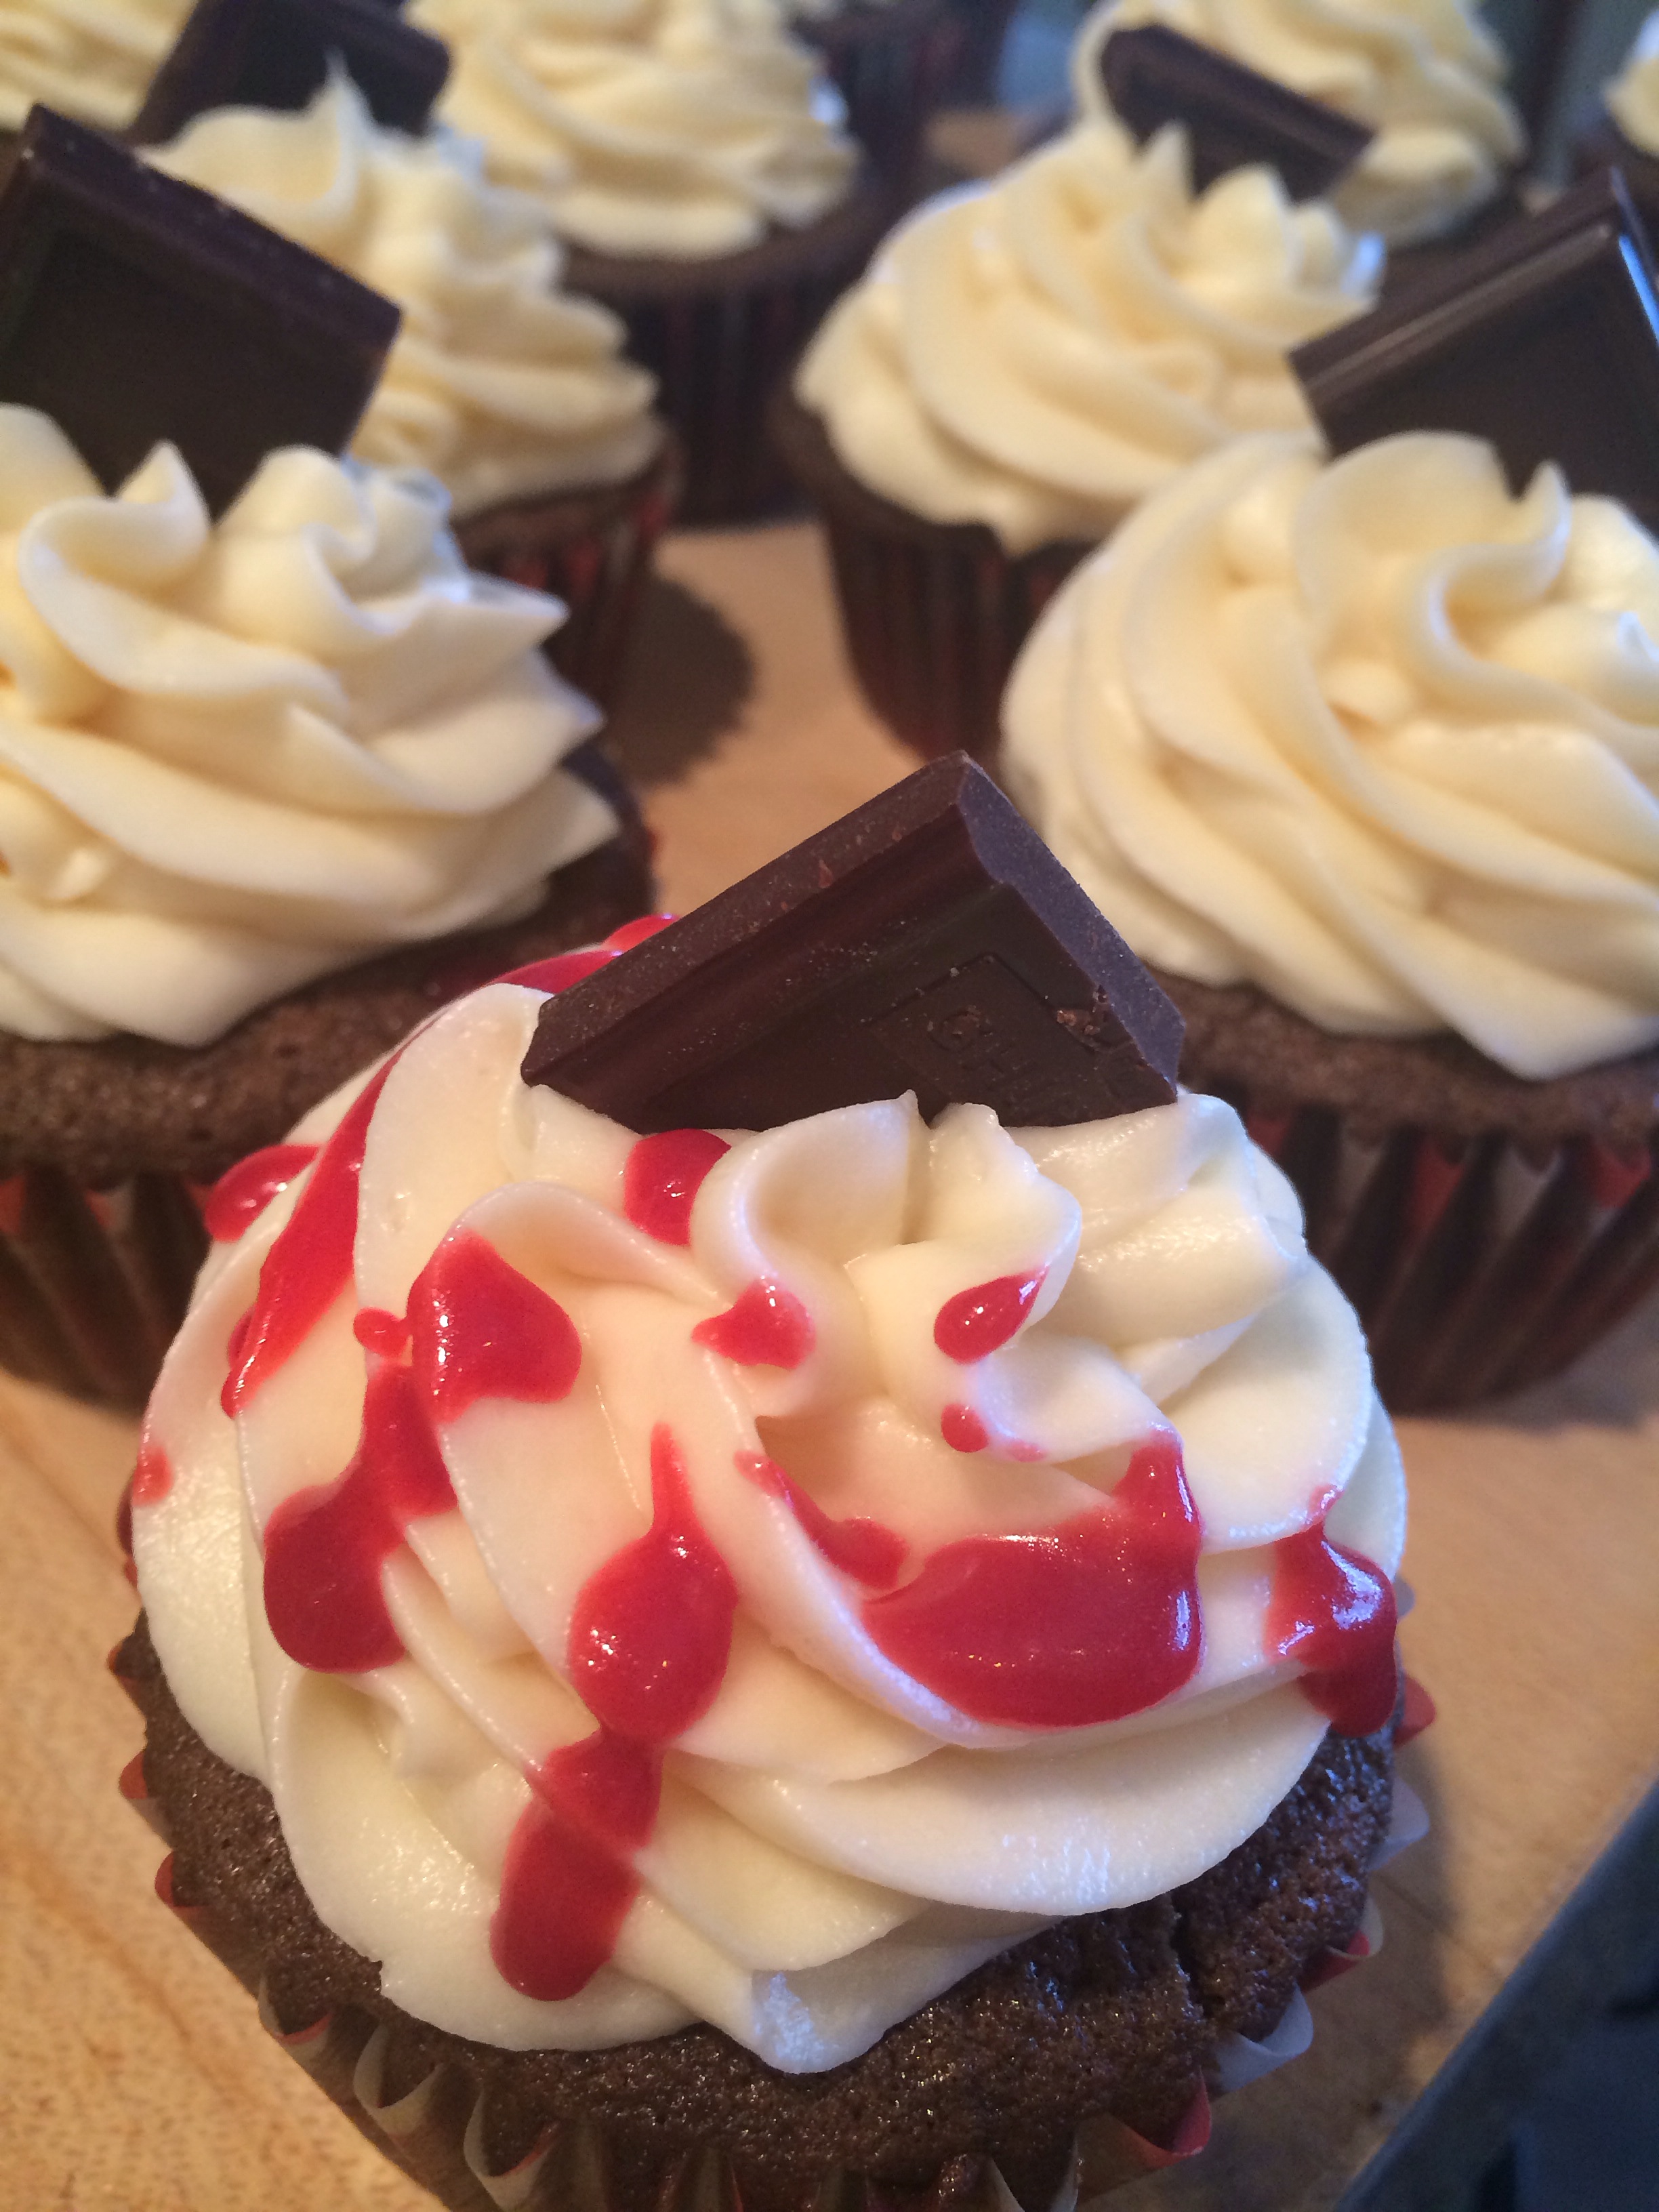
Note: I used Teddy Grahams (Honey) and mini Hershey’s chocolate bars for garnish!
Enjoy and happy baking!!
– Bayley & Ani