February BarkBox Review!

February didn’t disappoint. BarkBox was delivered to my front steps yesterday. Was I thrilled to see that box waiting for me(I mean Ani)? Yes. I couldn’t wait very long to open the little brown box! As soon as I stepped foot inside I grabbed the scissors and popped that box open, folded back that adorable gift wrap, and there they were; the goods! There were five items made up of treats and toys. My Wheaten, Ani, knew something exciting was happening as she walked her paws up the kitchen counter trying to check it out. A squeak! Ani’s favorite noise. It was a new baby (we call Ani’s stuffed animal toys babies). She and I knew this was going to be a great box…

barkbox 2

If you’re not sure how BarkBox works check out my January BarkBox review! I go in depth about what BarkBox is all about and how to get your pet started! I would recommend it to anyone. I love gifts and so does Ani – these are the best kinds too. You never know what you’re going to get. Surprise! It also makes a great gift for an animal lover. That’s how I got stated!
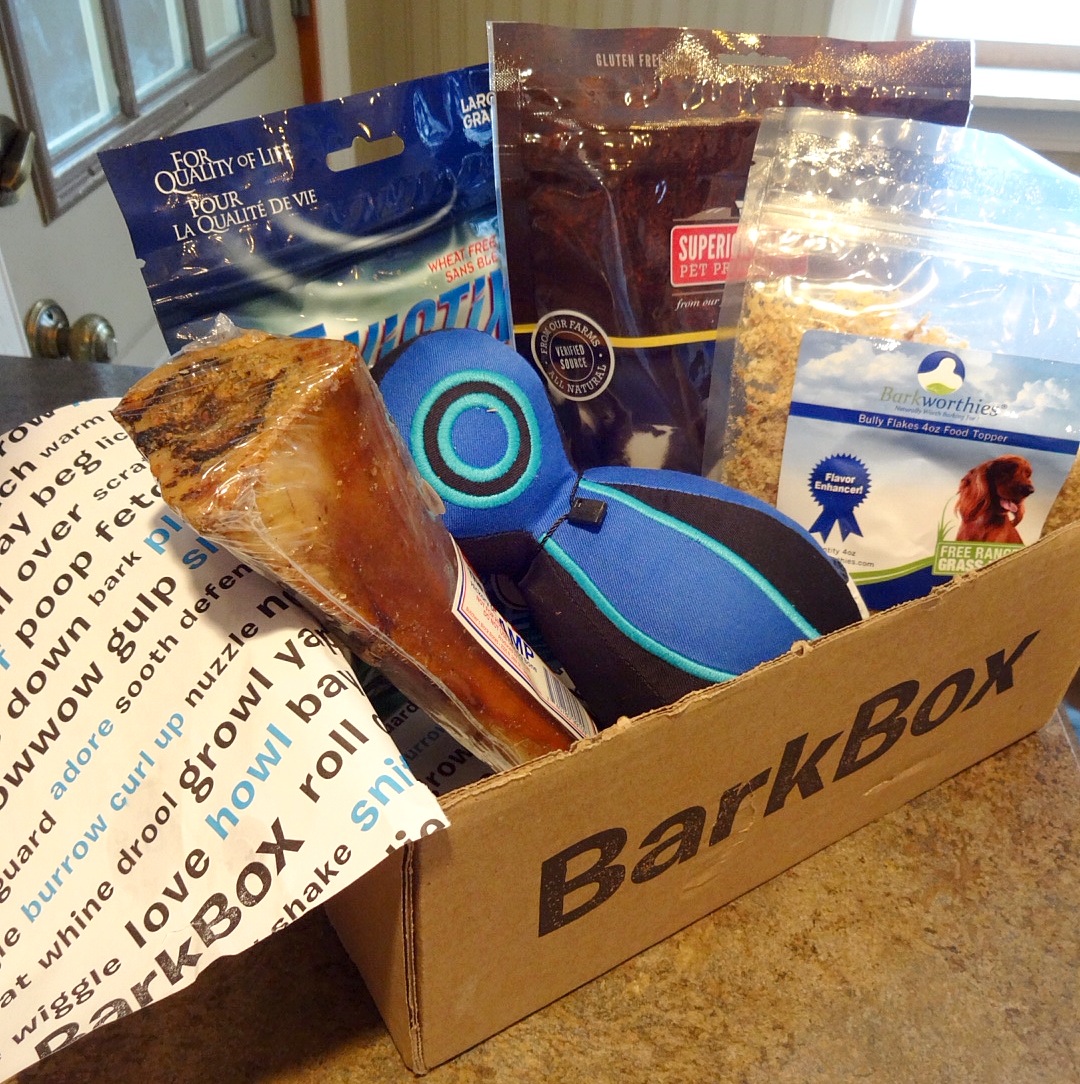
barkbox paper

barkbox toys


The items:

Who doesn’t like a eco-friendly stuffed toy? Ani sure does. This penguin from Sprocket Pet Goods is great! It’s colorful, organic, and recycled. It’s vibrant blue color is inviting. The cotton is organic and recycled. There’s a squeaky center and a bouncy bottom! It actually resembles a cute version of a bowling pin while it bobbles and wobbles around. I love everything about this toy. Eco-friendly got me!

I don’t know about you, but my dogs (especially Ani) have terribly bad breath. When I saw Twistix I couldn’t wait to open that bag and immediately pop one in each of their mouths. What are Twistix? They are treats, but not just any treat. These are treats that clean teeth and freshen breath! These are all-natural wheat/corn free vanilla mint twisted sticks. The minty freshness lingered out of their mouths – boy was I happy! Very pleased.

Treats! More treats! These are my favorite. These are grain/gluten free lamb treats by Superior Farms. These heart-shaped biscuits are just a reminder of how much we really love our pets.

What are these bully flakes all about? I wasn’t sure because I had never used them nor have I needed to. These are for picky eaters. Spread the flakes over your picky eaters food and voila! Like magic, they eat! (This is what I’ve heard at least) Anyway, these bully flakes are 100% ground bully sticks which are a bull’s genitals – yes shocking! That’s all I’ll say.

A Heartland Premium bone! These bones look like they’ll last a lifetime – very appetizing! (Just make sure you rip that plastic off before your pup snags it out of their box – it looks that delicious) These bones are sourced from cows born and bred in Omaha, Nebraska. Enjoy!

ani with stuffing

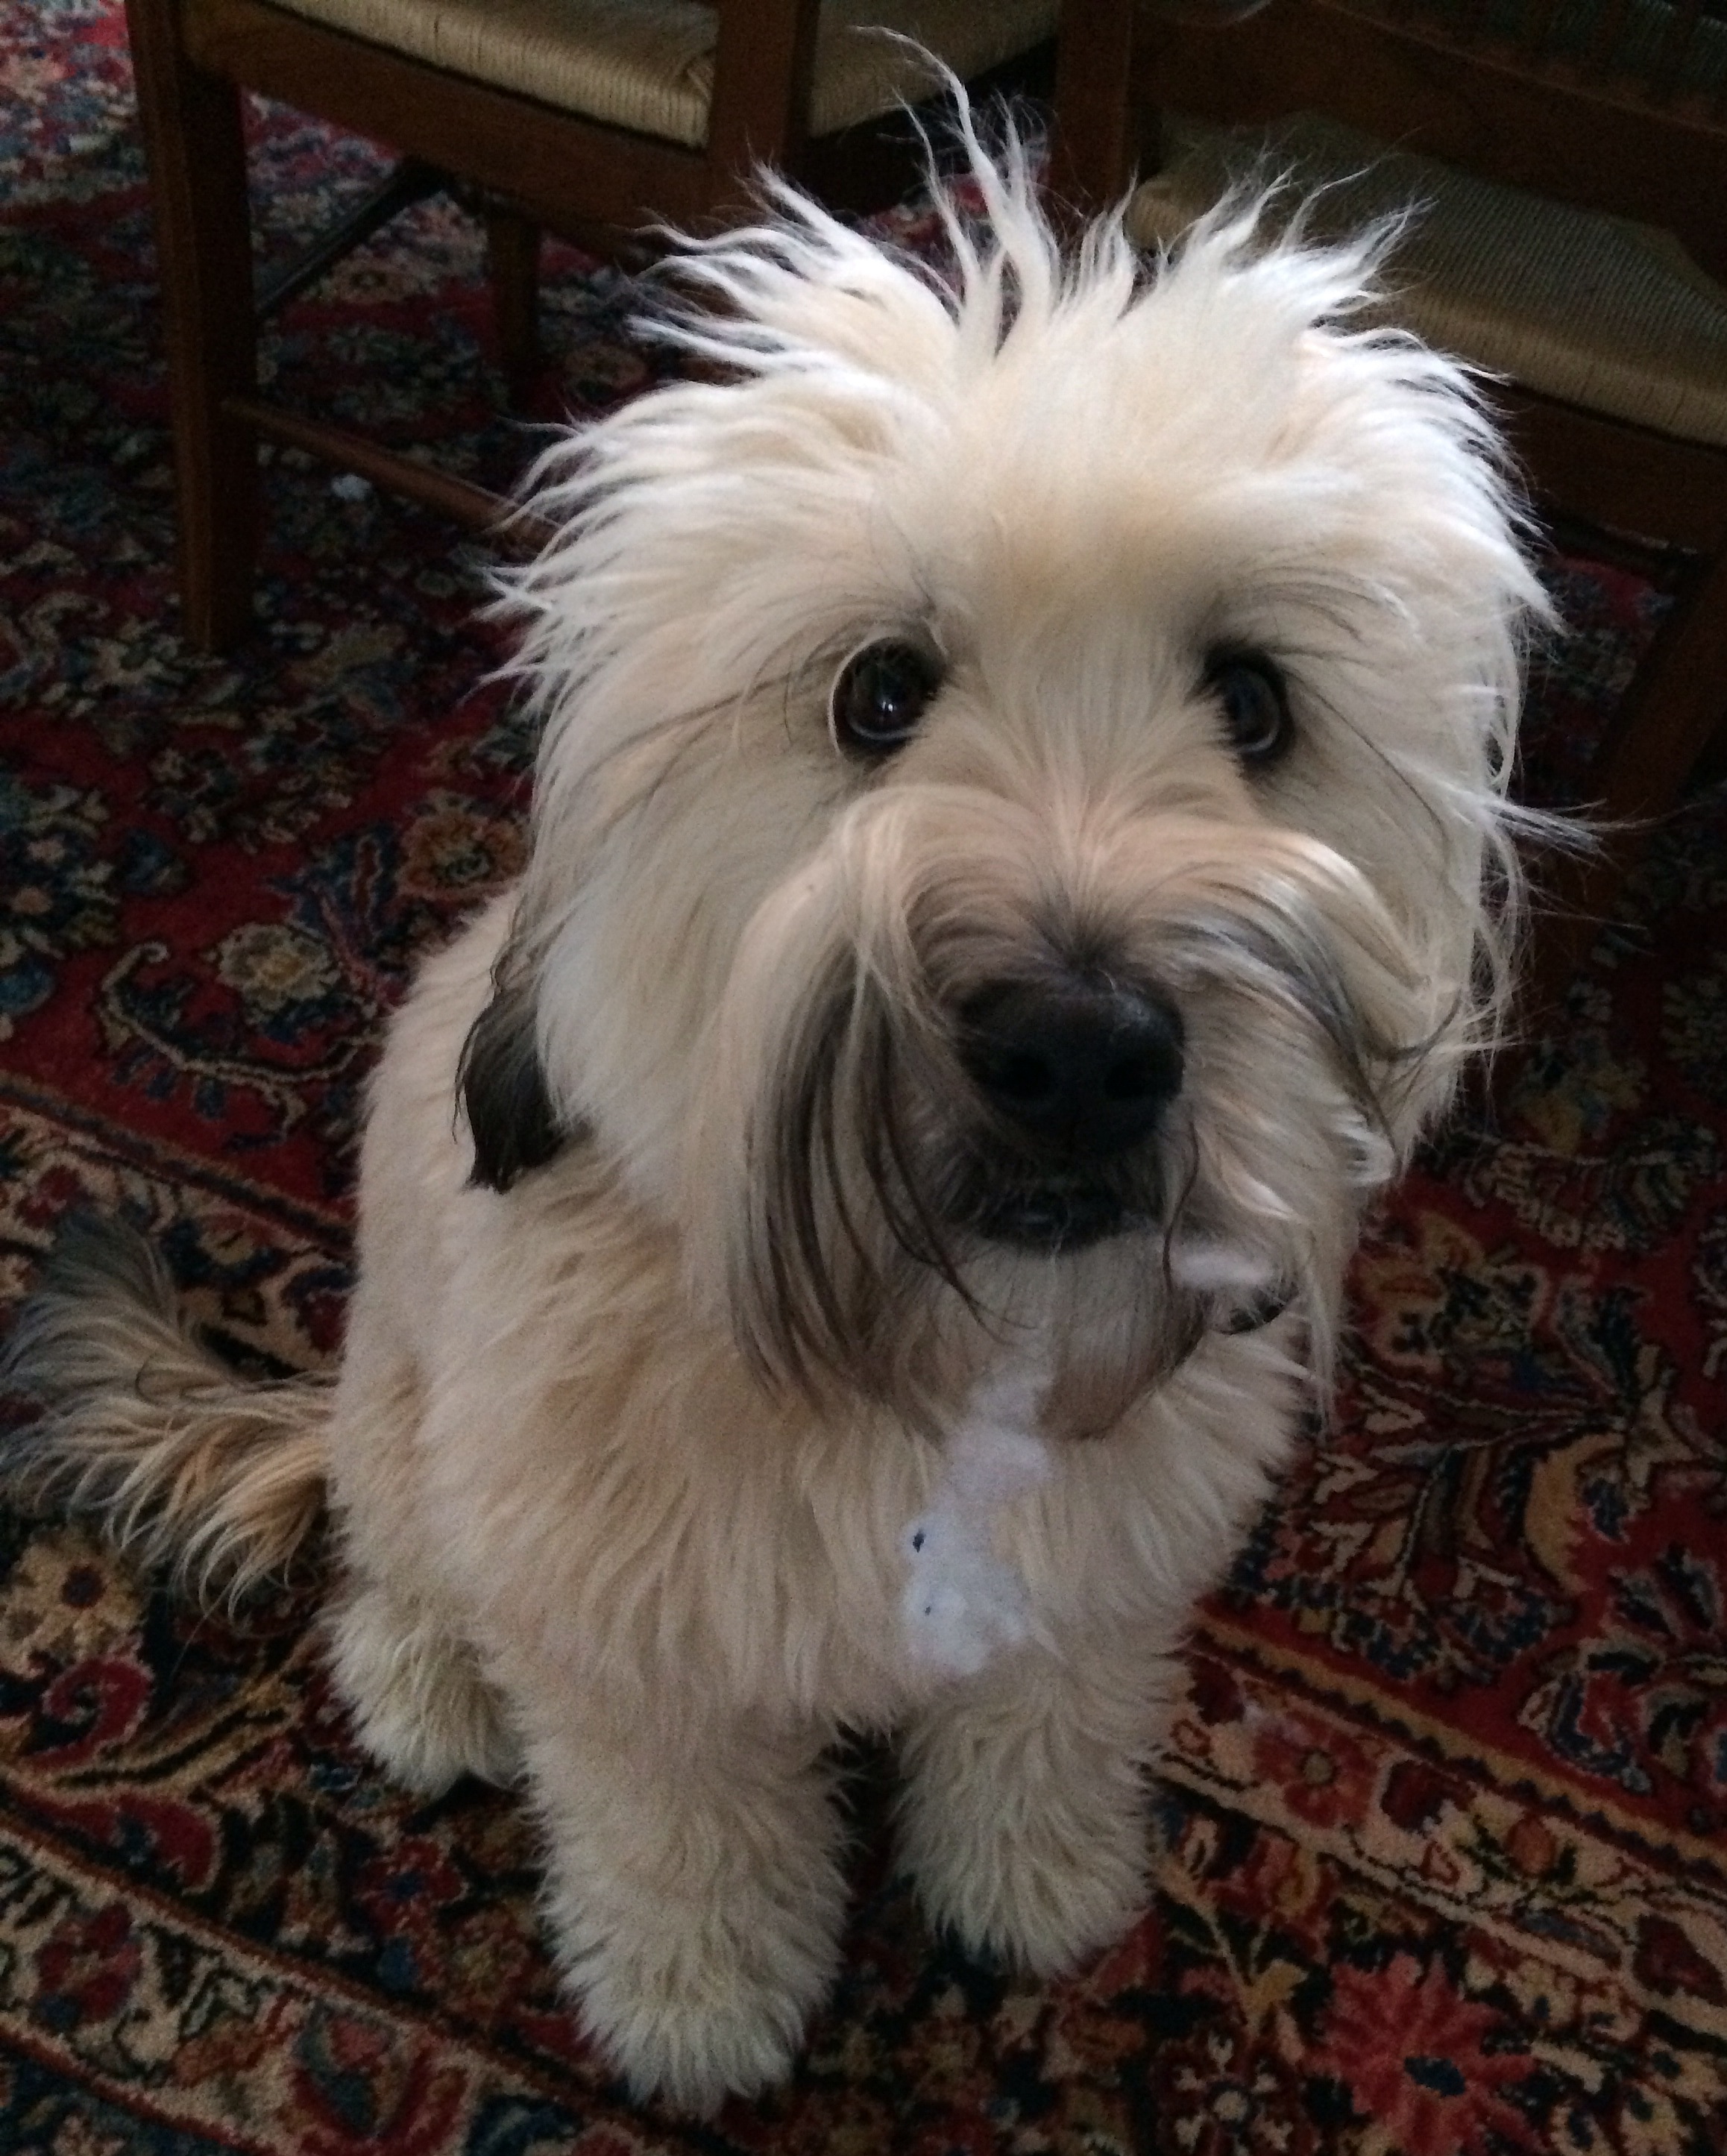
Unfortunately, Ani enjoyed her penguin a little too much. The penguins nose didn’t last. Can you see the evidence hanging out of her mouth?

Well as long as it was worth it!

Bayley & Ani

Advertisement

Peanut Butter Chocolate Cupcake with Butterscotch Frosting!

Peanut butter, chocolate, and butterscotch; these flavors are a miracle by themselves, but together, come on! Just too good to be true. These cupcakes are super simple. They’re filled with crazy flavor and are topped with delicious frosting. The peanut butter cake which generously incorporates chocolate and butterscotch chips is amazing! Yes, this is the cake alone. We haven’t even reached the frosting yet! Three all-star flavors baked together in a single cupcake – almost too hard to believe. I will admit, as much I as I love this cake my favorite part is the frosting. Butterscotch is a flavor that seems to be easily forgotten which is unfortunate because it is such a rich distinctive flavor. My favorite special ingredient in chocolate chip cookies is a touch of butterscotch. Adding it in a peanut butter cupcake with chocolate chips – magic!

butterscotch 1

Ingredients:

1/3 cup Canola Oil
3/4 cup Peanut Butter
1/2 cup Brown Sugar
1/2 cup Sugar
2 Eggs
2 tsp Vanilla Extract
1 3/4 cup Flour
1 1/4 tsp Baking Powder
1/2 tsp Salt
1/2 cup Milk
1/2 cup Chocolate Chips
1/2 cup Butterscotch Chips

Butterscotch Frosting:

1 cup Butter – room temperature
1 8oz Package Cream Cheese
2-3 cups Powdered Sugar
1/2 tsp Vanilla Extract
1/2-3/4 cup Butterscotch
Pinch of Salt

Note: I used a little more than a 1/2 cup of Butterscotch because I enjoy a stronger butterscotch flavor. All preference! Also, I used Smuckers Butterscotch Syrup instead of making my own. It’s much easier and it tastes great!! You can purchase it at your local grocery store.

Get ready for this one! Super easy!

Directions:

1. Preheat oven to 350 degrees. Line cupcake pan with liners. Makes about 12-18 cupcakes.

2. In electric mixer, mix peanut butter and canola oil until smooth.

3. Add brown sugar, sugar, vanilla, and eggs and beat until combined and fluffy.

4. In a separate medium bowl, combine flour, baking powder, and salt. Add flour mixture to electric mixer in two additions.

5. Add milk to electric mixer and mix until smooth.

6. Fold in chocolate and butterscotch chips.

7. Fill cupcake liners about 2/3 full. Bake for 15-18 minutes. Let cool before frosting.

cupcake raw

Butterscotch Frosting:

1. In electric mixer, beat butter and cream cheese until smooth.

2. Add powdered sugar in three parts and beat until smooth and creamy on medium/high speed.

3. Add vanilla and salt. Continue to mix.

4. Add butterscotch syrup/sauce. Beat until combined.

Note: Like I previously stated, I used Smuckers Butterscotch Syrup. It’s great and I would suggest using it. I’m not trying to sound lazy, but it saves so much time!

5. Frost your cupcakes!!

Note: I used chocolate covered pretzels as garnish. Anything works!

butterscotch 2

Enjoy and have fun! Ani sure did….

ani smiley

Smile everyone!!


Bayley & Ani

Dark Chocolate Raspberry Cupcakes

Happy Valentine’s Day! These cupcakes are the perfect Valentine’s Day gift for everyone and anyone! I love a chocolate/raspberry combination – definitely one of my all time favorites. This dark chocolate cake is simple, yet rich in flavor. The raspberry curd filling is phenomenal. It’s a sweet, yet slightly bitter curd which adds a special touch. The vanilla buttercream is incredible. If you enjoy a generous amount of vanilla then this is your cupcake. Overall, these chocolate, raspberry, and vanilla flavors work wonderfully together – the perfect combination!

Get ready to make a unique cupcake. I say unique because this isn’t your everyday cupcake. It takes time to develop these powerful flavors and trust me; when you try one you’ll know it was worth it.

Rasp Choc

Ingredients:

1/2 cup Regular Brewed Coffee
1/2 cup Heavy Cream
1 cup Butter
1/2 cup Cocoa Powder (Dark Chocolate Cocoa works great for these dark chocolate cupcakes)
1 tsp Vanilla Extract
2 cups Flour
2 cups Sugar
1 1/2 tsp Baking Soda
3/4 tsp Salt
2 eggs
2/3 cup Sour Cream

Vanilla Buttercream:

1 cup Butter (room temperature)
1 8 oz. package Cream Cheese (room temperature)
2 lbs Powdered Sugar (typically the size of a regular bag)
1/2 cup Heavy Cream
1 tbsp Vanilla Extract
1/8 tsp Salt

Raspberry Curd:

1 stick Butter
2 1/2 cups Fresh or Frozen Raspberries (I used frozen – cheaper & they taste just as great!)
6 Egg Yolks
3/4 cup Sugar
1/8 tsp Salt
2 tbsp Lemon Juice

Note: I suggest making the raspberry curd before the cupcakes because you should cool and refrigerate before filling.

Rasp Choc 3

Directions:

1. Preheat oven to 350 F degrees. Line cupcake pan with liners. Makes about 20-24 cupcakes.

2. In a medium sauce pan, melt butter over medium-low heat. Once melted whisk in cocoa powder until smooth. Add heavy cream, coffee, and vanilla extract and continue to whisk until combined. Heat until a slight simmer. Remove from heat and allow to cool slightly.

3. In a medium-large bowl, whisk flour, sugar, baking soda, and salt.

4. In electric mixer, combine sour cream and eggs. Mix on medium speed.

5. Slowly pour cocoa mixture into egg/sour cream mixture and mix until smooth.

Note: Make sure you add the cocoa mixture slowly! You don’t want to risk cooking the eggs. I spaced it out between three minutes.

6. Once cocoa mixture and egg/sour cream mixture is combined begin adding flour mixture. Add flour mixture in three parts. Mix until smooth and creamy.

Note: Remember to scrap down sides periodically.

7. Fill cupcake cups and bake for 18-20 minutes.

8. Let cool in cupcake pan for a few minutes before removing.

Vanilla Buttercream:

1. In electric mixer, cream butter and cream cheese on medium/high speed.

2. Begin adding powdered sugar one cup at a time. Mix on medium/high speed.

3. Add vanilla extract and salt.

4. Add heavy cream and continue to mix on medium/high speed until creamy and smooth.

Raspberry Curd:

1. Melt butter in medium sauce pan over medium heat.

2. Add sugar, raspberries, egg yolks, and salt. Stir constantly until sugar is dissolved and raspberries are completely broken down.

3. Cook at a low simmer for 10 minutes or until mixture has thickened.

4. Add lemon juice.

5. Strain mixture through a coarse strainer over a medium bowl. Press as much liquid out of the mixture. Goal is to separate the liquid from the seeds.

6. Let curd cool for an hour or two before covering and refrigerating.

Rasp Choc 2

Note: I used Ghirardelli dark chocolate squares for garnish! They’re perfect for a finishing touch.

I hope you enjoy this recipe as much as I did! Once you make it the first time I guarantee you’ll be getting requests real soon!

Ani cupcakes

Ani in her lovely cupcake apron!

My little helper and I hope you have fun baking! We’ll be thinking about our next recipe!

Bayley & Ani

Pumpkin Chocolate Chip Cupcakes

I’ll be honest, I’m not a huge fan of pumpkin pie. During the holidays you best believe you’ll come across countless numbers of pumpkin pies. Rarely do I venture down that road, no thank you. A Pumpkin Chocolate Chip Cupcake? Yes please. Although I rarely enjoy a slice of pumpkin pie, I do enjoy this pumpkin cupcake. This cupcake has a nice balance between the mini chocolate chips and the rich pumpkin flavor. The chocolate frosting adds the special kick to top it off. The chocolate/pumpkin combination is super – love this recipe!

P.S. – I love working with pumpkin. It’s easy to cook with, makes the house smell great, and reminds me of fall. If you’re a fall lover, try this recipe asap.

pumpkin cupcake

Ingredients:

1 cup Butter (room temperature)
3/4 cup Brown Sugar (firmly packed)
1/2 cup Sugar
4 eggs
2 cups Flour
1 tsp Baking Soda
1 tsp Baking Powder
1/2 tsp Salt
1/4 Ground Nutmeg
1/4 Ground Cloves
1 1/2 tsp Cinnamon
1 tsp Vanilla Extract
1 15 ounce can Canned Pumpkin
1 cup Mini Chocolate Chips

Chocolate Cream Cheese Frosting:

1 cup Butter
1 8 ounce package Cream Cheese
7 tbsp Unsweetened Cocoa Powder
1 1/2 tsp Vanilla Extract
3-4 cups Powdered Sugar

Straight out of the oven! Still warm!

Straight out of the oven! Still warm!


Directions:

1. Preheat oven to 350 degrees. Line cupcake pan. Makes about 18-20 cupcakes.

2. In electric mixer, beat butter on medium speed until smooth.

3. In a medium bowl mix flour, baking powder, baking soda, salt, nutmeg, cloves, and cinnamon. Set aside.

4. Add brown sugar and regular sugar to electric mixer.

Note: Remember to scrap down sides regularly.

5. Add eggs one at a time to electric mixer.

6. Gradually add flour mixture to electric mixer.

7. Add vanilla extract and pumpkin until well combined.

8. Stir in mini chocolate chips.

9. Fill cupcake cups about 2/3 full and bake for 18-20 minutes. Once finished let cool before frosting.

Chocolate Cream Cheese Frosting:

1. Whisk powdered sugar and cocoa in medium bowl. Set aside.

2. In electric mixer, cream butter and cream cheese on medium speed until smooth.

3. Add vanilla and continue to beat on medium speed.

4. Gradually add powdered sugar mixture to electric mixer. Mix until smooth and creamy.

5. Frost your cupcakes!

Note: I used left over mini chocolate chips for garnish. You can use other candy during the fall season!

Have fun!

pumpkin cupcake 2

Enjoy this sweet fall reminder!

– Bayley & Ani

Peanut Butter Oreo Cupcakes

It’s not easy turning down a peanut butter oreo, so it’s definitely not easy to turn down a peanut butter oreo cupcake! (Trust me, no one has turned these down.) The cake is moist and rich. The frosting is sweet and the finely chopped peanut butter oreos add the perfect amount of crunch. The oreo on top is, uh, it’s a peanut butter oreo – enough said. You’re going to love this recipe and this cupcake! Peanut Butter lovers get ready!

cupcake single PB

Ingredients:

1 cup Butter
1 1/2 cups Brewed Coffee
1 tbsp Vanilla Extract
3/4 cup Cocoa Powder
2/3 cup Sour Cream
2 Eggs
2 cups Sugar
2 cups Flour
1 1/2 tsp Baking Soda
1/2 tsp Salt
20 Peanut Butter Oreo Cookies – finely crushed

Peanut Butter Oreo Buttercream:

1 cup Butter – room temperature
1 1/2 cups Peanut Butter
4 cups Powdered Sugar
3/4 cup Heavy Cream
1/8 tsp Salt
10 Peanut Butter Oreo Cookies – finely crushed

PB Cupcake

Directions:

1. Preheat oven to 350 degrees. Line cupcake pans. Makes 24 cupcakes.

2. In a medium microwave safe bowl, melt butter in microwave for 1 minute on high.

3. Add coffee, cocoa powder, and vanilla. Whisk until combined. Set aside to cool slightly.

4. In a large bowl mix flour, sugar, baking soda, and salt together.

5. In electric mixer, mix sour cream and eggs.

6. Slowly add chocolate mixture to the sour cream mixture. (make sure you add slowly)

7. Add flour mixture to wet mixture in increments.

8. Fold in crushed Oreos.

9. Fill cupcake cups about 2/3 full and bake for 20 minutes.

Note: Allow to cool before frosting – It’s best to leave them in the pan for 5-7 minutes before removing.

Peanut Butter Oreo Buttercream:

1. In electric mixer, cream peanut butter and butter together for about 2 minutes.

Note: Make sure you scrape down sides several times.

2. Add powdered sugar and mix on medium.

3. Add heavy cream and salt. Continue to mix until smooth and fluffy. Beat on high for 1-2 minutes.

4. Fold in finely crushed Oreos.

Note: I use a Wilton Open Star Tip to pipe my frosting – #6B. It’s best to use an open tip because small pieces of the cookie will get caught if not.

5. Top with a piece of a Peanut Butter Oreo.

PB Cupcake 2

Enjoy this peanut buttery perfection!

Bayley & Ani