Pineapple-Carrot Cake Cupcakes

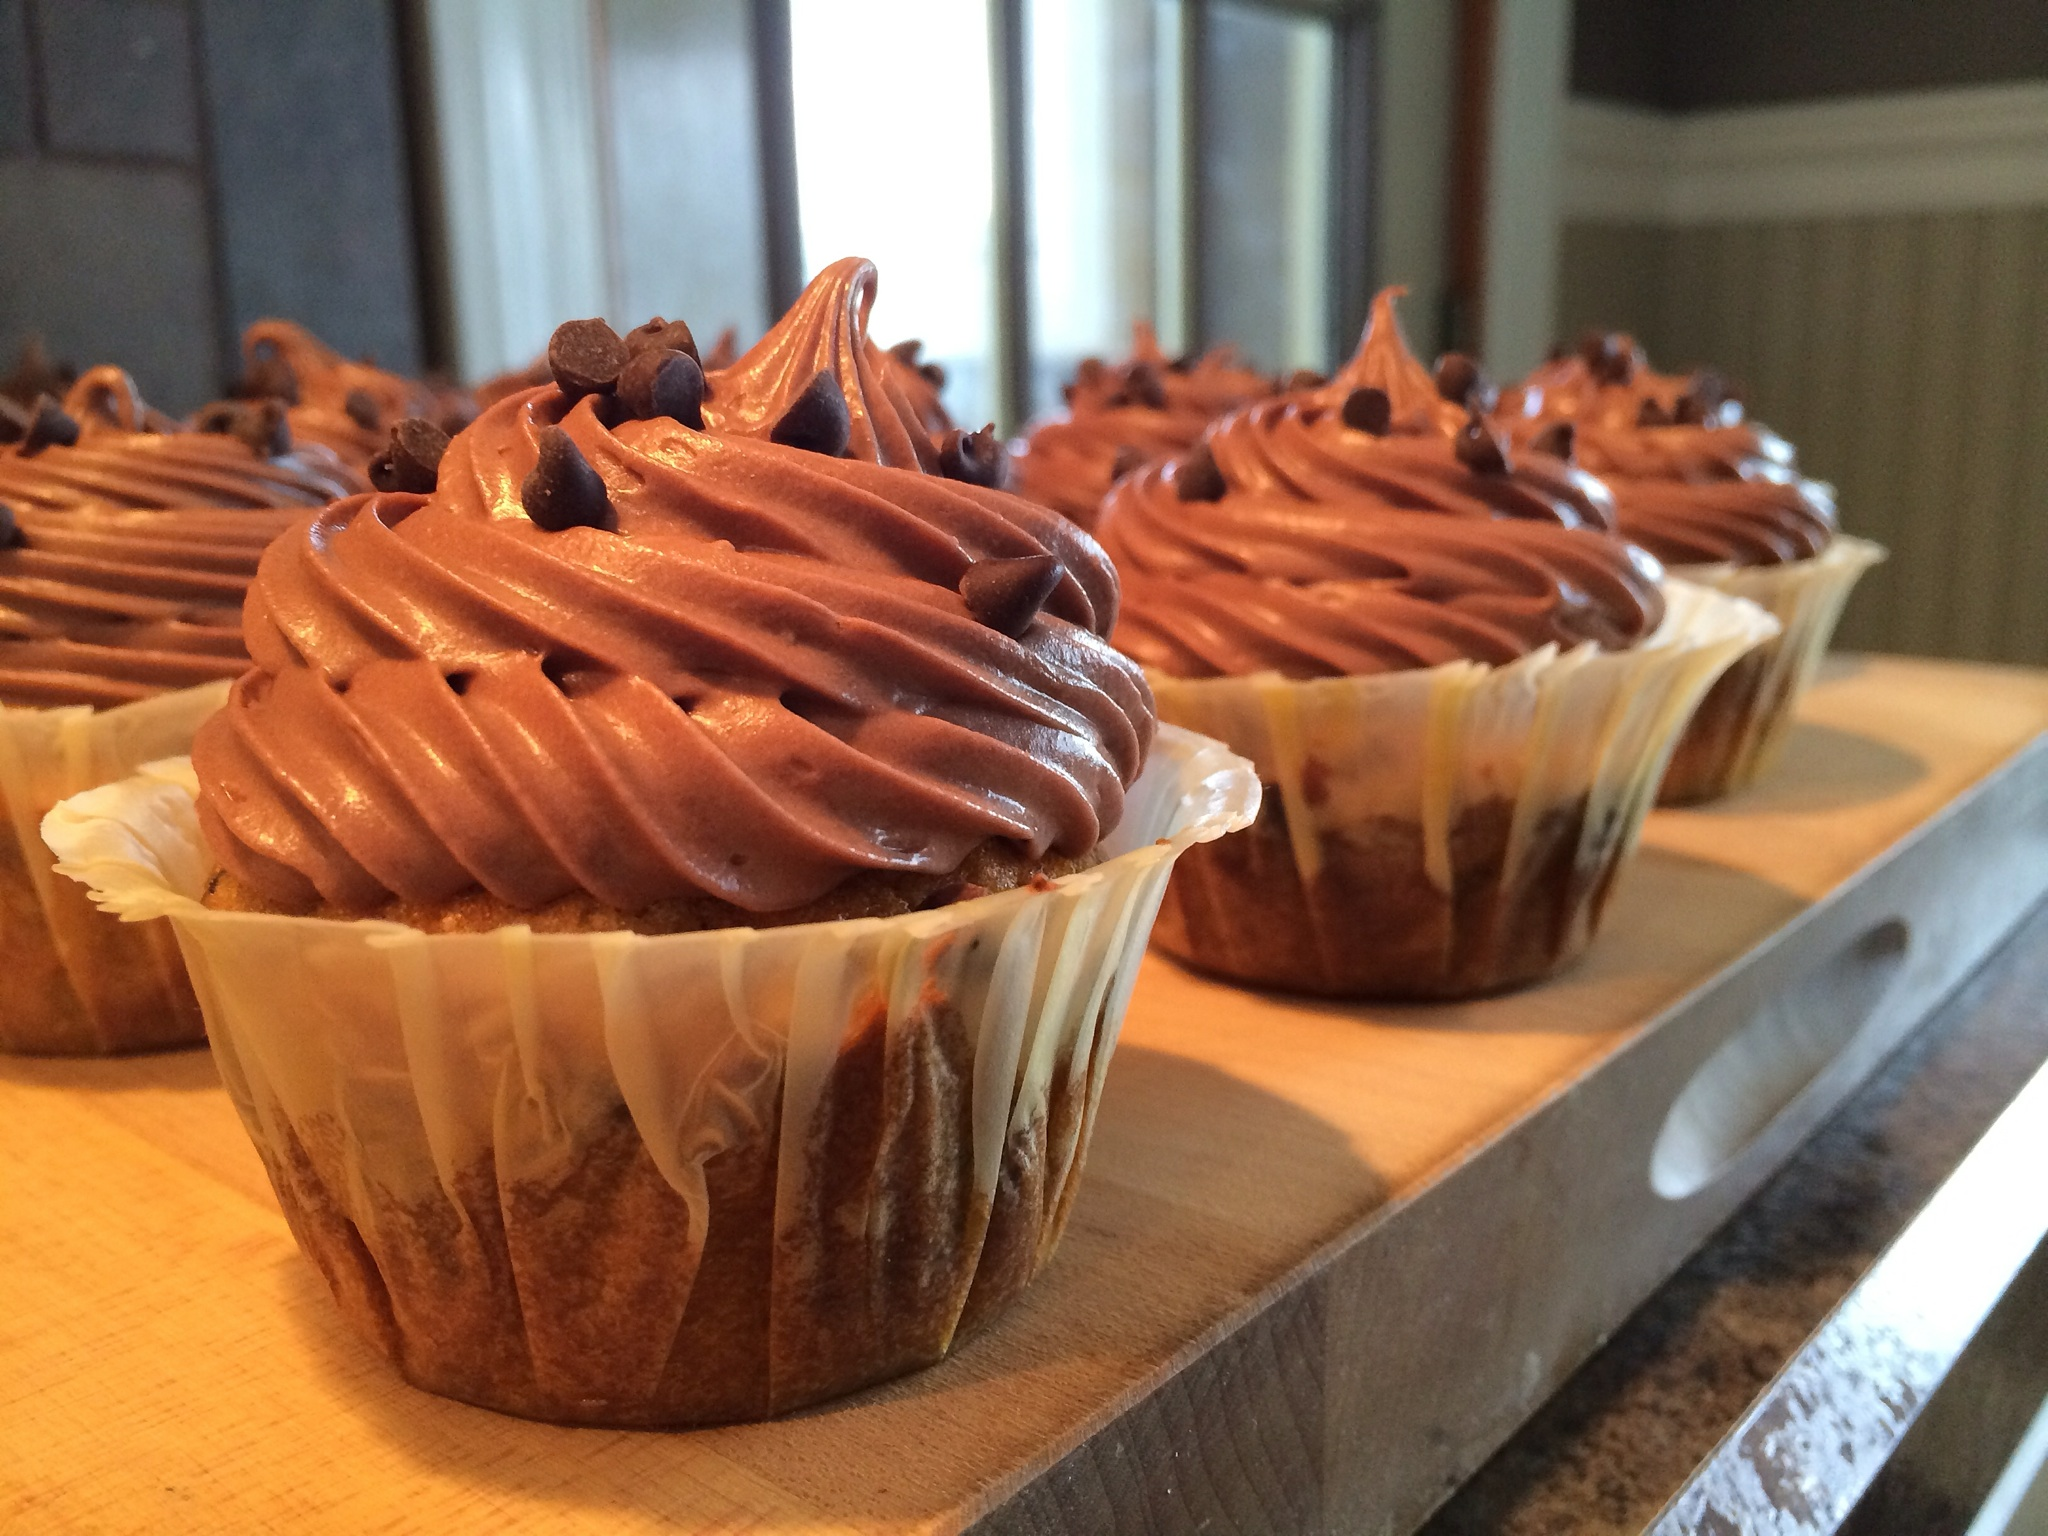
You know when you’re in the mood for something specific, but you can’t put your finger on it? That’s where I was at. I was in the mood for a sweet, yet savory cupcake. I racked my brain for a while and then decided I wanted to make a moist and flavorful carrot cake cupcake, but I wanted to jazz it up! Pineapple! Yes, I said pineapple and I promise it was a great decision. A pineapple carrot cake cupcake. Pineapple is easily one of my favorite fruits. It’s sweet, yet tangy, which adds a special touch to this carrot cake recipe.

Don’t feel too guilty about sinking your teeth into this cupcake! Just think, you’ll be getting your fruits and veggies!

Time to get started!

single cupcake carrot

Ingredients:

4 Eggs
2 cups Flour
2 cups Sugar
2 tsp Baking Powder
1 tsp Salt
1 1/2 tsp Cinnamon
1/2 tsp Baking Soda
3/4 cup Vegetable Oil
1 tsp Vanilla Extract
3 cups Carrots – finely shredded – about 6 medium carrots

Pineapple Filling:

1 Egg Yolk
1/4 cup Canned Crushed Pineapple – well drained!
3 ounces Cream Cheese – room temperature
2 tbsp Sugar
Pinch of Salt

Note: It’s very important that the pineapple is well drained.

Cream Cheese Frosting:

1 8-ounce package Cream Cheese – room temperature
1 stick Butter – room temperature
2 tsp Vanilla Extract
2-3 cups Powdered Sugar
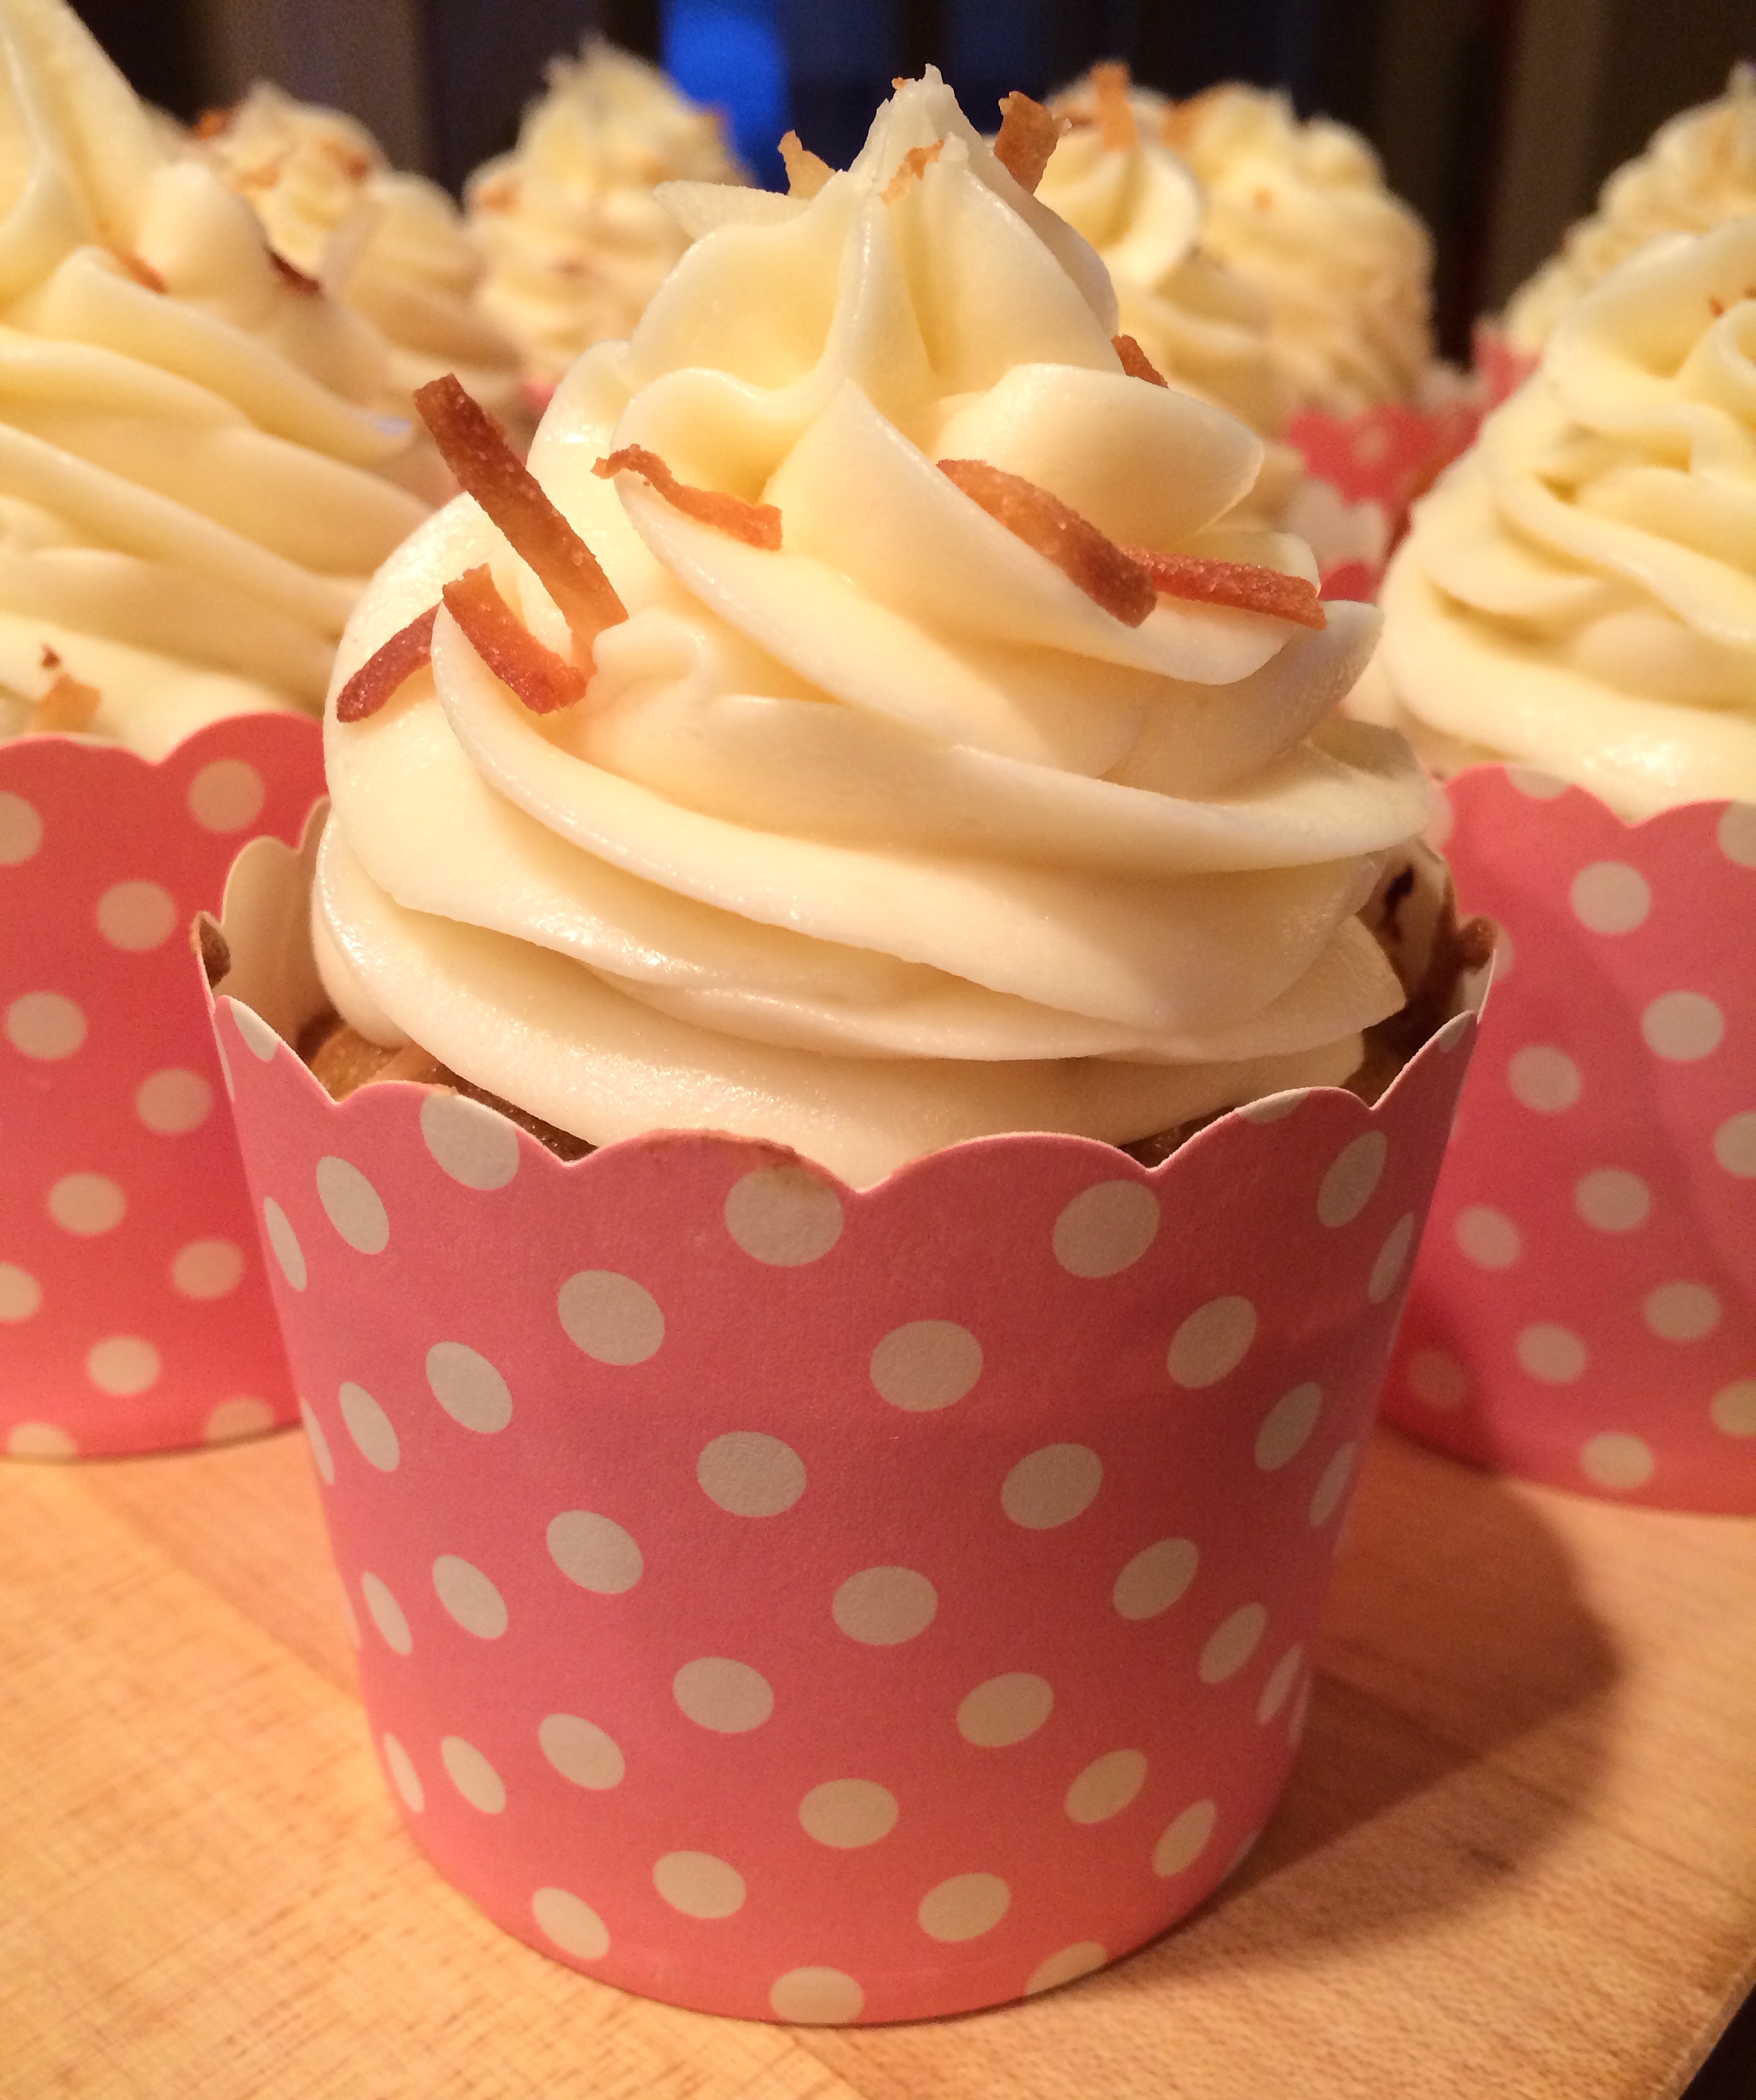
2-3 tbsp Toasted Shredded Coconut – Optional

Note: I love coconut and wanted to add as a garnish! You could even add sprinkles.

Cupcake carrot

Directions:

1. Preheat oven to 350 degrees. Line cupcake pan. Makes about 18-20 cupcakes.

2. In a large bowl, combine flour, sugar (2 cups), baking powder, baking soda, cinnamon, and salt.

3. In electric mixer, mix eggs on medium speed. Add carrots, vanilla, and oil – continue to mix on medium/low speed.

Note: Make sure carrots are finely shred. Long thick pieces are no good.

4. Once egg mixture is combined add flour mixture. Continue to mix on medium speed.

Note: Do not fill cupcake liners before the filling is made.

Pineapple Filling:

1. In electric mixer, beat cream cheese and sugar (2 tbsp) until combined.

2. Add egg yolk and salt. Continue to beat on medium/high speed.

3. Fold in pineapple.

Filling cupcake liners-

4. Add 1 tbsp of cupcake mix.

5. On top of the cupcake mix, add 1 tsp of pineapple filling.

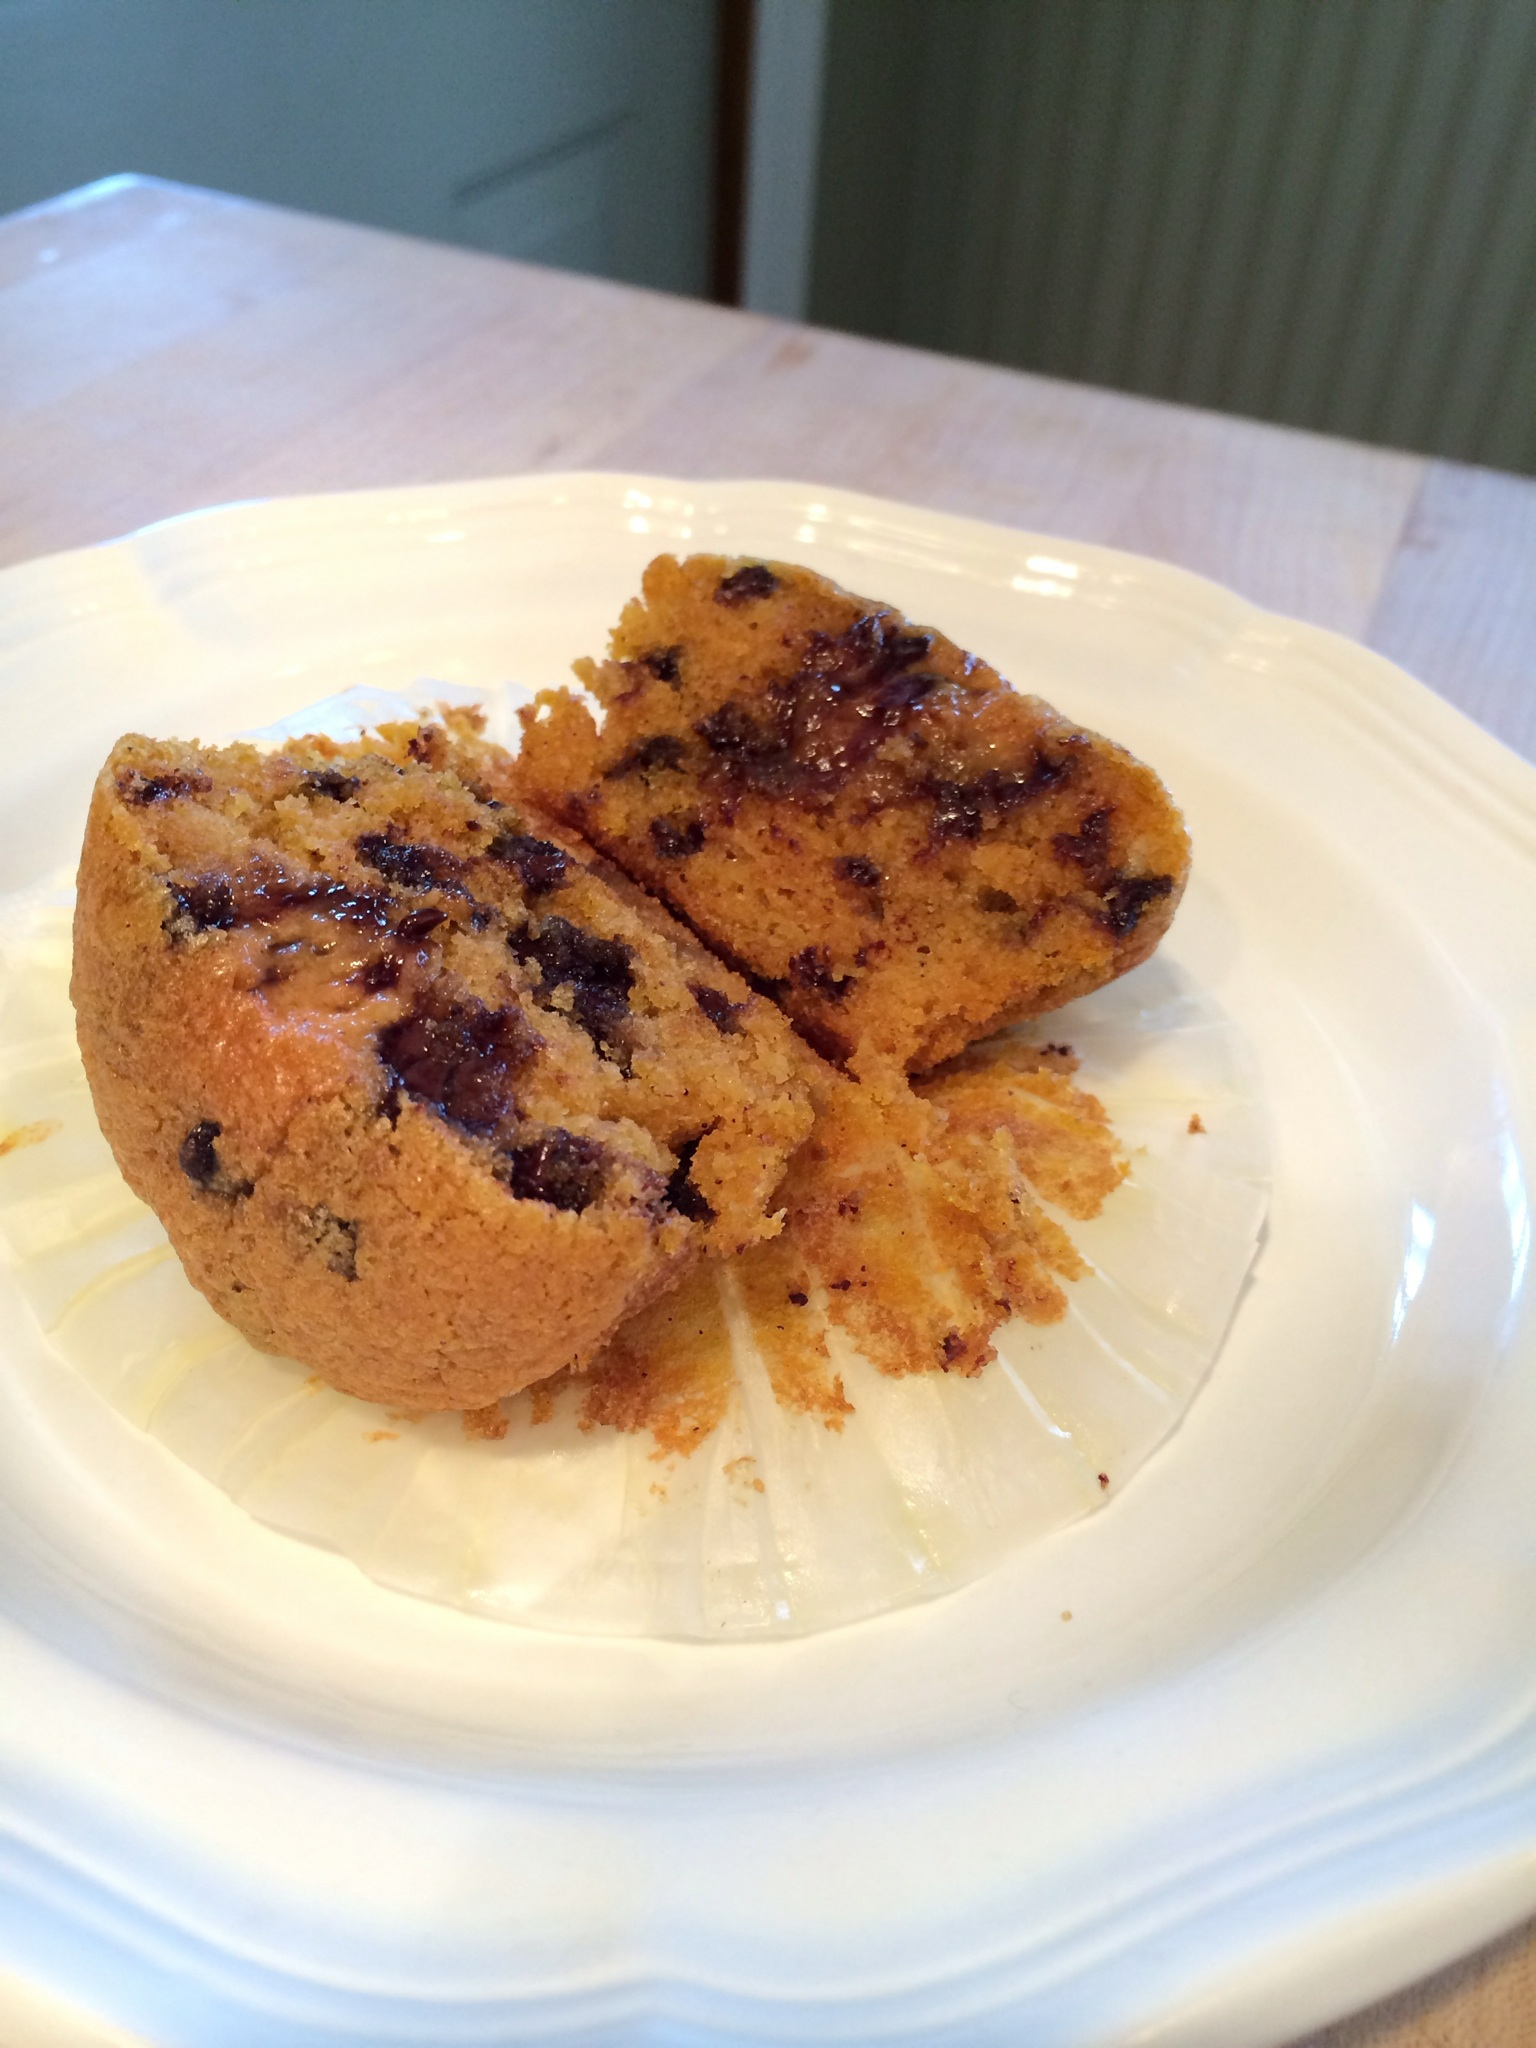
6. Fill remainder with cupcake mix (over top of pineapple filling) about 2/3 full.

7. Bake for 20 minutes. Allow cupcakes to cool before frosting.

Cream Cheese Frosting:

1. In electric mixer, add cream cheese and butter. Beat until combined and smooth.

2. Add powdered sugar one cup at a time. Mix on medium/high speed until creamy.

3. Add vanilla extract and continue to mix.

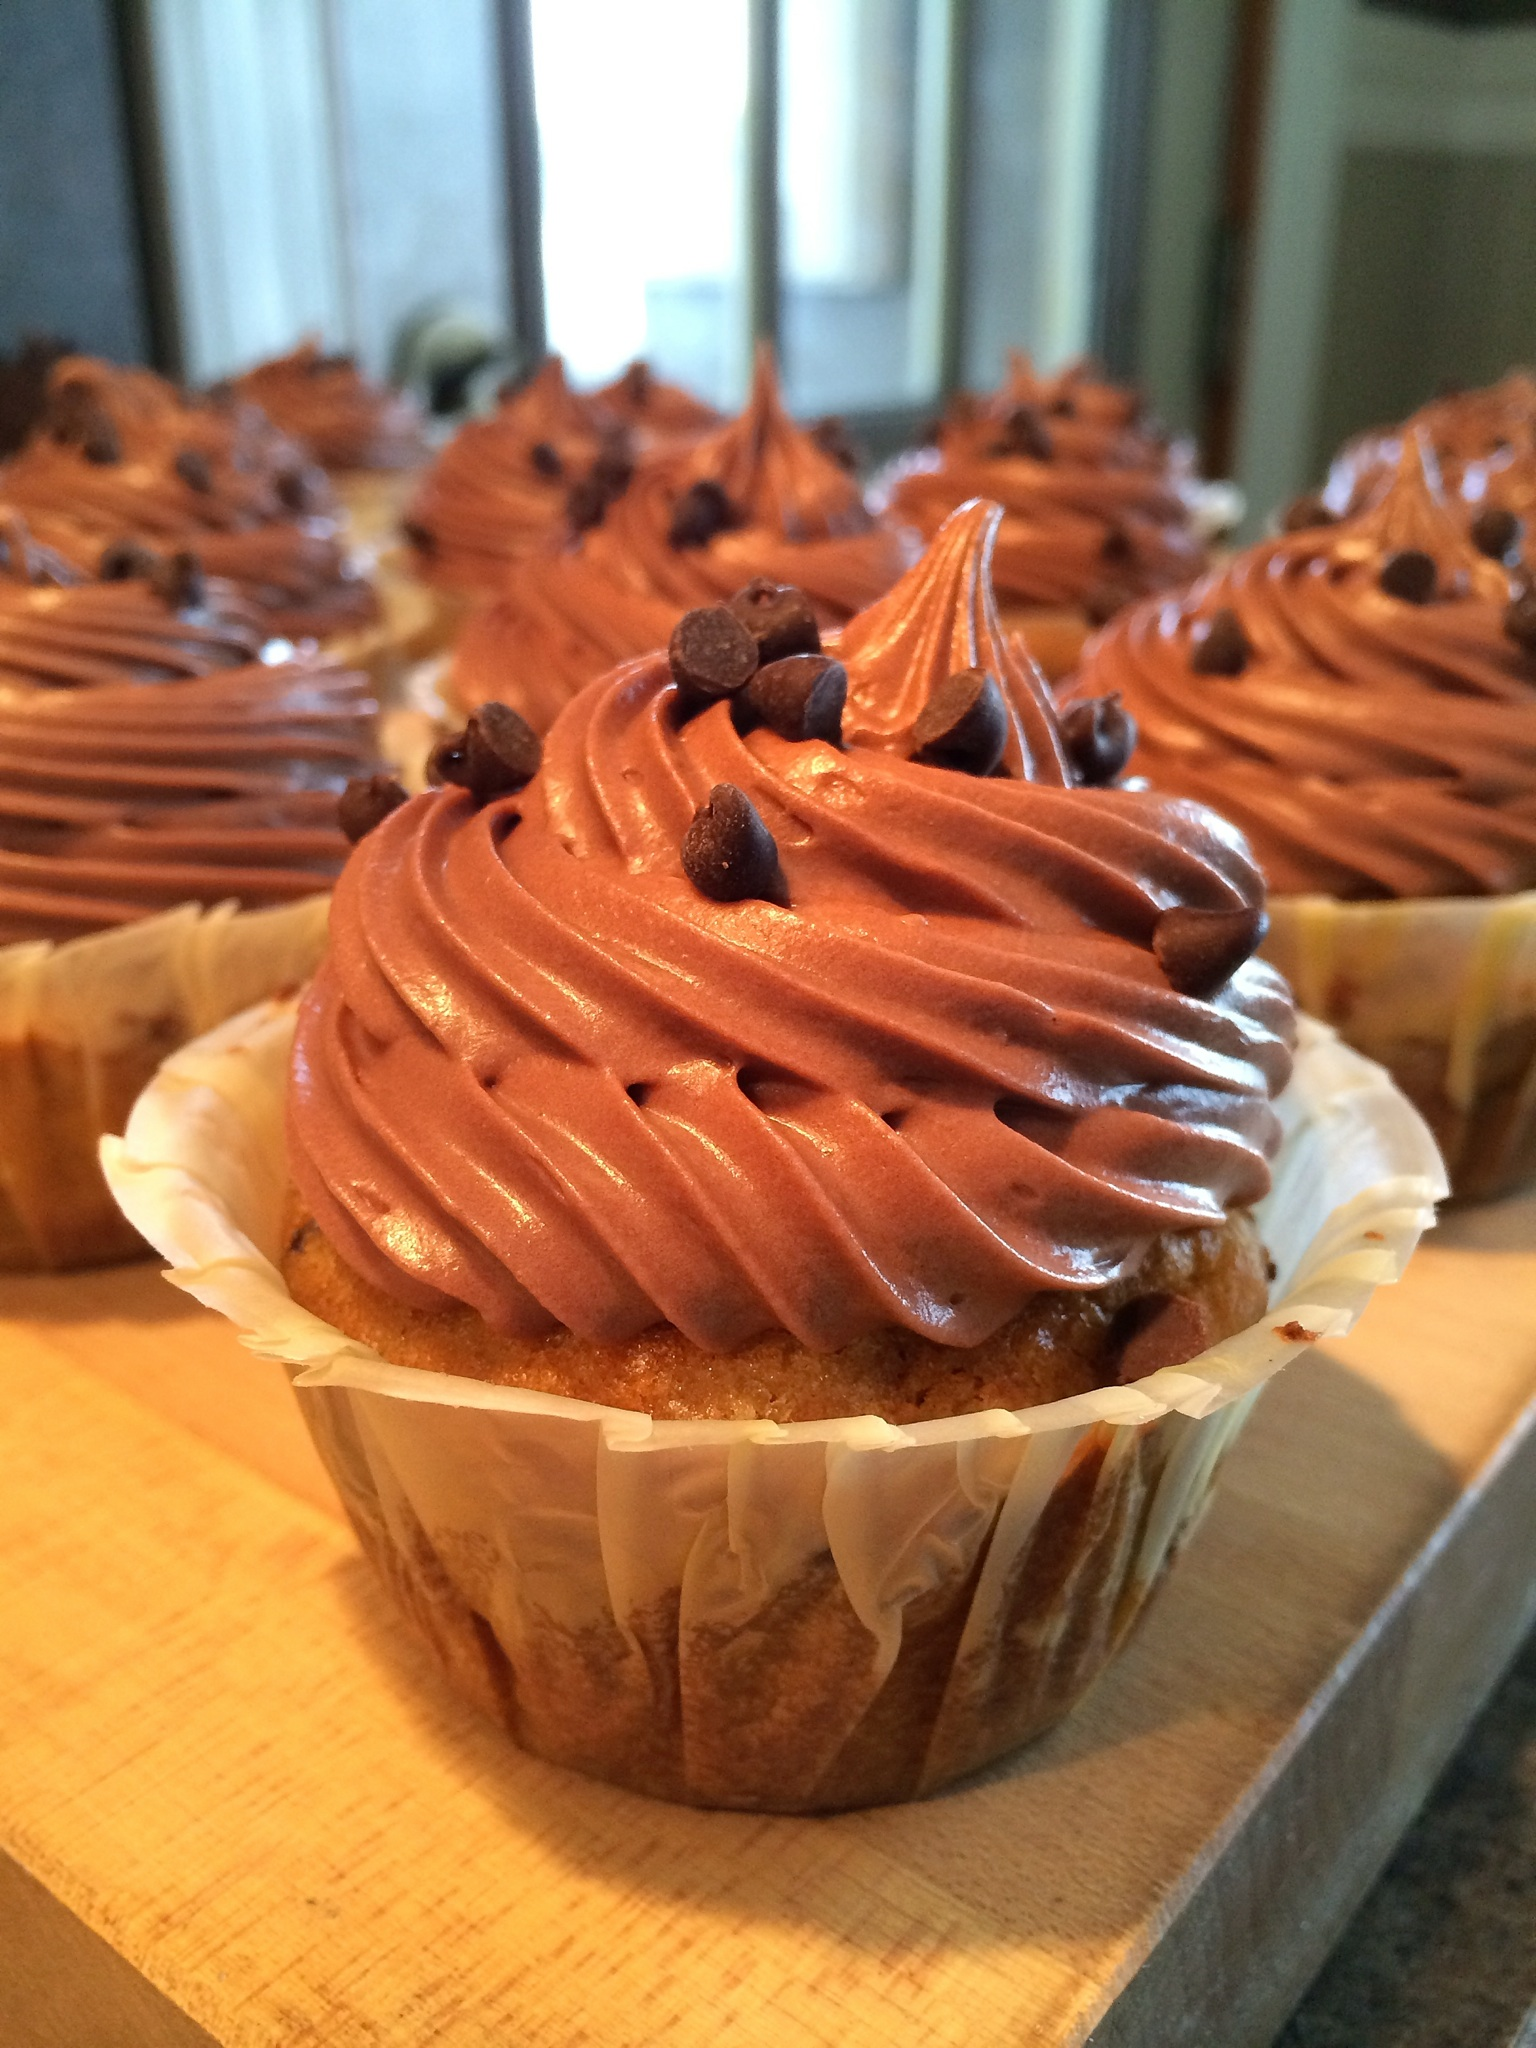
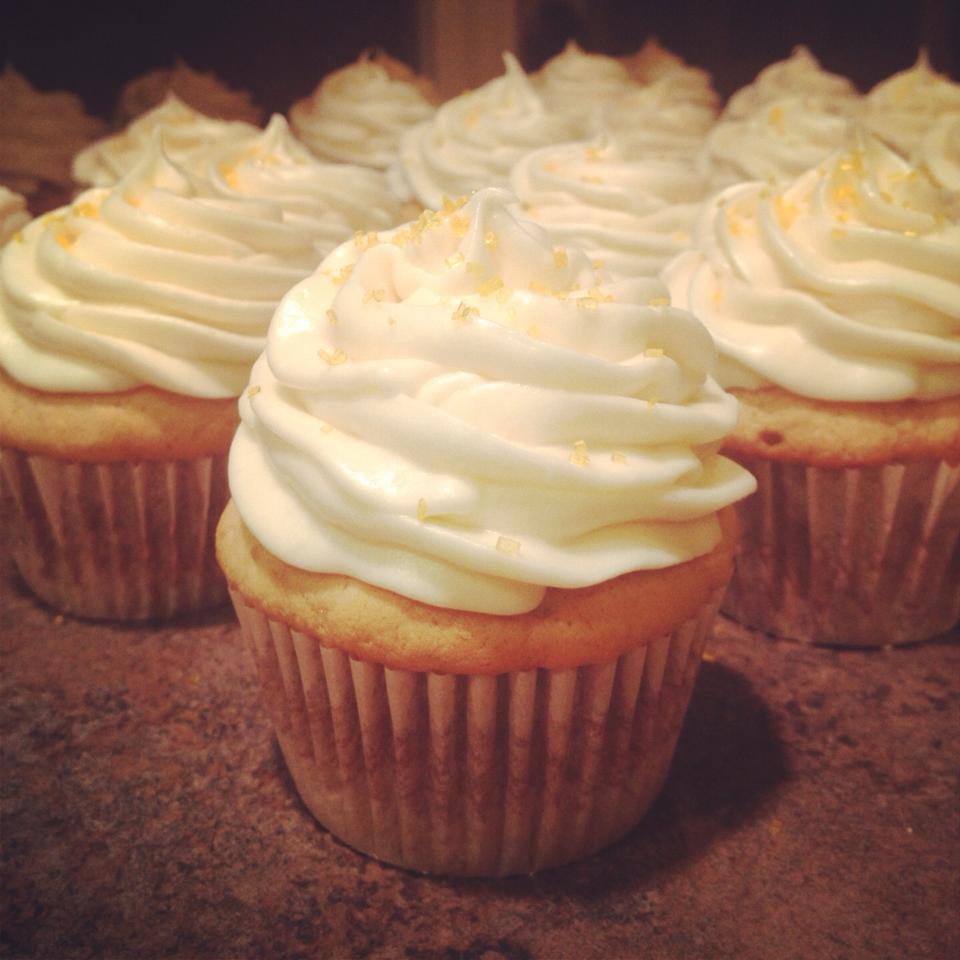
4. Once everything is combined – frost your cupcakes! But make sure they’re cool!

Toasted Coconut: (2 Methods)

Oven Method-

1. Set oven to 325 degrees. Should take about 5-6 minutes to toast coconut.

2. Place coconut on a cookie sheet. Make sure to spread it out.

3. Stir every couple minutes to prevent the coconut from burning. Should be slightly browned.

4. Remove from oven and allow to cool for a few minutes.

Stove Top Method-

1. Place coconut in a skillet oven medium heat.

2. Stir frequently until coconut is slightly browned.

3. Remove from heat and transfer to bowl or plate. Allow to cool.

plate cupcake carrot

These cupcakes are great with Easter right around the corner. Enjoy this recipe and have fun!

ani heartThis princess is already licking her lips! Tasty cupcakes!

Bayley & Ani

Advertisement

Dark Chocolate Raspberry Cupcakes

Happy Valentine’s Day! These cupcakes are the perfect Valentine’s Day gift for everyone and anyone! I love a chocolate/raspberry combination – definitely one of my all time favorites. This dark chocolate cake is simple, yet rich in flavor. The raspberry curd filling is phenomenal. It’s a sweet, yet slightly bitter curd which adds a special touch. The vanilla buttercream is incredible. If you enjoy a generous amount of vanilla then this is your cupcake. Overall, these chocolate, raspberry, and vanilla flavors work wonderfully together – the perfect combination!

Get ready to make a unique cupcake. I say unique because this isn’t your everyday cupcake. It takes time to develop these powerful flavors and trust me; when you try one you’ll know it was worth it.

Rasp Choc

Ingredients:

1/2 cup Regular Brewed Coffee
1/2 cup Heavy Cream
1 cup Butter
1/2 cup Cocoa Powder (Dark Chocolate Cocoa works great for these dark chocolate cupcakes)
1 tsp Vanilla Extract
2 cups Flour
2 cups Sugar
1 1/2 tsp Baking Soda
3/4 tsp Salt
2 eggs
2/3 cup Sour Cream

Vanilla Buttercream:

1 cup Butter (room temperature)
1 8 oz. package Cream Cheese (room temperature)
2 lbs Powdered Sugar (typically the size of a regular bag)
1/2 cup Heavy Cream
1 tbsp Vanilla Extract
1/8 tsp Salt

Raspberry Curd:

1 stick Butter
2 1/2 cups Fresh or Frozen Raspberries (I used frozen – cheaper & they taste just as great!)
6 Egg Yolks
3/4 cup Sugar
1/8 tsp Salt
2 tbsp Lemon Juice

Note: I suggest making the raspberry curd before the cupcakes because you should cool and refrigerate before filling.

Rasp Choc 3

Directions:

1. Preheat oven to 350 F degrees. Line cupcake pan with liners. Makes about 20-24 cupcakes.

2. In a medium sauce pan, melt butter over medium-low heat. Once melted whisk in cocoa powder until smooth. Add heavy cream, coffee, and vanilla extract and continue to whisk until combined. Heat until a slight simmer. Remove from heat and allow to cool slightly.

3. In a medium-large bowl, whisk flour, sugar, baking soda, and salt.

4. In electric mixer, combine sour cream and eggs. Mix on medium speed.

5. Slowly pour cocoa mixture into egg/sour cream mixture and mix until smooth.

Note: Make sure you add the cocoa mixture slowly! You don’t want to risk cooking the eggs. I spaced it out between three minutes.

6. Once cocoa mixture and egg/sour cream mixture is combined begin adding flour mixture. Add flour mixture in three parts. Mix until smooth and creamy.

Note: Remember to scrap down sides periodically.

7. Fill cupcake cups and bake for 18-20 minutes.

8. Let cool in cupcake pan for a few minutes before removing.

Vanilla Buttercream:

1. In electric mixer, cream butter and cream cheese on medium/high speed.

2. Begin adding powdered sugar one cup at a time. Mix on medium/high speed.

3. Add vanilla extract and salt.

4. Add heavy cream and continue to mix on medium/high speed until creamy and smooth.

Raspberry Curd:

1. Melt butter in medium sauce pan over medium heat.

2. Add sugar, raspberries, egg yolks, and salt. Stir constantly until sugar is dissolved and raspberries are completely broken down.

3. Cook at a low simmer for 10 minutes or until mixture has thickened.

4. Add lemon juice.

5. Strain mixture through a coarse strainer over a medium bowl. Press as much liquid out of the mixture. Goal is to separate the liquid from the seeds.

6. Let curd cool for an hour or two before covering and refrigerating.

Rasp Choc 2

Note: I used Ghirardelli dark chocolate squares for garnish! They’re perfect for a finishing touch.

I hope you enjoy this recipe as much as I did! Once you make it the first time I guarantee you’ll be getting requests real soon!

Ani cupcakes

Ani in her lovely cupcake apron!

My little helper and I hope you have fun baking! We’ll be thinking about our next recipe!

Bayley & Ani

Pumpkin Chocolate Chip Cupcakes

I’ll be honest, I’m not a huge fan of pumpkin pie. During the holidays you best believe you’ll come across countless numbers of pumpkin pies. Rarely do I venture down that road, no thank you. A Pumpkin Chocolate Chip Cupcake? Yes please. Although I rarely enjoy a slice of pumpkin pie, I do enjoy this pumpkin cupcake. This cupcake has a nice balance between the mini chocolate chips and the rich pumpkin flavor. The chocolate frosting adds the special kick to top it off. The chocolate/pumpkin combination is super – love this recipe!

P.S. – I love working with pumpkin. It’s easy to cook with, makes the house smell great, and reminds me of fall. If you’re a fall lover, try this recipe asap.

pumpkin cupcake

Ingredients:

1 cup Butter (room temperature)
3/4 cup Brown Sugar (firmly packed)
1/2 cup Sugar
4 eggs
2 cups Flour
1 tsp Baking Soda
1 tsp Baking Powder
1/2 tsp Salt
1/4 Ground Nutmeg
1/4 Ground Cloves
1 1/2 tsp Cinnamon
1 tsp Vanilla Extract
1 15 ounce can Canned Pumpkin
1 cup Mini Chocolate Chips

Chocolate Cream Cheese Frosting:

1 cup Butter
1 8 ounce package Cream Cheese
7 tbsp Unsweetened Cocoa Powder
1 1/2 tsp Vanilla Extract
3-4 cups Powdered Sugar

Straight out of the oven! Still warm!

Straight out of the oven! Still warm!


Directions:

1. Preheat oven to 350 degrees. Line cupcake pan. Makes about 18-20 cupcakes.

2. In electric mixer, beat butter on medium speed until smooth.

3. In a medium bowl mix flour, baking powder, baking soda, salt, nutmeg, cloves, and cinnamon. Set aside.

4. Add brown sugar and regular sugar to electric mixer.

Note: Remember to scrap down sides regularly.

5. Add eggs one at a time to electric mixer.

6. Gradually add flour mixture to electric mixer.

7. Add vanilla extract and pumpkin until well combined.

8. Stir in mini chocolate chips.

9. Fill cupcake cups about 2/3 full and bake for 18-20 minutes. Once finished let cool before frosting.

Chocolate Cream Cheese Frosting:

1. Whisk powdered sugar and cocoa in medium bowl. Set aside.

2. In electric mixer, cream butter and cream cheese on medium speed until smooth.

3. Add vanilla and continue to beat on medium speed.

4. Gradually add powdered sugar mixture to electric mixer. Mix until smooth and creamy.

5. Frost your cupcakes!

Note: I used left over mini chocolate chips for garnish. You can use other candy during the fall season!

Have fun!

pumpkin cupcake 2

Enjoy this sweet fall reminder!

– Bayley & Ani

Wheat-Free Dog Biscuits

“Gluten-free”, “grain/corn-free”, “100% natural”, “no artificial coloring/flavors”, “made in the USA.” Don’t these terms excite you? These terms excite me! I think it’s great that our society has focused on improving our dogs’ health. Our animals are a part of our family and they deserve to eat just as well as we do. Fortunately, so many dog food brands give them that opportunity. Isn’t that great!? I’m going to show you how to make your own wheat-free dog biscuits! They’re super easy, super fun, and dogs love them!

Ingredients:
1/2 cup Oatmeal, old fashioned
1/3 cup Applesauce, unsweetened
2 cups Barley Flour
2 tbsp Olive oil
1/3 cup Cheddar Cheese
1/4 cup Parmesan Cheese
3 tbsp Water

(I told you they were easy)

But wait it gets better…

Directions:
1. Preheat oven to 350 degrees. Line baking sheets with a nonstick baking mat or parchment paper; set aside.

2. Put all ingredients in a large mixing bowl, mix together! (manually)

3. Roll out mixture between two sheets of plastic wrap. Once mixture is rolled out, remove plastic wrap and cut out biscuits with your bone-shaped cookie cutter.

4. Place biscuits on baking sheet and place in oven for 30 minutes. Biscuits should be browned and firm.

5. When baking is finished remove biscuits from baking sheet and place on a wire rack to cool.

dog cookies unfinished

This mixture is extremely simple. Took seconds to combine ingredients. Formed very nice!

cookie cutter

After I removed the top layer of plastic wrap. Rolled out nicely!

dog bones

The finished product!

Don’t these dog biscuits look yummy? I think they smelled pretty yummy too because I had a couple furry friends lingering around the kitchen! (even before they came out of the oven!) Unfortunately, Ani wasn’t able to try them because I’m out of town babysitting her two friends, Riley and Sasha! I promise I’ll save you some Ani!

dogs and dog bones

Riley and Sasha were fans of the wheat-free biscuits!

Riley and Sasha loved these biscuits! These are guilt-free dog treats and by guilt-free I’m talking about us! I know we all want to show our pets how much we love them and sometimes we use treats to show our love. These treats are healthy, sugar-free, and GUILT-FREE! Now that doesn’t mean we should over feed them, but it’s nice knowing that we’re loving our pet and keeping them healthy at the same time!

I hope your babies enjoy their treats!

Bayley & Ani

Super Easy Banana Cupcakes

I love using Pinterest to find cupcake recipes which is where I found this awesome one for Banana Cupcakes! This recipe is super simple, convenient, and most of all delicious. It’s simple because the ingredients are easy to find. Anything I didn’t already have I found right at my local grocery store. It’s convenient because like I previously said, I found most of the ingredients already in my house! (Inexpensive also!) Lastly, it’s delicious! I think the cupcakes are pretty self explanatory as to why they’re so delicious. Who doesn’t like bananas?

cupcake

Ingredients:
2-2/3 cups of All Purpose Flour
1 1/4 tsp Baking Soda
1/2 tsp Salt
1 1/2 sticks of Butter – room temperature
1 cup Light Brown Sugar
3/4 cup Sugar
2 Eggs
1 1/2 tsp Vanilla Extract
2 Bananas, mashed (ripe bananas)
1/2 cup Buttermilk
1 cup Coconut (shredded) – I didn’t use coconut because I knew someone with a coconut allergy – perfect with or without

Directions:
1. Pre-heat your oven to 350 degrees F. Whisk your flour, baking soda, & salt into a medium bowl. Set aside.

2. In a large mixing bowl (LOVE my KitchenAid Stand Mixer) beat butter. Add sugar and beat for a few minutes. Add eggs, one at a time at low speed, then add vanilla. This mixture should look smooth – now add your mashed bananas.

3. Now begin adding flour mixture (dry ingredients) and buttermilk alternatively, beginning and ending with your dry ingredients.

4. Begin filling your cupcake cups (about 2/3 full). You should fill about 18-20 cupcake cups. Bake for about 18 minutes.
helpful hint: I prefer using PaperChef Culinary Parchment Large Baking Cups! Nothing sticks – awesome!

5. Once removed from the oven and cupcake pan let cool completely before frosting – trust me it’ll slide right off!

Note: I have tweaked this recipe to make it my own!

What’s a cupcake without the frosting, right? I made a Cream Cheese Frosting which is by far my favorite and the easiest frosting to make. This frosting is perfect for this Banana Cupcake recipe because it doesn’t overpower the banana flavor. People have asked why I didn’t think to use a banana frosting. I think a banana frosting takes away from the fresh banana taste!

So you’re almost there… I bet you’re excited for the finished product! I promise you’ll go back for more.

Cream Cheese Frosting:

Ingredients:
1 stick Butter – room temperature
1 8 oz package of Cream Cheese – room temperature
2-3 cups of Powdered Sugar
1 tsp Vanilla Extract

helpful hint: Remember any brand of cream cheese and butter works! I use my market’s store brand. Less expensive for the same great product.

Directions:
1. Using your electric mixer, beat butter and cream cheese until creamy, about 3-4 minutes. Don’t forget to scrape down the sides of the mixing bowl periodically.

2. Add vanilla and continue mixing. Slowly begin adding powdered sugar at a low speed. Trust me it will fly everywhere if the speed is too high.

3. Once your frosting is thick and creamy (to your desire) begin frosting your cupcakes!

(I added yellow sprinkles just for some color!)

YAY! You’re finished. I hope this recipe worked for you and I hope you enjoy your cupcakes! If anyone has any feedback for me comment below! Thanks!

– Bayley & Ani