Blueberry Pancake Cupcakes!

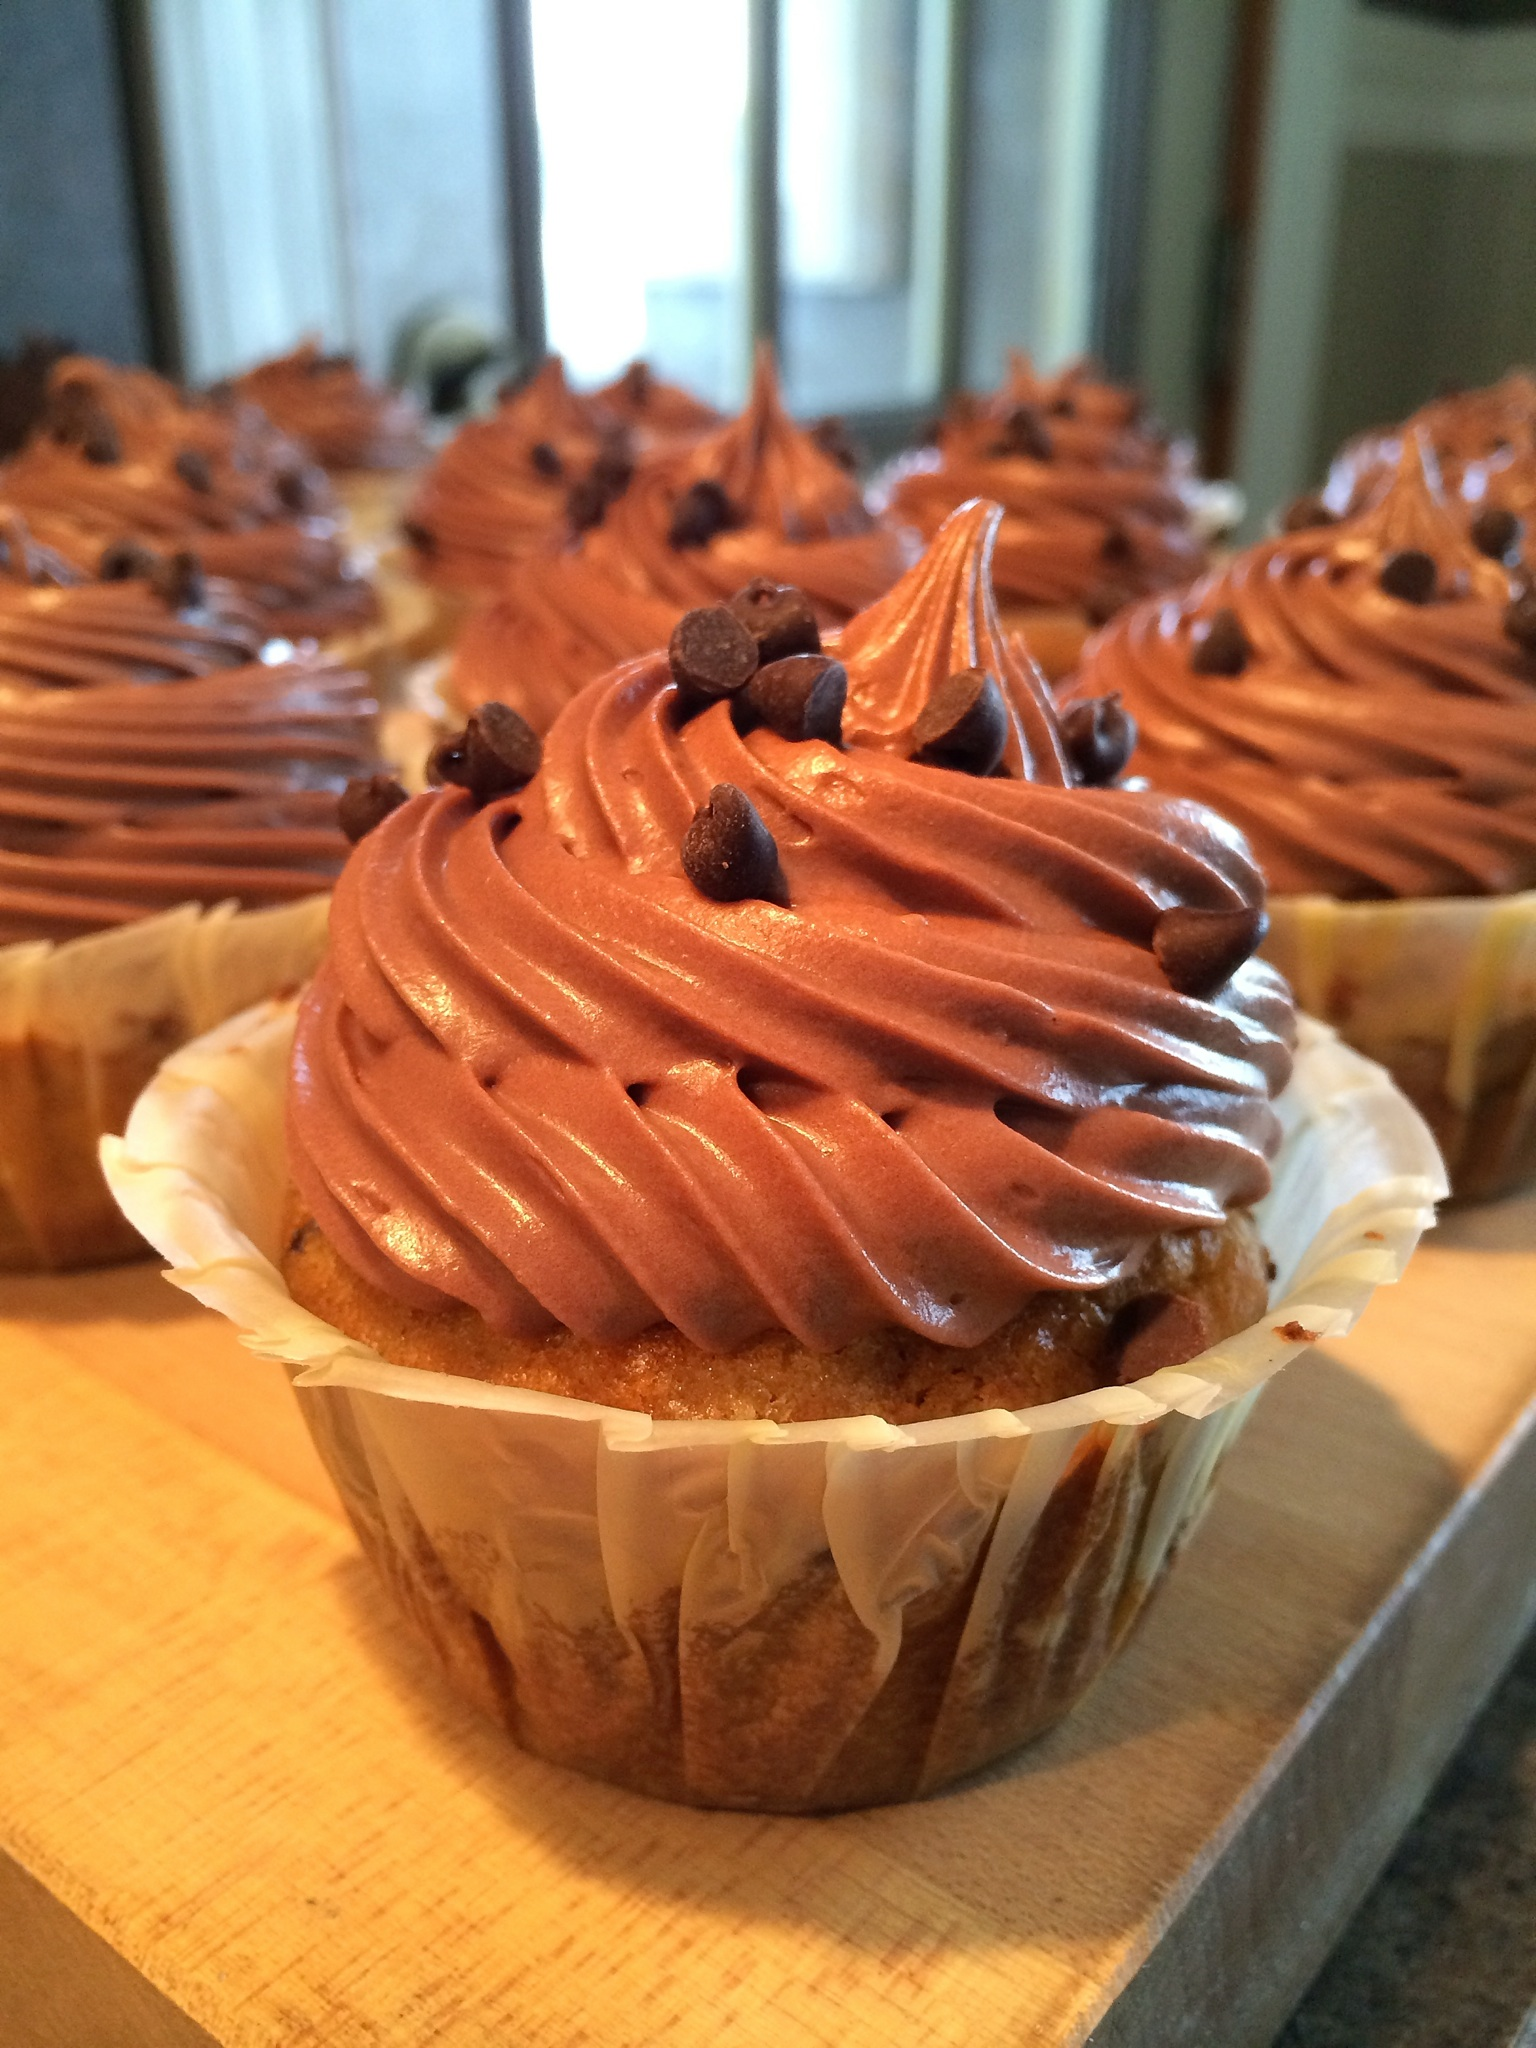
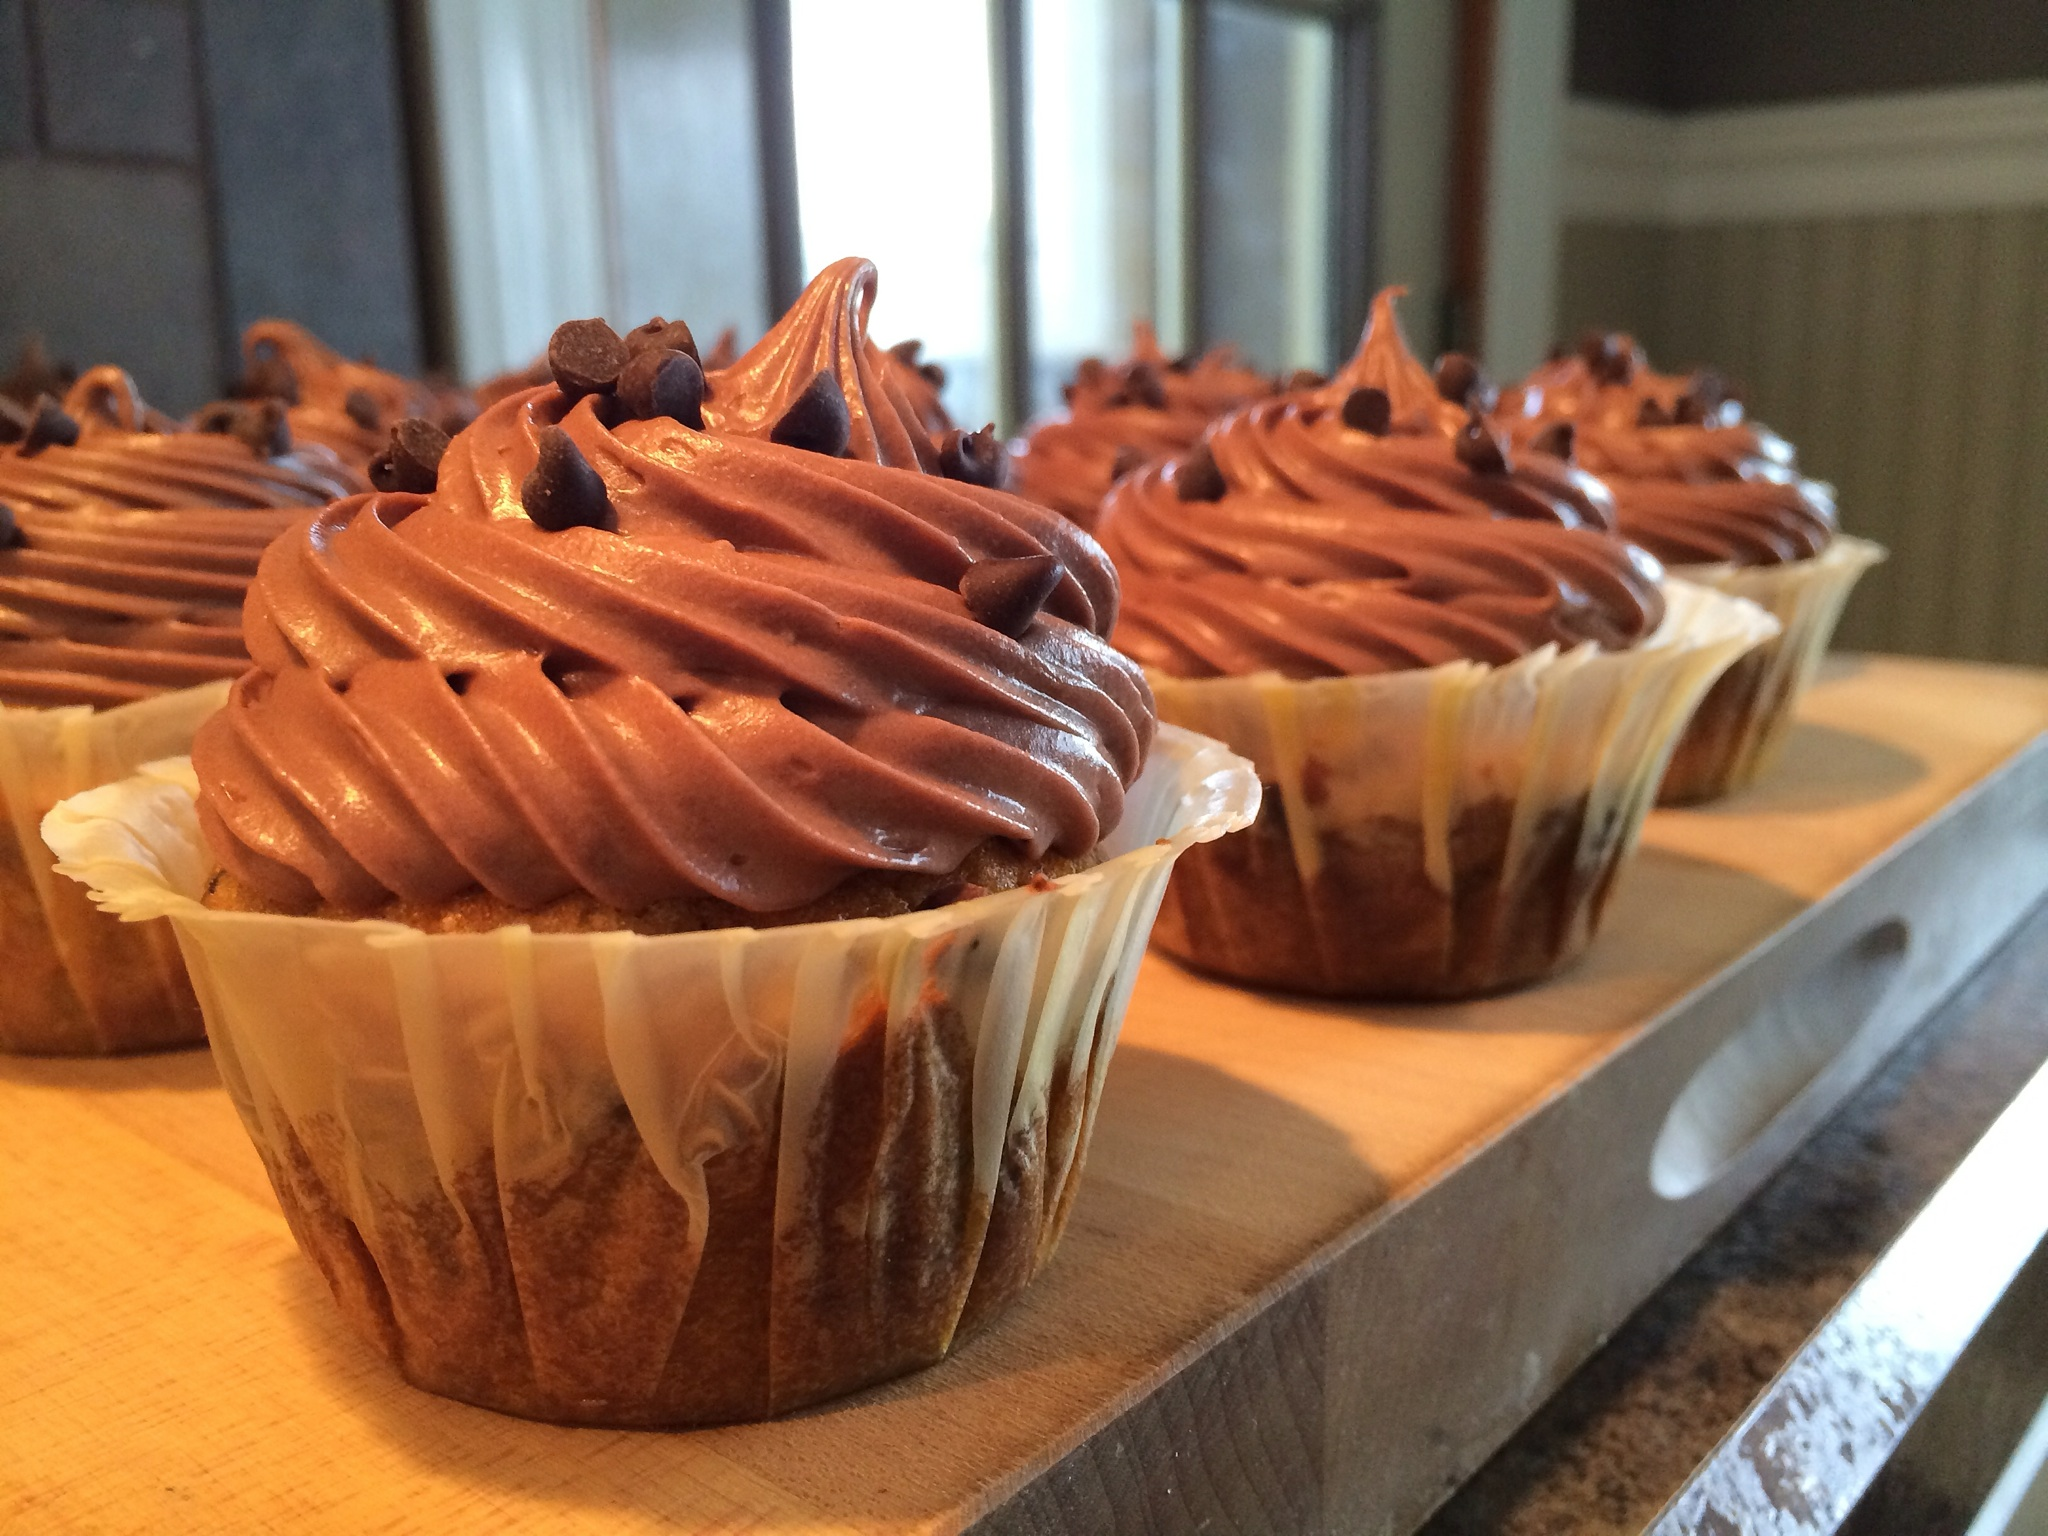
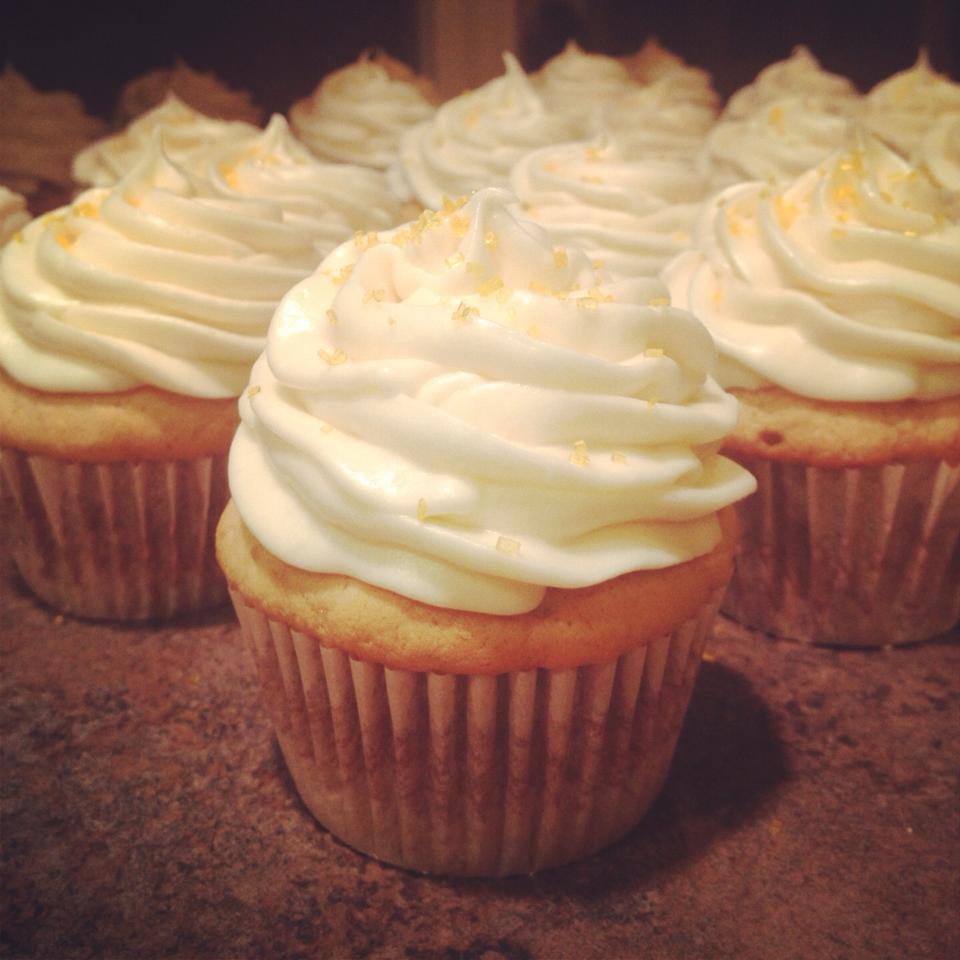
I’m a huge breakfast fan! One place I can always count on satisfying those cravings are my beloved diners. I love diners because I can order breakfast anytime of the day without judgement (well maybe a little judgement from my not-so-breakfast-loving boyfriend) BUT that doesn’t matter because as long as I can order some pancakes there are no worries! Who doesn’t want a tall stack of blueberry pancakes anyway? Blueberry pancakes may be one of my all time favorite breakfast foods which is why I’m extremely excited to introduce this recipe. A blueberry pancake cupcake with maple frosting. Too good to be true? (Can you tell I’m hungry?) With that said – let’s get started with this yet again super simple recipe. I was thrilled I didn’t need to run out to the grocery store for anything. The ingredients are familiar enough that they are probably packed away in your refrigerator and cupboards. Let’s go!

pancake cupcake 1

Ingredients:

1 cup Butter – room temperature
1 1/2 cup Sugar
3 Eggs
2 Egg Whites
3 1/2 cup Flour
1 tsp Baking Soda
1/2 tsp Baking Powder
1 tsp Salt
1 tbsp Cinnamon
1/2 tsp Nutmeg
1 cup Sour Cream
1/3 cup Milk
1 tbsp Vanilla
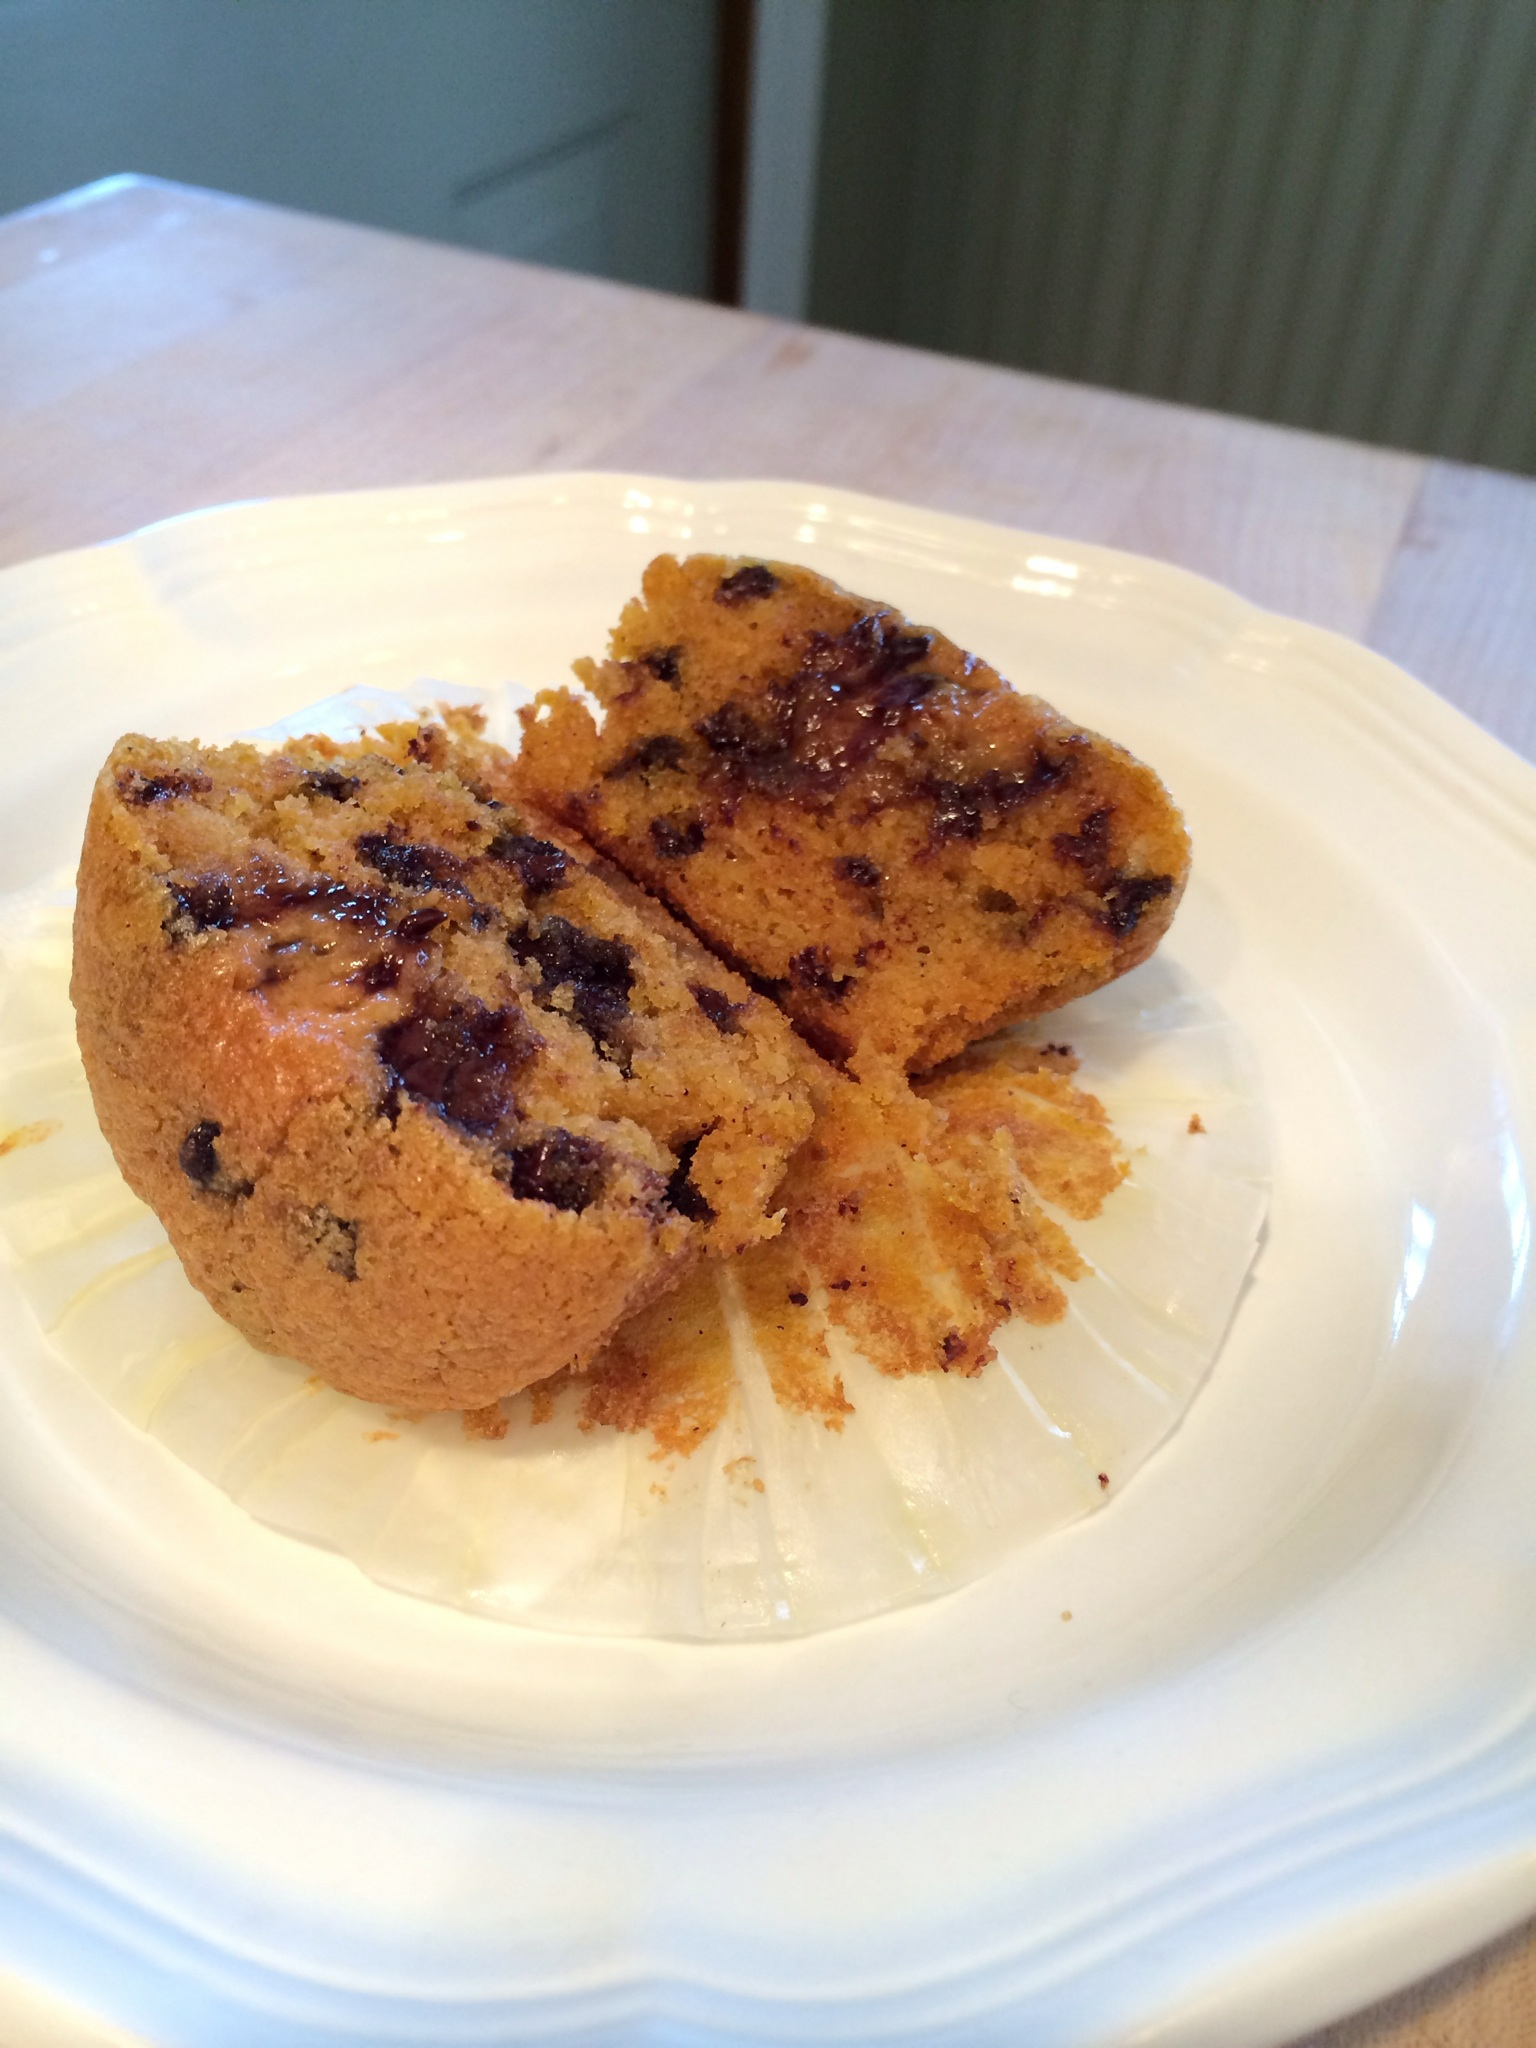
1 1/2 cup Fresh or Frozen Blueberries

Note: I used fresh whole nutmeg and fresh blueberries!

Maple Buttercream Frosting:

2 sticks Butter – room temperature
1 8oz package Cream Cheese – room temperature
4 cup Powdered Sugar
2 tsp Vanilla Extract
1/2 cup Maple Syrup

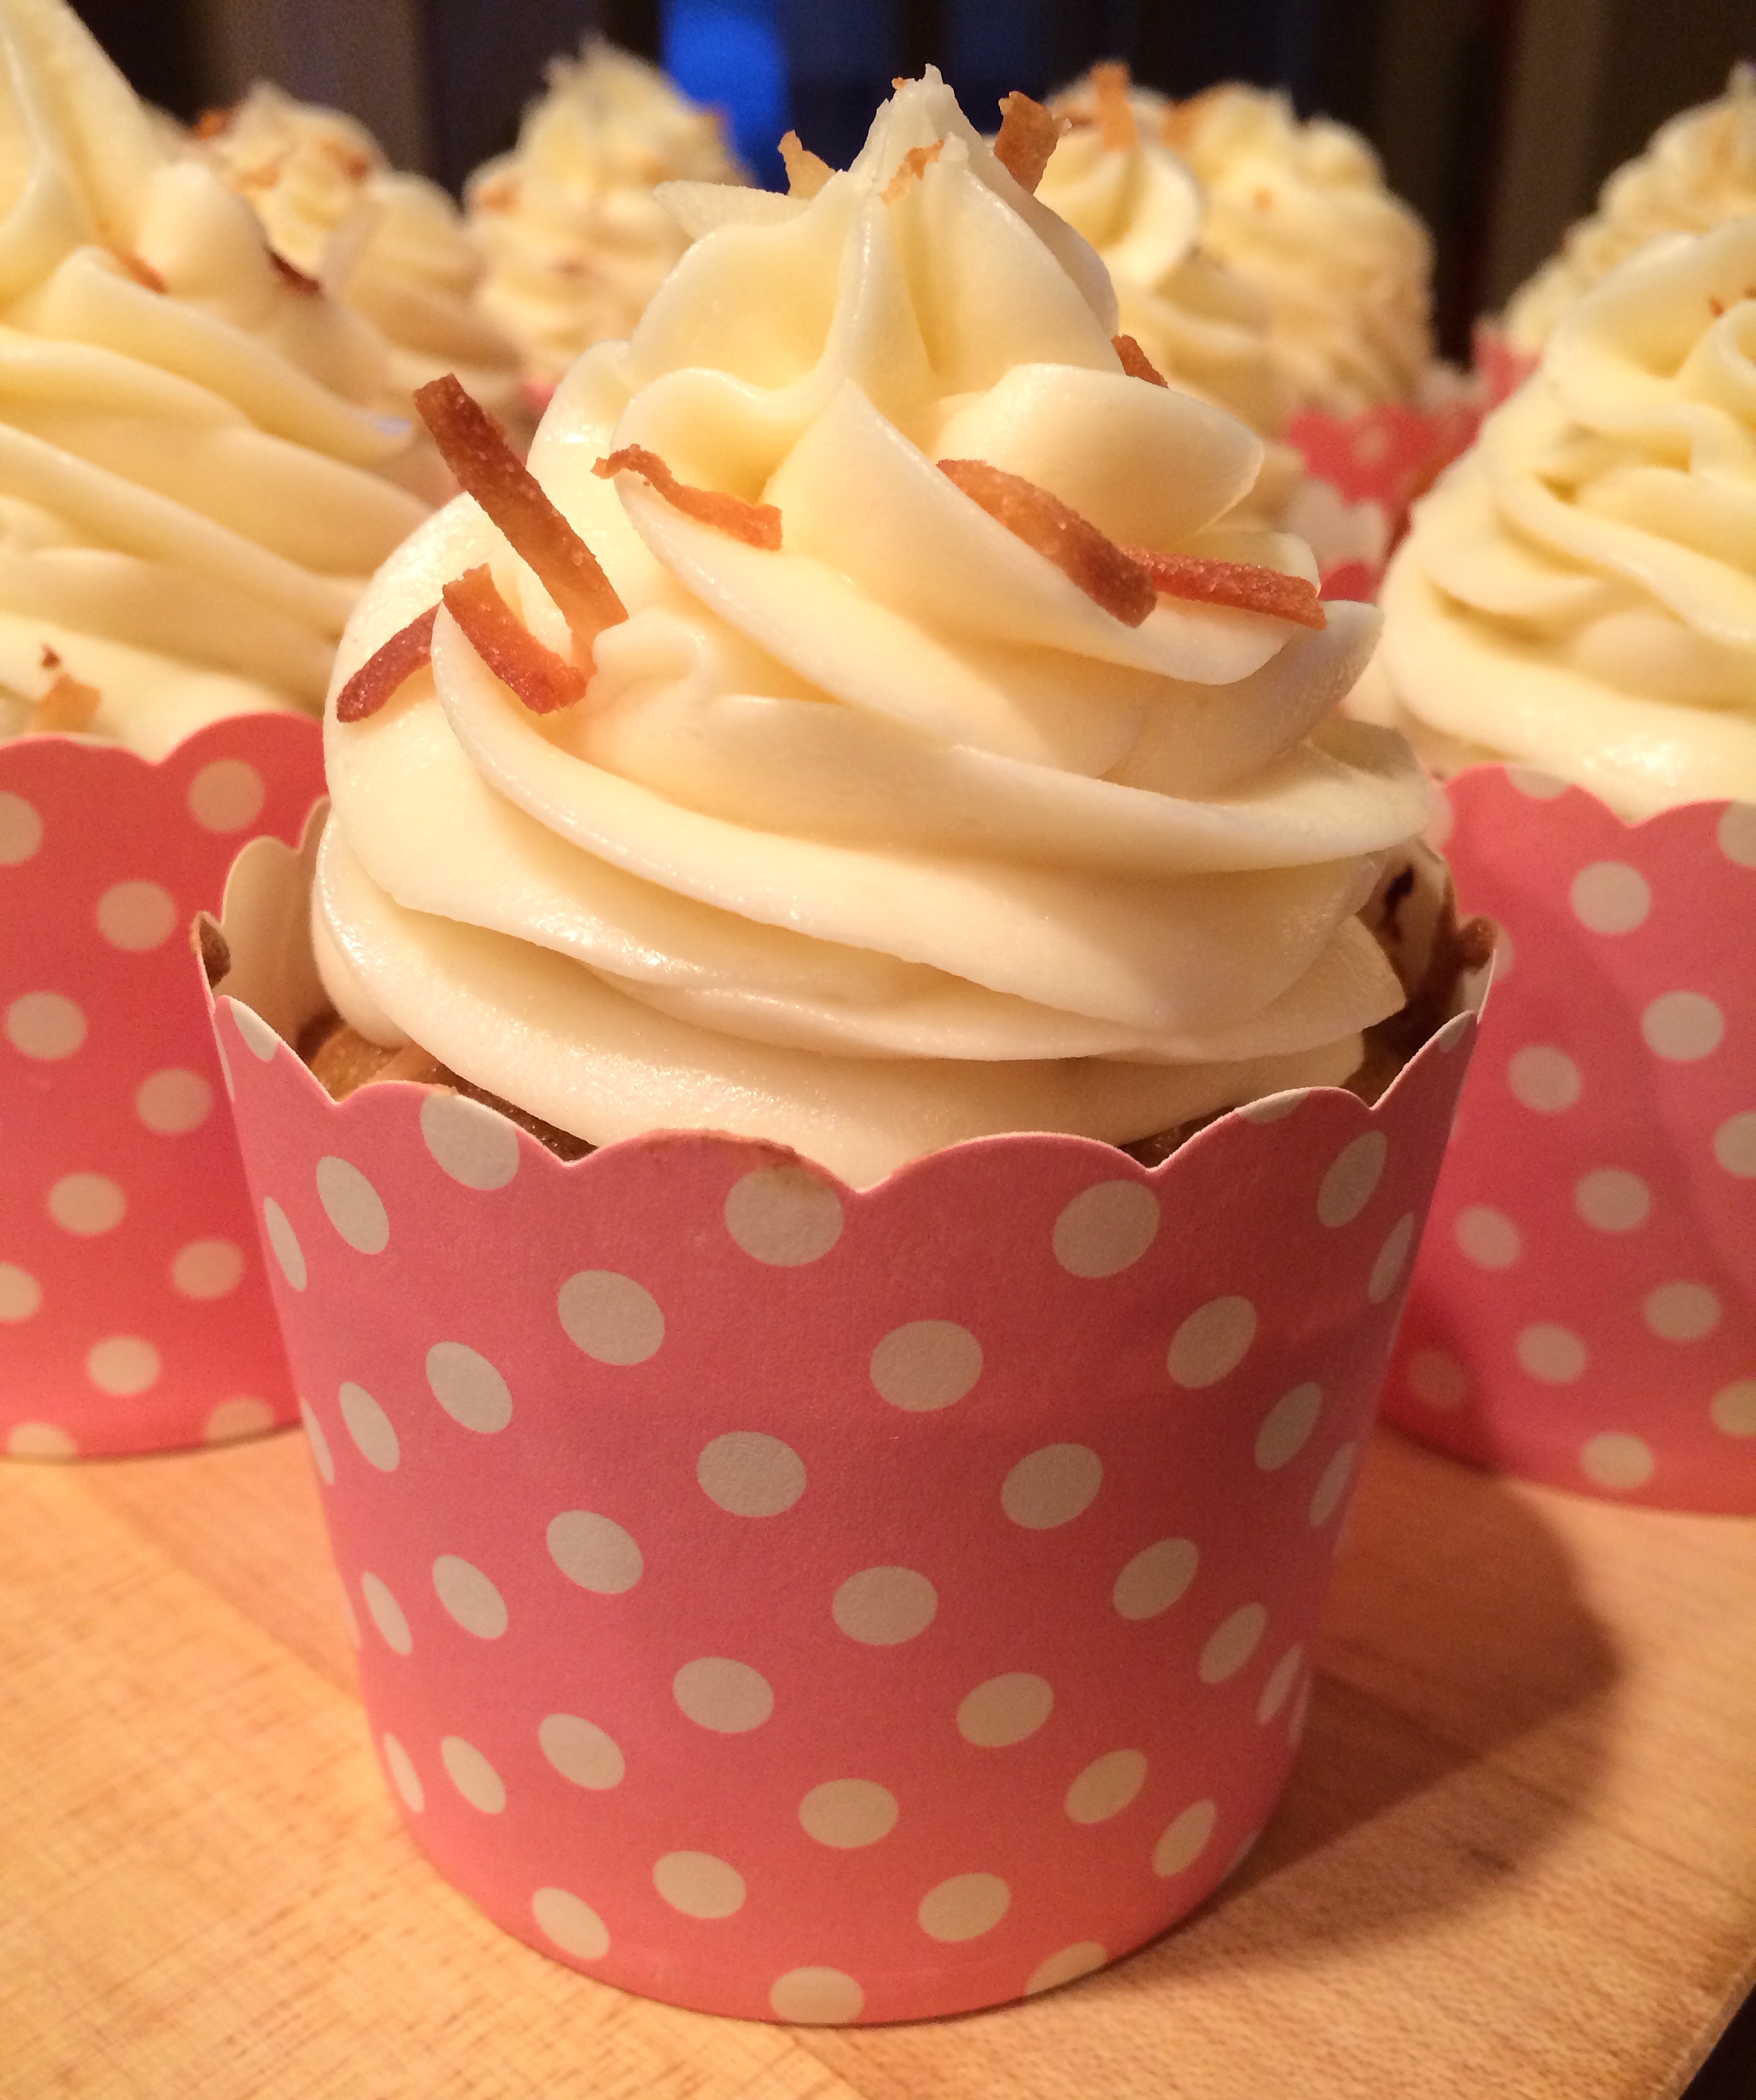
Note: You can add less or more maple syrup depending how strong you’d like the maple flavor! Also, I used fresh blueberries and cinnamon sugar for decoration.

pancake cupcake 2

Directions:

1. Preheat oven to 350 degrees F. Line cupcake pan. Makes a little over 2 dozen cupcakes.

2. In electric mixer, beat butter and sugar until fluffy. Once light and fluffy add eggs and egg whites one at a time until each is fully incorporated.

3. In medium bowl combine flour, baking soda, baking powder, nutmeg, salt, and cinnamon.

4. Combine wet ingredients together – milk, sour cream, and vanilla. Set aside.

5. Add flour mixture to electric mixer in three additions, alternating with milk, sour cream, and vanilla.

6. Fold blueberries into mixture.

7. Fill cupcake cups about 2/3 full. Bake for 16-18 minutes. Allow to cool in pan for 5 minutes before removing. Make sure cupcakes are completely cool before frosting.

Maple Buttercream Frosting:

1. In electric mixer beat cream cheese and butter on medium/high speed until smooth.

2. Add powdered sugar one cup at a time. Continue to mix on low/medium speed.

3. Add maple syrup and vanilla extract. Continue to mix until combined.

4. Make sure cupcakes are cool before frosting.

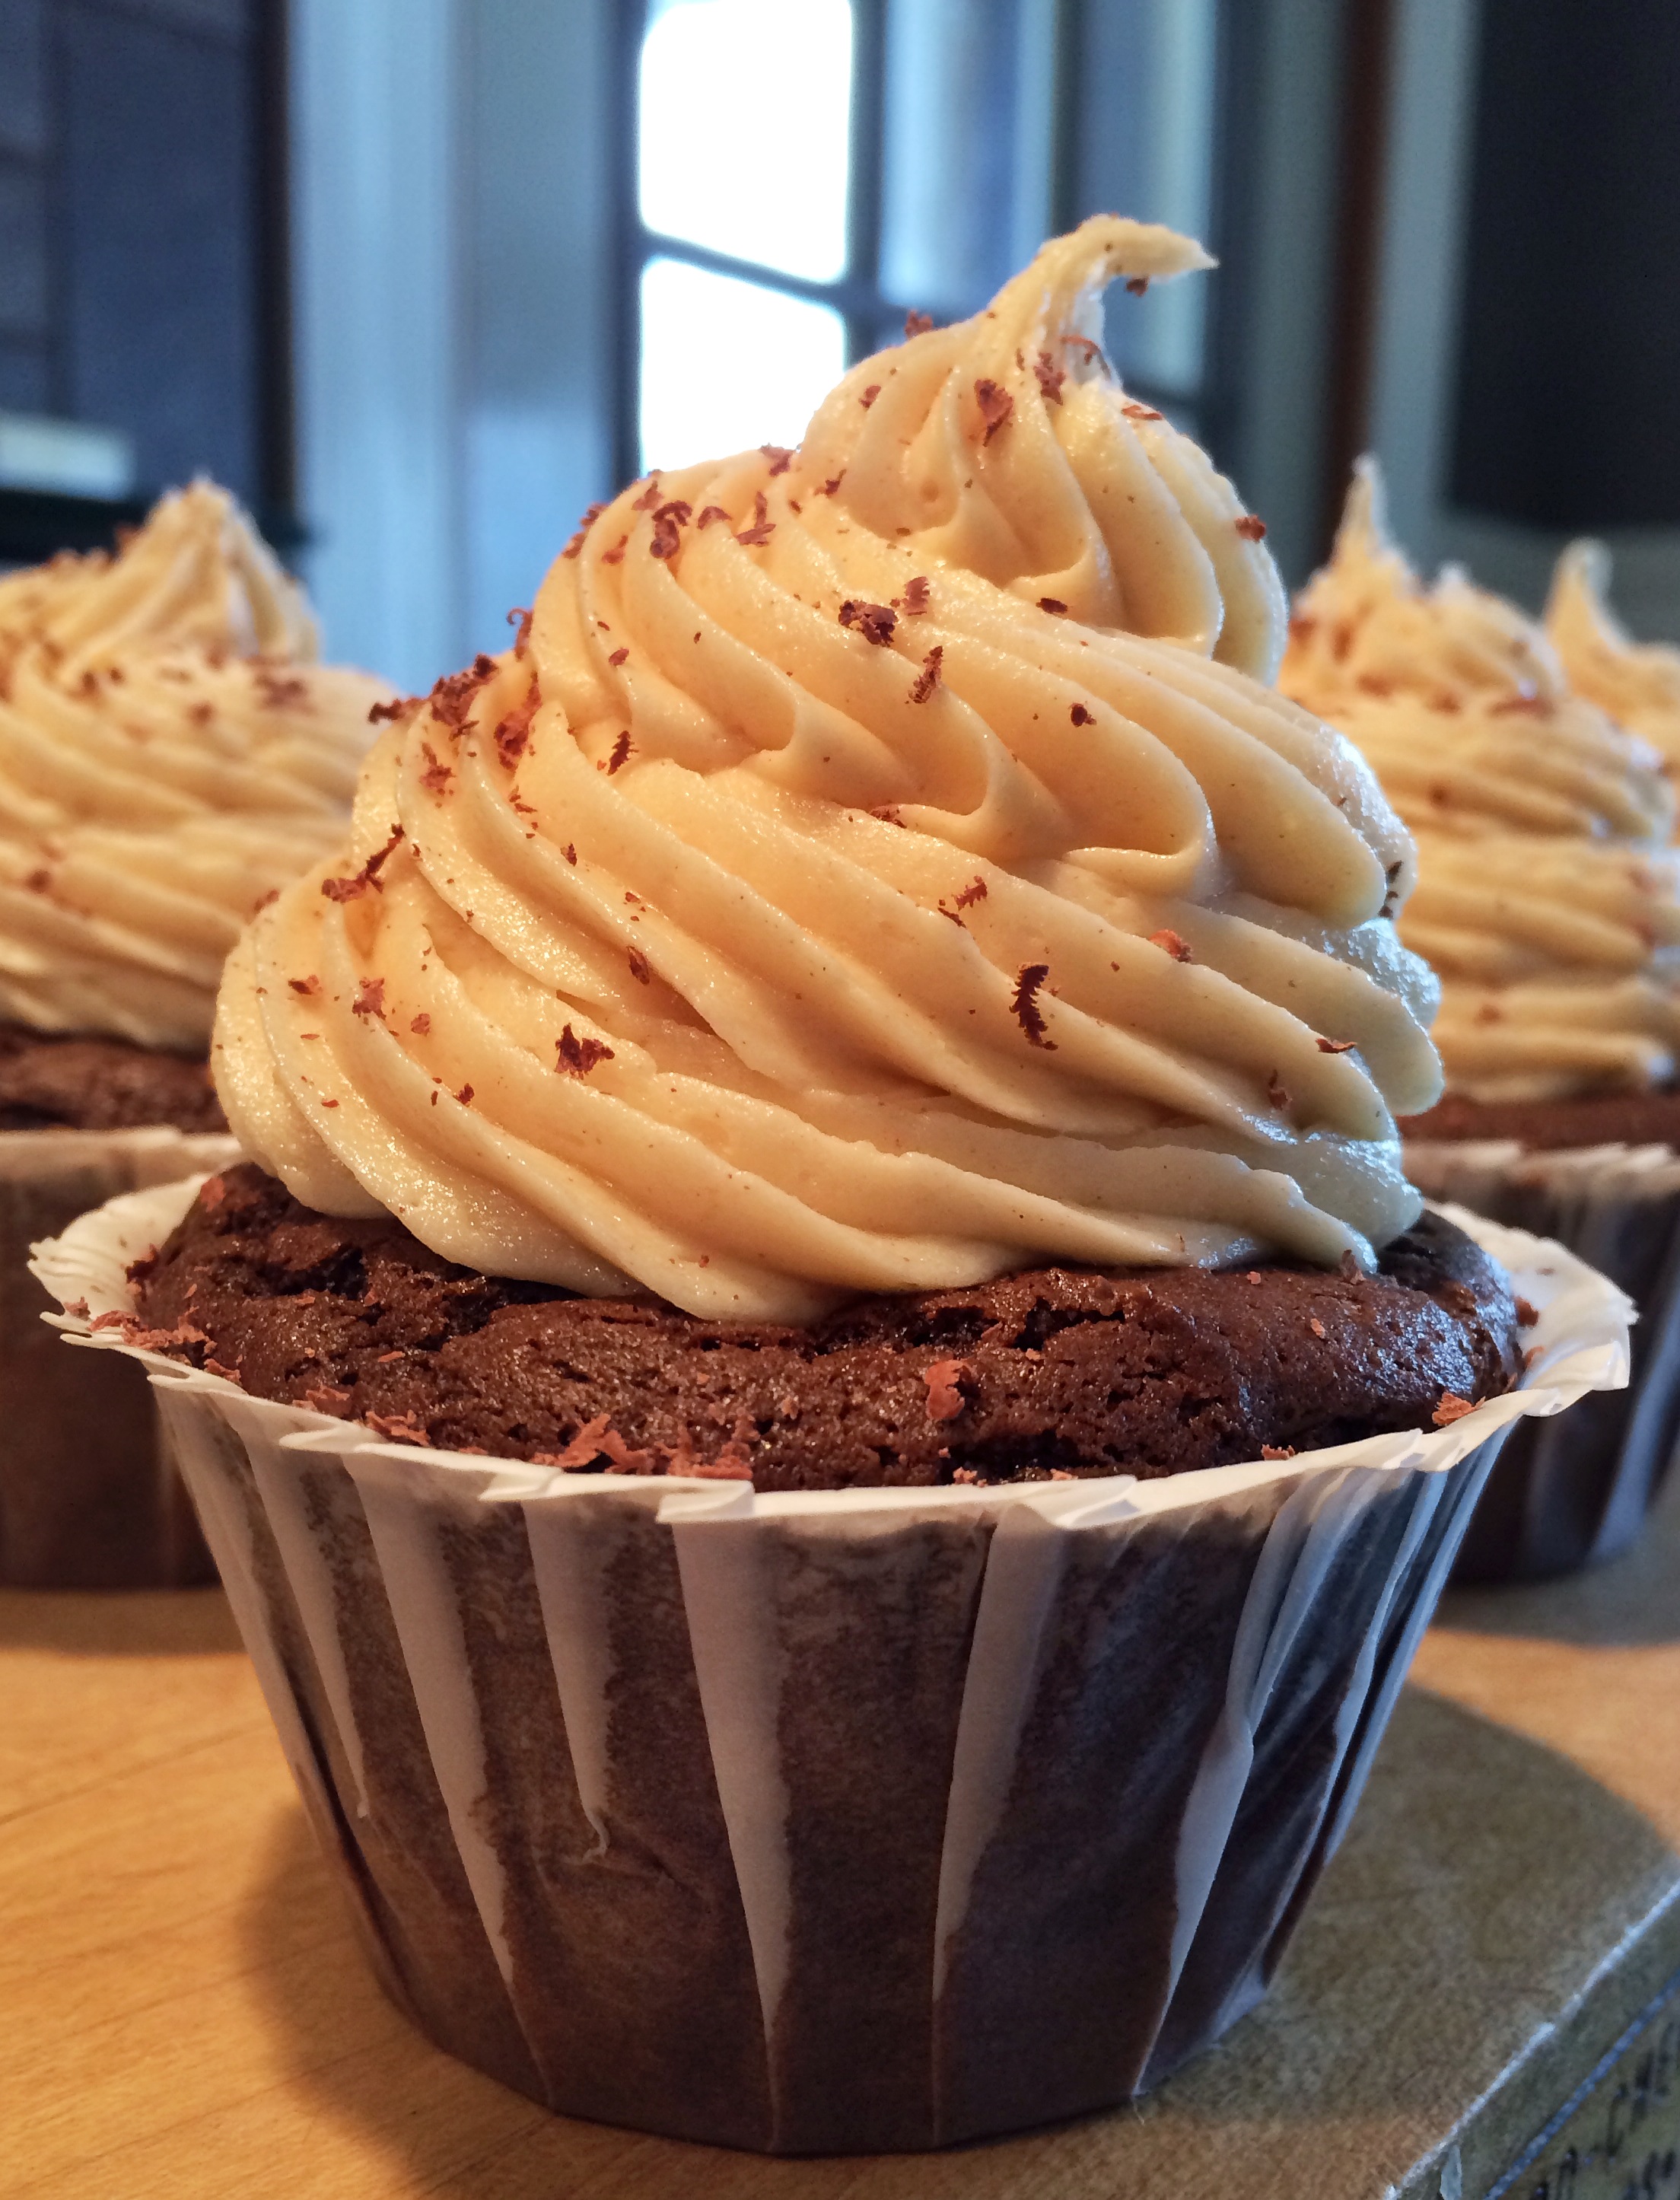
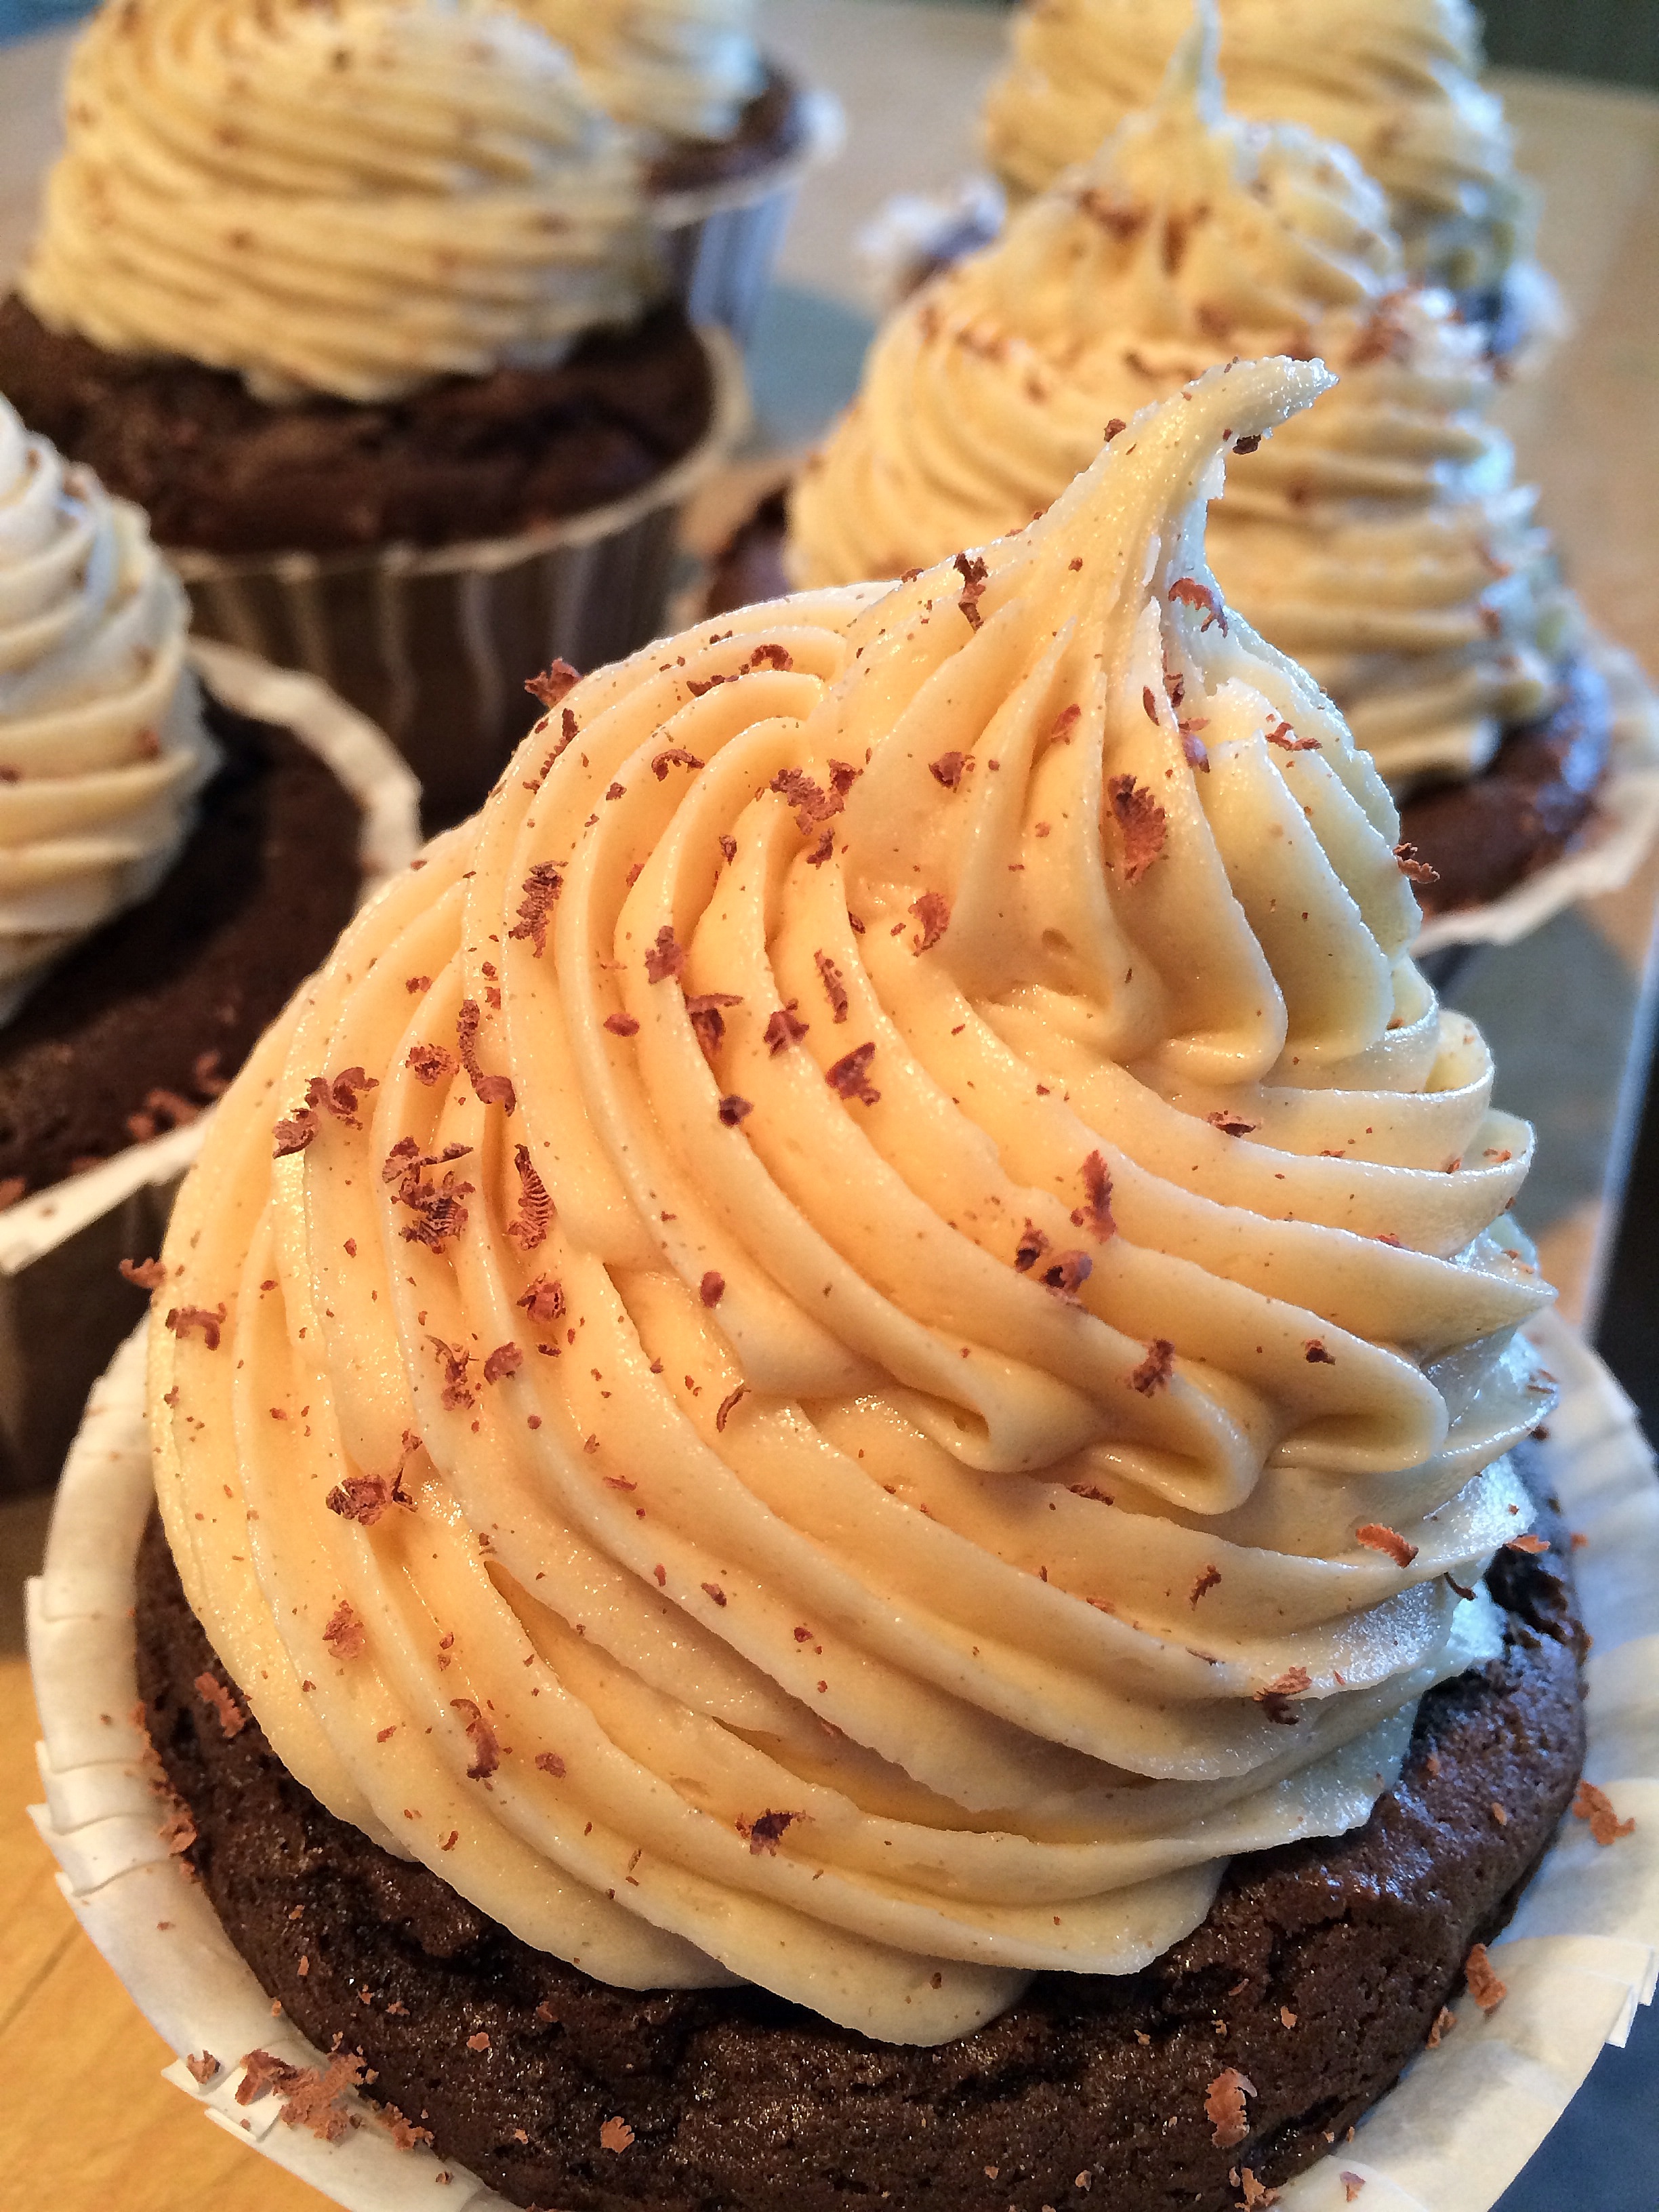
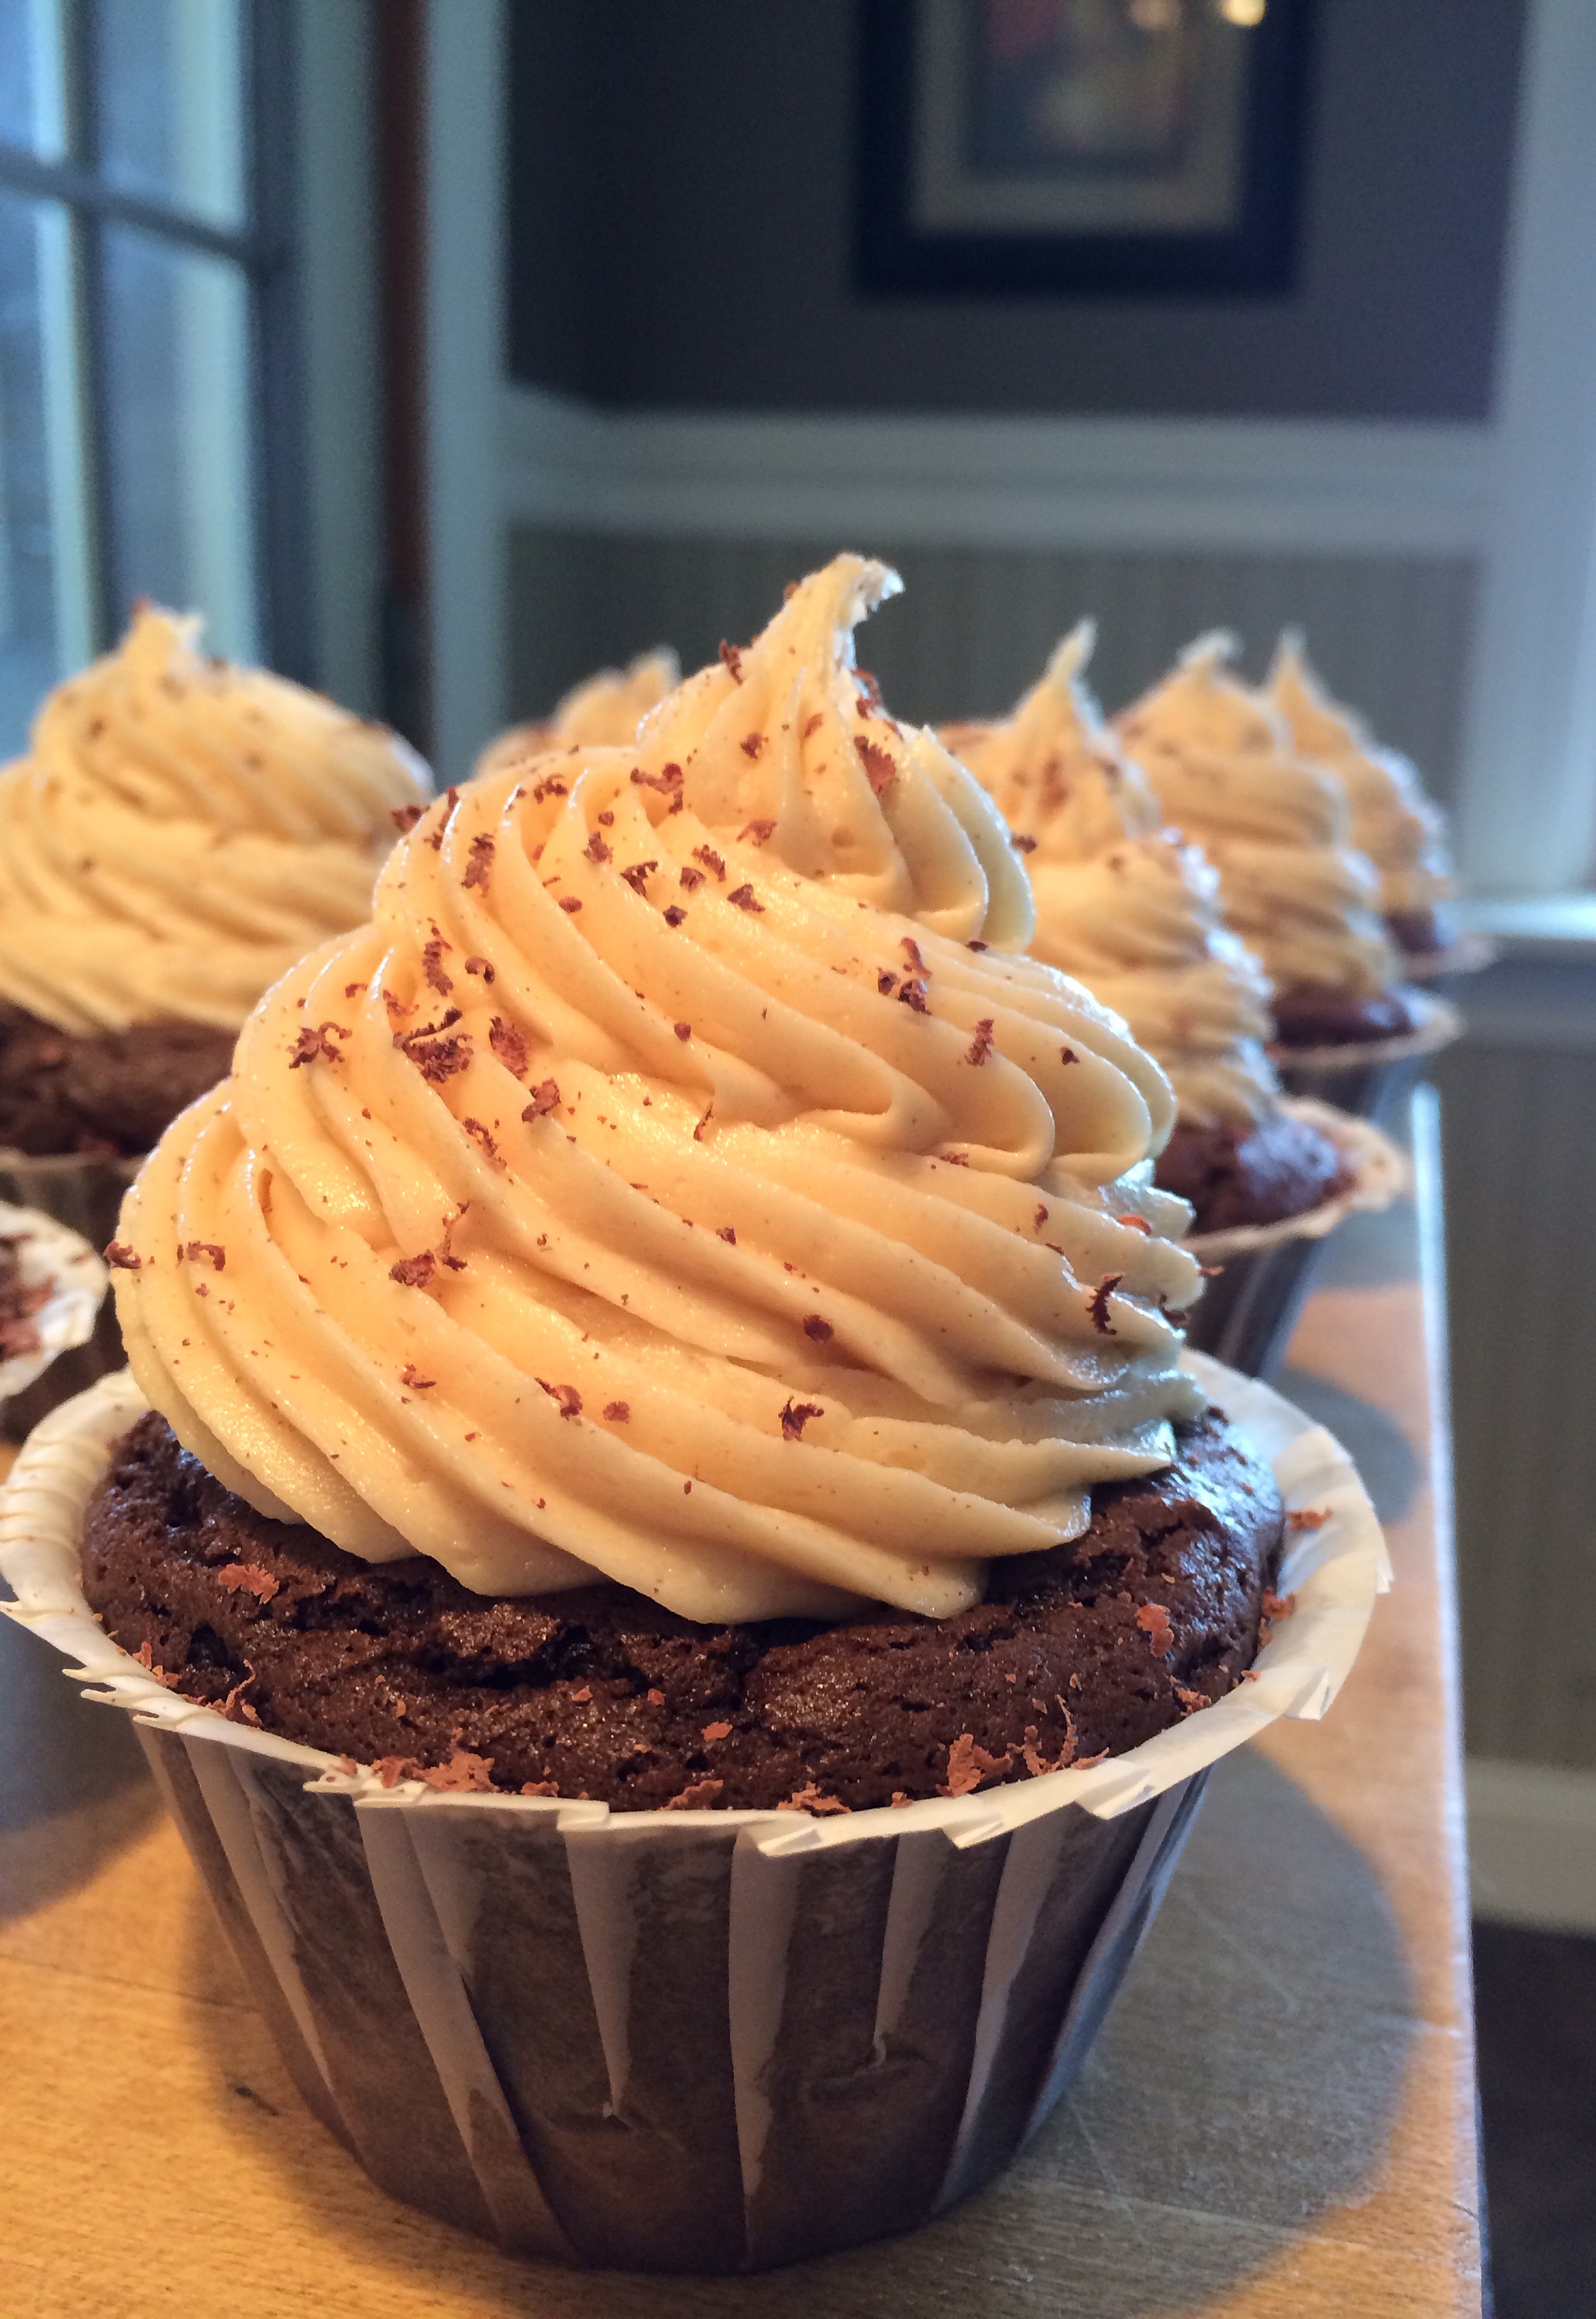
5. Decorate cupcakes as desired!

pancake cupcake 3

ani green bow

Have fun and enjoy! You’ll love this breakfast inspired treat!
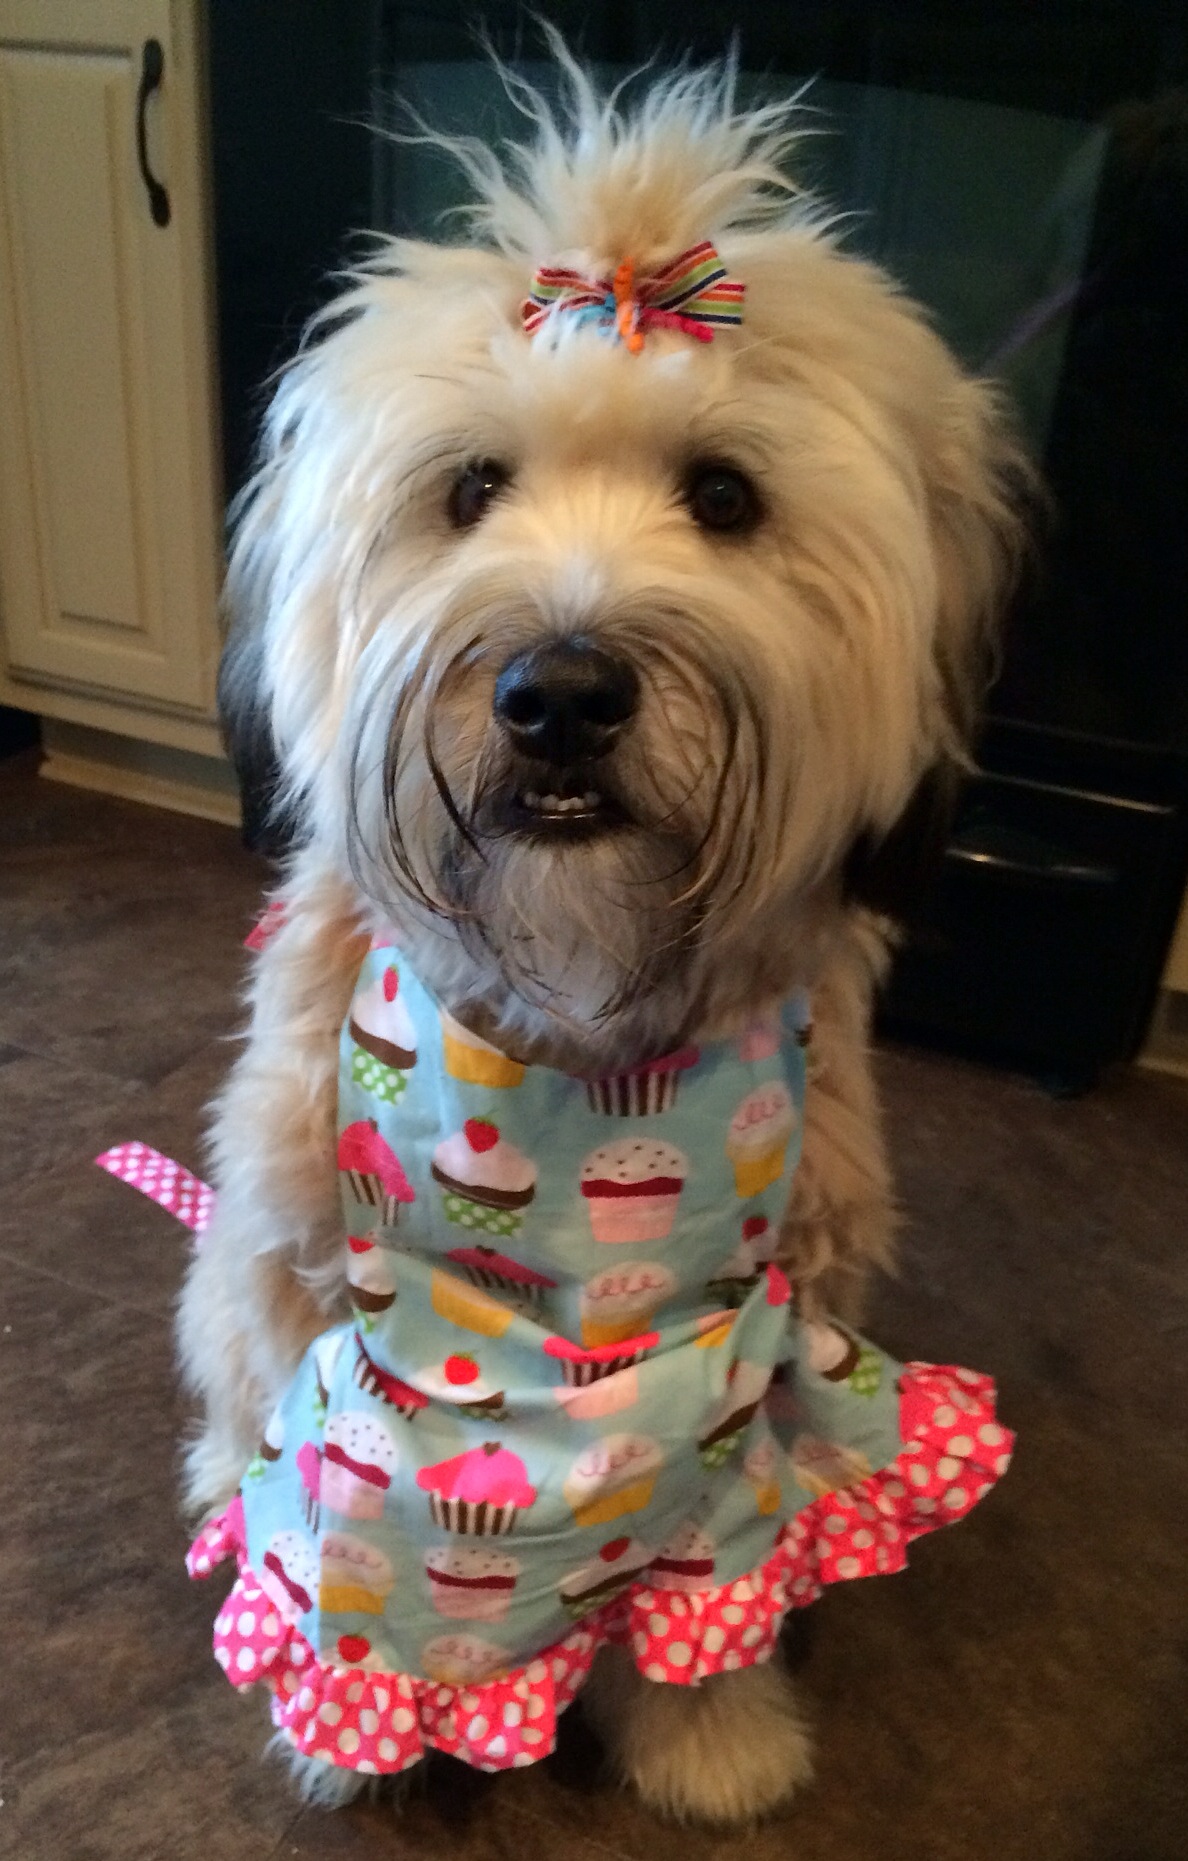
Bayley & Ani

Advertisement

White Chocolate Raspberry Cupcakes

I’ve never been a fan of white chocolate. If I’m going to indulge in a chocolate treat it won’t be white chocolate, but when it comes to cooking with it that’s a different story. I love baking with white chocolate. It creates such rich flavors and it doesn’t matter what kind of dessert it’s incorporated with; cookies, brownies, but most importantly cupcakes! A white chocolate cupcake – wonderful. Now imagine a white chocolate cupcake with raspberry filling – phenomenal. This pairing of a decadent cupcake and a tangy fruit filling will leave anyone wanting more! These cupcakes are always the first to go. Devoured – just like that. If you’re looking for a cupcake that’ll leave an impression you must try this recipe. On the other hand, be prepared for a future of requests because they’ll be asking for these for the next year! Now do you believe me? These cupcakes are that good!

If you’re ready – let’s get started!

Processed with VSCOcam with f2 preset

Ingredients:

1 Box Betty Crocker White Cake Mix
1 3.4 oz. package White Chocolate Instant Pudding
4 Egg Whites
1 cup Sour Cream
3/4 cup Vegetable Oil
1/2 cup Milk
1 tsp Vanilla Extract
1/4 tsp Salt

Raspberry Curd Filling:

Note: To find the recipe just click on the link! I’ve used it in another great recipe! Also, I suggest making the raspberry curd before the cupcakes because you should cool and refrigerate before filling.

Cream Cheese Frosting:

1 8 oz. package Cream Cheese – room temperature
1 stick Butter – room temperature
2 tsp Vanilla Extract
2-3 cups Powdered Sugar

Processed with VSCOcam with f2 preset

Directions:

1. Preheat oven to 350 degrees F. Line cupcake pan. Makes about 18-20 cupcakes.

2. In a medium bowl combine cake mix, pudding mix, and salt.

3. In electric mixer mix egg whites and sour cream until combined. Add vegetable oil, milk, and vanilla extract and continue to mix until well combined.

4. Add dry ingredients to wet ingredients. Mix on medium speed until smooth.

5. Fill cupcake liners about 2/3 full. Bake for 18-20 minutes. Allow to cool in pan for 5 minutes before removing. Make sure cupcakes are completely cool before filling and frosting.

Raspberry Curd Filling:

Note: Click onto link to find directions for the raspberry curd filling!

Cream Cheese Frosting:

1. In electric mixer, add cream cheese and butter. Beat until combined and smooth.

2. Add powdered sugar one cup at a time. Mix on medium/high speed until creamy.

3. Add vanilla extract and continue to mix.

4. Once everything is combined – frost your cupcakes! But make sure they’re cool!

Processed with VSCOcam with f2 preset

Ani and I Orange

Have fun and enjoy! We wish everyone a beautiful spring/summer!

– Bayley & Ani


Blueberry-Lime Cupcakes

I’ve been scouring the produce section for weeks in search of fresh blueberries and I’ve finally found some! There’s nothing better than fresh blueberries. They’re sweet and refreshing. Now add fresh squeezed lime juice and zest. This may be the best combination yet! A cupcake incorporating two of the best spring/summer ingredients can’t disappoint and let me tell you it didn’t. I still have people raving about this recipe asking when I’ll make more. I’ve turned non-blueberriers into blueberriers just because of this simple cupcake recipe!

Get ready to make the cupcake of the summer!

Processed with VSCOcam with t1 preset

Ingredients:

3/4 cup + 2 tbsp Flour
3/4 cup Cake Flour
1 1/2 tsp Baking Powder
1/4 tsp Salt
1 stick Butter – room temperature
3/4 cup + 2 tbsp Sugar
Zest of 1 Lime
2 Eggs
1 tsp Vanilla Extract
2 tbsp Lime Juice
1/2 cup + 2 tbsp Milk
1 cup Fresh Blueberries

Lime Cream Cheese Frosting:

1 8 oz. Cream Cheese -room temperature
1 stick Butter – room temperature
3-4 cups Powdered Sugar
1 tbsp Lime Juice
Zest of 1 Lime

Note: Depending how tangy you’d like your frosting you can less or more lime juice.

Processed with VSCOcam with t1 preset

Directions:

1. Preheat oven to 350 degrees F. Line cupcake pans. Makes about 12-14 cupcakes.

2. In a medium bowl combine 3/4 cup of flour, cake flour, baking powder, and salt.

3. In a separate bowl combine blueberries and 2 tbsp of flour. Toss gently.

4. In electric mixer mix sugar and lime zest until well combined and fragrant. Add butter and continue to mix on medium speed until fluffy. Add eggs and continue to mix. Add vanilla and lime juice.

5. Begin adding flour mixture and milk alternatively into electric mixer. Make sure you begin and end with flour mixture.

6. Once batter is combined gently fold blueberries into the mixture.

7. Fill cupcake cups about 2/3 full. Bake for 18-20 minutes. Allow to cool in pan for 5 minutes before removing. Make sure cupcakes are completely cool before frosting.

Lime Cream Cheese Frosting:

1. In electric mixer beat cream cheese and butter on medium/high speed until smooth.

2. Add lime juice and zest. Continue to beat.

3 Add powdered sugar one cup at a time and continue to mix on medium speed.

4. Once smooth and creamy begin frosting your cupcakes!

ani spring

Enjoy and have fun! I promise you’ll make these cupcakes more than once! HAPPY SPRING!

– Bayley & Ani

Chocolate Peanut Butter Ball Cupcakes

Who doesn’t enjoy a peanut butter/chocolate combination? Aside from those with nut allergies, I’m pretty sure we’re all in agreement. Give me the peanut butter and chocolate cupcake now! Wait. I said peanut butter ball. Yes, I rolled peanut butter into a ball and placed it in the middle of a chocolate cupcake. A layer of chocolate, a peanut butter ball, and topped with another generous scoop of chocolate. After all of that action I topped this cupcake with a peanut butter cream cheese frosting. Are you in love with this recipe? In case you haven’t decided I should add I also finished it off with shaved ghirardelli dark chocolate. Have you made your mind up yet? If you’re ready to take on this excitement get your stand mixer ready and your peanut butter at hand.. Ready set go!

choco pb cupcake 2

Ingredients:

1 2/3 cups Flour
3/4 cup Unsweetened Cocoa Powder
1 tsp Baking Soda
1/2 tsp Salt
1 cup Sour Cream
2 tbsp Milk
1 tsp Vanilla Extract
1 stick Butter (8 tbsp) – room temperature
1 1/2 cups Sugar
2 Eggs

Peanut Butter Ball Filling:

1 cup Powdered Sugar
3/4 cup Peanut Butter – creamy
4 tbsp Butter – room temperature
1/2 tsp Vanilla Extract

Note: It’s best to make the peanut butter balls before the cupcake batter. I prefer making them the night before and refrigerate them overnight. Less dishes to wash!

Peanut Butter Cream Cheese Frosting:

1 8-ounce package Cream Cheese – room temperature
1 stick Butter – room temperature
1/2-3/4 cup Peanut Butter
3-4 cups Powdered Sugar

Note: Depending how peanut buttery you want your frosting you can add 1/2-3/4 of a cup to your frosting! I added about 3/4 cup.

chco pb cupcake 3

Directions:

Peanut Butter Ball Filling:

1. In electric mixer combine flour, powdered sugar, peanut butter, butter, and vanilla and beat on medium speed.

Note: Make sure mixture is well combined before rolling into balls.

2. Roll mixture into 1-inch balls and set aside on baking sheet or parchment paper.

Chocolate Cake:

1. Set oven to 350 degrees F. Line cupcake pans. Makes about 18-20 cupcakes.

2. In a medium bowl combine flour, cocoa powder, baking soda, and salt. Whisk and set aside.

3. In a small bowl or liquid measuring cup, stir together sour cream, milk, and vanilla extract. Set aside.

4. In electric mixture beat butter and sugar on medium/high speed until fluffy.

5. Beat in the eggs one at a time. Make sure to scrap down sides.

6. Begin adding flour mixture and sour cream mixture alternatively into electric mixture with butter/sugar combination. Make sure you begin and end with flour mixture.

7. Once batter is combined begin adding a generous tablespoon of the chocolate cake mixture to cupcake cups. Place a peanut butter ball in each cupcake and top with cupcake mixture. Fill about 2/3 full.

8. Bake for 18-20 minutes. Allow to cool in pan for 5 minutes before removing. Make sure cupcakes are completely cool before frosting.

Peanut Butter Cream Cheese Frosting:

1. In electric mixer beat cream cheese, butter, and peanut butter on medium/high speed until smooth.

2. Add powdered sugar one cup at a time and continue to mix on medium speed.

3. Once smooth and creamy begin frosting your cupcakes!!

choco pb cupcake 1

Enjoy this brilliantly tasty cupcake! You’ll be ready for the next!

Oh! Don’t worry about that post-cupcake workout. Ani has that covered for you!

Workout ready!

Workout ready!

Bayley & Ani

Pineapple-Carrot Cake Cupcakes

You know when you’re in the mood for something specific, but you can’t put your finger on it? That’s where I was at. I was in the mood for a sweet, yet savory cupcake. I racked my brain for a while and then decided I wanted to make a moist and flavorful carrot cake cupcake, but I wanted to jazz it up! Pineapple! Yes, I said pineapple and I promise it was a great decision. A pineapple carrot cake cupcake. Pineapple is easily one of my favorite fruits. It’s sweet, yet tangy, which adds a special touch to this carrot cake recipe.

Don’t feel too guilty about sinking your teeth into this cupcake! Just think, you’ll be getting your fruits and veggies!

Time to get started!

single cupcake carrot

Ingredients:

4 Eggs
2 cups Flour
2 cups Sugar
2 tsp Baking Powder
1 tsp Salt
1 1/2 tsp Cinnamon
1/2 tsp Baking Soda
3/4 cup Vegetable Oil
1 tsp Vanilla Extract
3 cups Carrots – finely shredded – about 6 medium carrots

Pineapple Filling:

1 Egg Yolk
1/4 cup Canned Crushed Pineapple – well drained!
3 ounces Cream Cheese – room temperature
2 tbsp Sugar
Pinch of Salt

Note: It’s very important that the pineapple is well drained.

Cream Cheese Frosting:

1 8-ounce package Cream Cheese – room temperature
1 stick Butter – room temperature
2 tsp Vanilla Extract
2-3 cups Powdered Sugar
2-3 tbsp Toasted Shredded Coconut – Optional

Note: I love coconut and wanted to add as a garnish! You could even add sprinkles.

Cupcake carrot

Directions:

1. Preheat oven to 350 degrees. Line cupcake pan. Makes about 18-20 cupcakes.

2. In a large bowl, combine flour, sugar (2 cups), baking powder, baking soda, cinnamon, and salt.

3. In electric mixer, mix eggs on medium speed. Add carrots, vanilla, and oil – continue to mix on medium/low speed.

Note: Make sure carrots are finely shred. Long thick pieces are no good.

4. Once egg mixture is combined add flour mixture. Continue to mix on medium speed.

Note: Do not fill cupcake liners before the filling is made.

Pineapple Filling:

1. In electric mixer, beat cream cheese and sugar (2 tbsp) until combined.

2. Add egg yolk and salt. Continue to beat on medium/high speed.

3. Fold in pineapple.

Filling cupcake liners-

4. Add 1 tbsp of cupcake mix.

5. On top of the cupcake mix, add 1 tsp of pineapple filling.

6. Fill remainder with cupcake mix (over top of pineapple filling) about 2/3 full.

7. Bake for 20 minutes. Allow cupcakes to cool before frosting.

Cream Cheese Frosting:

1. In electric mixer, add cream cheese and butter. Beat until combined and smooth.

2. Add powdered sugar one cup at a time. Mix on medium/high speed until creamy.

3. Add vanilla extract and continue to mix.

4. Once everything is combined – frost your cupcakes! But make sure they’re cool!

Toasted Coconut: (2 Methods)

Oven Method-

1. Set oven to 325 degrees. Should take about 5-6 minutes to toast coconut.

2. Place coconut on a cookie sheet. Make sure to spread it out.

3. Stir every couple minutes to prevent the coconut from burning. Should be slightly browned.

4. Remove from oven and allow to cool for a few minutes.

Stove Top Method-

1. Place coconut in a skillet oven medium heat.

2. Stir frequently until coconut is slightly browned.

3. Remove from heat and transfer to bowl or plate. Allow to cool.

plate cupcake carrot

These cupcakes are great with Easter right around the corner. Enjoy this recipe and have fun!

ani heartThis princess is already licking her lips! Tasty cupcakes!

Bayley & Ani

Dark Chocolate Raspberry Cupcakes

Happy Valentine’s Day! These cupcakes are the perfect Valentine’s Day gift for everyone and anyone! I love a chocolate/raspberry combination – definitely one of my all time favorites. This dark chocolate cake is simple, yet rich in flavor. The raspberry curd filling is phenomenal. It’s a sweet, yet slightly bitter curd which adds a special touch. The vanilla buttercream is incredible. If you enjoy a generous amount of vanilla then this is your cupcake. Overall, these chocolate, raspberry, and vanilla flavors work wonderfully together – the perfect combination!

Get ready to make a unique cupcake. I say unique because this isn’t your everyday cupcake. It takes time to develop these powerful flavors and trust me; when you try one you’ll know it was worth it.

Rasp Choc

Ingredients:

1/2 cup Regular Brewed Coffee
1/2 cup Heavy Cream
1 cup Butter
1/2 cup Cocoa Powder (Dark Chocolate Cocoa works great for these dark chocolate cupcakes)
1 tsp Vanilla Extract
2 cups Flour
2 cups Sugar
1 1/2 tsp Baking Soda
3/4 tsp Salt
2 eggs
2/3 cup Sour Cream

Vanilla Buttercream:

1 cup Butter (room temperature)
1 8 oz. package Cream Cheese (room temperature)
2 lbs Powdered Sugar (typically the size of a regular bag)
1/2 cup Heavy Cream
1 tbsp Vanilla Extract
1/8 tsp Salt

Raspberry Curd:

1 stick Butter
2 1/2 cups Fresh or Frozen Raspberries (I used frozen – cheaper & they taste just as great!)
6 Egg Yolks
3/4 cup Sugar
1/8 tsp Salt
2 tbsp Lemon Juice

Note: I suggest making the raspberry curd before the cupcakes because you should cool and refrigerate before filling.

Rasp Choc 3

Directions:

1. Preheat oven to 350 F degrees. Line cupcake pan with liners. Makes about 20-24 cupcakes.

2. In a medium sauce pan, melt butter over medium-low heat. Once melted whisk in cocoa powder until smooth. Add heavy cream, coffee, and vanilla extract and continue to whisk until combined. Heat until a slight simmer. Remove from heat and allow to cool slightly.

3. In a medium-large bowl, whisk flour, sugar, baking soda, and salt.

4. In electric mixer, combine sour cream and eggs. Mix on medium speed.

5. Slowly pour cocoa mixture into egg/sour cream mixture and mix until smooth.

Note: Make sure you add the cocoa mixture slowly! You don’t want to risk cooking the eggs. I spaced it out between three minutes.

6. Once cocoa mixture and egg/sour cream mixture is combined begin adding flour mixture. Add flour mixture in three parts. Mix until smooth and creamy.

Note: Remember to scrap down sides periodically.

7. Fill cupcake cups and bake for 18-20 minutes.

8. Let cool in cupcake pan for a few minutes before removing.

Vanilla Buttercream:

1. In electric mixer, cream butter and cream cheese on medium/high speed.

2. Begin adding powdered sugar one cup at a time. Mix on medium/high speed.

3. Add vanilla extract and salt.

4. Add heavy cream and continue to mix on medium/high speed until creamy and smooth.

Raspberry Curd:

1. Melt butter in medium sauce pan over medium heat.

2. Add sugar, raspberries, egg yolks, and salt. Stir constantly until sugar is dissolved and raspberries are completely broken down.

3. Cook at a low simmer for 10 minutes or until mixture has thickened.

4. Add lemon juice.

5. Strain mixture through a coarse strainer over a medium bowl. Press as much liquid out of the mixture. Goal is to separate the liquid from the seeds.

6. Let curd cool for an hour or two before covering and refrigerating.

Rasp Choc 2

Note: I used Ghirardelli dark chocolate squares for garnish! They’re perfect for a finishing touch.

I hope you enjoy this recipe as much as I did! Once you make it the first time I guarantee you’ll be getting requests real soon!

Ani cupcakes

Ani in her lovely cupcake apron!

My little helper and I hope you have fun baking! We’ll be thinking about our next recipe!

Bayley & Ani

Pumpkin Chocolate Chip Cupcakes

I’ll be honest, I’m not a huge fan of pumpkin pie. During the holidays you best believe you’ll come across countless numbers of pumpkin pies. Rarely do I venture down that road, no thank you. A Pumpkin Chocolate Chip Cupcake? Yes please. Although I rarely enjoy a slice of pumpkin pie, I do enjoy this pumpkin cupcake. This cupcake has a nice balance between the mini chocolate chips and the rich pumpkin flavor. The chocolate frosting adds the special kick to top it off. The chocolate/pumpkin combination is super – love this recipe!

P.S. – I love working with pumpkin. It’s easy to cook with, makes the house smell great, and reminds me of fall. If you’re a fall lover, try this recipe asap.

pumpkin cupcake

Ingredients:

1 cup Butter (room temperature)
3/4 cup Brown Sugar (firmly packed)
1/2 cup Sugar
4 eggs
2 cups Flour
1 tsp Baking Soda
1 tsp Baking Powder
1/2 tsp Salt
1/4 Ground Nutmeg
1/4 Ground Cloves
1 1/2 tsp Cinnamon
1 tsp Vanilla Extract
1 15 ounce can Canned Pumpkin
1 cup Mini Chocolate Chips

Chocolate Cream Cheese Frosting:

1 cup Butter
1 8 ounce package Cream Cheese
7 tbsp Unsweetened Cocoa Powder
1 1/2 tsp Vanilla Extract
3-4 cups Powdered Sugar

Straight out of the oven! Still warm!

Straight out of the oven! Still warm!


Directions:

1. Preheat oven to 350 degrees. Line cupcake pan. Makes about 18-20 cupcakes.

2. In electric mixer, beat butter on medium speed until smooth.

3. In a medium bowl mix flour, baking powder, baking soda, salt, nutmeg, cloves, and cinnamon. Set aside.

4. Add brown sugar and regular sugar to electric mixer.

Note: Remember to scrap down sides regularly.

5. Add eggs one at a time to electric mixer.

6. Gradually add flour mixture to electric mixer.

7. Add vanilla extract and pumpkin until well combined.

8. Stir in mini chocolate chips.

9. Fill cupcake cups about 2/3 full and bake for 18-20 minutes. Once finished let cool before frosting.

Chocolate Cream Cheese Frosting:

1. Whisk powdered sugar and cocoa in medium bowl. Set aside.

2. In electric mixer, cream butter and cream cheese on medium speed until smooth.

3. Add vanilla and continue to beat on medium speed.

4. Gradually add powdered sugar mixture to electric mixer. Mix until smooth and creamy.

5. Frost your cupcakes!

Note: I used left over mini chocolate chips for garnish. You can use other candy during the fall season!

Have fun!

pumpkin cupcake 2

Enjoy this sweet fall reminder!

– Bayley & Ani

Peanut Butter Oreo Cupcakes

It’s not easy turning down a peanut butter oreo, so it’s definitely not easy to turn down a peanut butter oreo cupcake! (Trust me, no one has turned these down.) The cake is moist and rich. The frosting is sweet and the finely chopped peanut butter oreos add the perfect amount of crunch. The oreo on top is, uh, it’s a peanut butter oreo – enough said. You’re going to love this recipe and this cupcake! Peanut Butter lovers get ready!

cupcake single PB

Ingredients:

1 cup Butter
1 1/2 cups Brewed Coffee
1 tbsp Vanilla Extract
3/4 cup Cocoa Powder
2/3 cup Sour Cream
2 Eggs
2 cups Sugar
2 cups Flour
1 1/2 tsp Baking Soda
1/2 tsp Salt
20 Peanut Butter Oreo Cookies – finely crushed

Peanut Butter Oreo Buttercream:

1 cup Butter – room temperature
1 1/2 cups Peanut Butter
4 cups Powdered Sugar
3/4 cup Heavy Cream
1/8 tsp Salt
10 Peanut Butter Oreo Cookies – finely crushed

PB Cupcake

Directions:

1. Preheat oven to 350 degrees. Line cupcake pans. Makes 24 cupcakes.

2. In a medium microwave safe bowl, melt butter in microwave for 1 minute on high.

3. Add coffee, cocoa powder, and vanilla. Whisk until combined. Set aside to cool slightly.

4. In a large bowl mix flour, sugar, baking soda, and salt together.

5. In electric mixer, mix sour cream and eggs.

6. Slowly add chocolate mixture to the sour cream mixture. (make sure you add slowly)

7. Add flour mixture to wet mixture in increments.

8. Fold in crushed Oreos.

9. Fill cupcake cups about 2/3 full and bake for 20 minutes.

Note: Allow to cool before frosting – It’s best to leave them in the pan for 5-7 minutes before removing.

Peanut Butter Oreo Buttercream:

1. In electric mixer, cream peanut butter and butter together for about 2 minutes.

Note: Make sure you scrape down sides several times.

2. Add powdered sugar and mix on medium.

3. Add heavy cream and salt. Continue to mix until smooth and fluffy. Beat on high for 1-2 minutes.

4. Fold in finely crushed Oreos.

Note: I use a Wilton Open Star Tip to pipe my frosting – #6B. It’s best to use an open tip because small pieces of the cookie will get caught if not.

5. Top with a piece of a Peanut Butter Oreo.

PB Cupcake 2

Enjoy this peanut buttery perfection!

Bayley & Ani

Valentine’s Day Red Velvet Cake Pops

Valentine’s Day is right around the corner which means it’s time to get creative! What’s better than making your own tasty treat? Anyone can buy the traditional heart shaped, chocolate filled box but what about Valentine’s Day Cake Pops? Let’s get started!

I like to keep my Cake Pops simple, so I typically make vanilla, chocolate, or red velvet. For my Valentine’s Day Cake Pops I chose to make red velvet because I thought it was very appropriate! The color is such a vibrant red it screams Valentine’s Day!

Note: I do use a Babycakes Cake Pop maker – BUT I will instruct how to make these cake pops two ways.

Red Velvet Cake Pops

Ingredients:
2 1/2 cups Flour
1 1/2 cups Sugar
1 tsp. Baking Soda
1 tbsp. Cocoa Powder
1 tsp. Salt
2 eggs
1 1/2 cups Vegetable Oil
1 cup Buttermilk
2 tbsp. Liquid Red Food Coloring
1 tsp. Vanilla Extract
1 tsp. Distilled White Vinegar

Note: This is my cupcake recipe but works just the same for Cake Pops.

Directions:
1. Combine flour, baking soda, cocoa powder, and salt it medium bowl; whisk until well blended.

2. In electric mixer, combine eggs, vegetable oil, buttermilk, food coloring, vanilla, and vinegar. Mix on medium until well blended.

3. Gradually add flour mixture to wet ingredients. Mix on low speed until smooth, about 2-3 minutes.

USING BABYCAKES CAKE POP MAKER

1. Fill each cake pop mold with about 1 tablespoon of batter.

2. Bake 4-5 minutes. Insert a toothpick to make sure it’s cooked throughout. Should come out clean.

3. Place cake balls on wax paper and chill in refrigerator for a few hours.

USING A CAKE PAN

What you need:
1 can of cream cheese frosting
Wax paper
Cookie sheet (something to place cake balls on)
9X13 cake pan
Aluminum foil or plastic wrap

1. Preheat oven to 350 degrees.

2. Add cake mixture to 9X13 cake pan – cook for 35-40 minutes. Check middle of cake with toothpick to make sure it’s cooked throughout. If toothpick doesn’t come out clean, cook for an additional 5 minutes.

3. When finished, let cake cool completely.

4. Once cake is cool trim edges and throw away. Then begin crumbling cake into small pieces in large bowl (fine consistency).
Note: I use my hands to crumble cake into the fine consistency.

5. Add can of cream cheese frosting to crumbled cake. Blend thoroughly.

6. Roll mixture into 1.25″-1.5″ balls – place on wax paper.

7. Cover balls with aluminum foil or plastic wrap and chill in refrigerator for a few hours.

valentines zoomed

Frosting Cake Pops

I prefer making my own frosting for cupcakes. However, I believe it’s easier to use store bought canned frosting to frost cake pops.

What you need:
1-2 cans of Cream Cheese Frosting (I bought two to be on the safe side)
1/2 cup Vanilla Chips

1. Spoon frosting into a microwave safe bowl – it’s best to use a deep bowl so cake pop can be fully submerged. Microwave for 1 minute on high.

2. Add 1/2 cup of vanilla chips. Microwave for an additional 15 seconds. Stir to make sure chips are fully melted and smooth.

DIPPING CAKE POPS:

What you need:
Lollipop sticks

1. Remove cooled cake balls from refrigerator.

2. Dip ends of lollipop sticks into melted frosting.

3. Push frosting covered end into cake ball. Now dip cake pop into the melted frosting – straight down and fully submerged. Hold cake pop sideways over frosting and rotate to get excess frosting off cake pop.

Note: You may need to reheat frosting – make sure you stir again.

4. Clean off excess frosting on stick using your finger or cloth.

5. Place (push) lollipop stick into a foam block and let dry – UNLESS YOU’RE DECORATING

IF decorating, make sure you decorate while frosting is still wet then place cake pop in foam block to dry.

I use the Babycake Chocolatier which keeps the frosting warm so you don’t have to keep reheating. I would suggest investing in this if you make cake pops frequently. It makes the process much easier!

Valentines

I used several different types of sprinkles that I bought from my local grocery store and my local Michaels. This is the fun part. Enjoy it!

Sorry this post was a bit longer than usual. I wanted to make sure I covered each step! Hope this helps. Let me know if there’s anything I didn’t cover or if you have any questions.

– Bayley & Ani

Super Easy Banana Cupcakes

I love using Pinterest to find cupcake recipes which is where I found this awesome one for Banana Cupcakes! This recipe is super simple, convenient, and most of all delicious. It’s simple because the ingredients are easy to find. Anything I didn’t already have I found right at my local grocery store. It’s convenient because like I previously said, I found most of the ingredients already in my house! (Inexpensive also!) Lastly, it’s delicious! I think the cupcakes are pretty self explanatory as to why they’re so delicious. Who doesn’t like bananas?

cupcake

Ingredients:
2-2/3 cups of All Purpose Flour
1 1/4 tsp Baking Soda
1/2 tsp Salt
1 1/2 sticks of Butter – room temperature
1 cup Light Brown Sugar
3/4 cup Sugar
2 Eggs
1 1/2 tsp Vanilla Extract
2 Bananas, mashed (ripe bananas)
1/2 cup Buttermilk
1 cup Coconut (shredded) – I didn’t use coconut because I knew someone with a coconut allergy – perfect with or without

Directions:
1. Pre-heat your oven to 350 degrees F. Whisk your flour, baking soda, & salt into a medium bowl. Set aside.

2. In a large mixing bowl (LOVE my KitchenAid Stand Mixer) beat butter. Add sugar and beat for a few minutes. Add eggs, one at a time at low speed, then add vanilla. This mixture should look smooth – now add your mashed bananas.

3. Now begin adding flour mixture (dry ingredients) and buttermilk alternatively, beginning and ending with your dry ingredients.

4. Begin filling your cupcake cups (about 2/3 full). You should fill about 18-20 cupcake cups. Bake for about 18 minutes.
helpful hint: I prefer using PaperChef Culinary Parchment Large Baking Cups! Nothing sticks – awesome!

5. Once removed from the oven and cupcake pan let cool completely before frosting – trust me it’ll slide right off!

Note: I have tweaked this recipe to make it my own!

What’s a cupcake without the frosting, right? I made a Cream Cheese Frosting which is by far my favorite and the easiest frosting to make. This frosting is perfect for this Banana Cupcake recipe because it doesn’t overpower the banana flavor. People have asked why I didn’t think to use a banana frosting. I think a banana frosting takes away from the fresh banana taste!

So you’re almost there… I bet you’re excited for the finished product! I promise you’ll go back for more.

Cream Cheese Frosting:

Ingredients:
1 stick Butter – room temperature
1 8 oz package of Cream Cheese – room temperature
2-3 cups of Powdered Sugar
1 tsp Vanilla Extract

helpful hint: Remember any brand of cream cheese and butter works! I use my market’s store brand. Less expensive for the same great product.

Directions:
1. Using your electric mixer, beat butter and cream cheese until creamy, about 3-4 minutes. Don’t forget to scrape down the sides of the mixing bowl periodically.

2. Add vanilla and continue mixing. Slowly begin adding powdered sugar at a low speed. Trust me it will fly everywhere if the speed is too high.

3. Once your frosting is thick and creamy (to your desire) begin frosting your cupcakes!

(I added yellow sprinkles just for some color!)

YAY! You’re finished. I hope this recipe worked for you and I hope you enjoy your cupcakes! If anyone has any feedback for me comment below! Thanks!

– Bayley & Ani