Cannoli Cupcakes

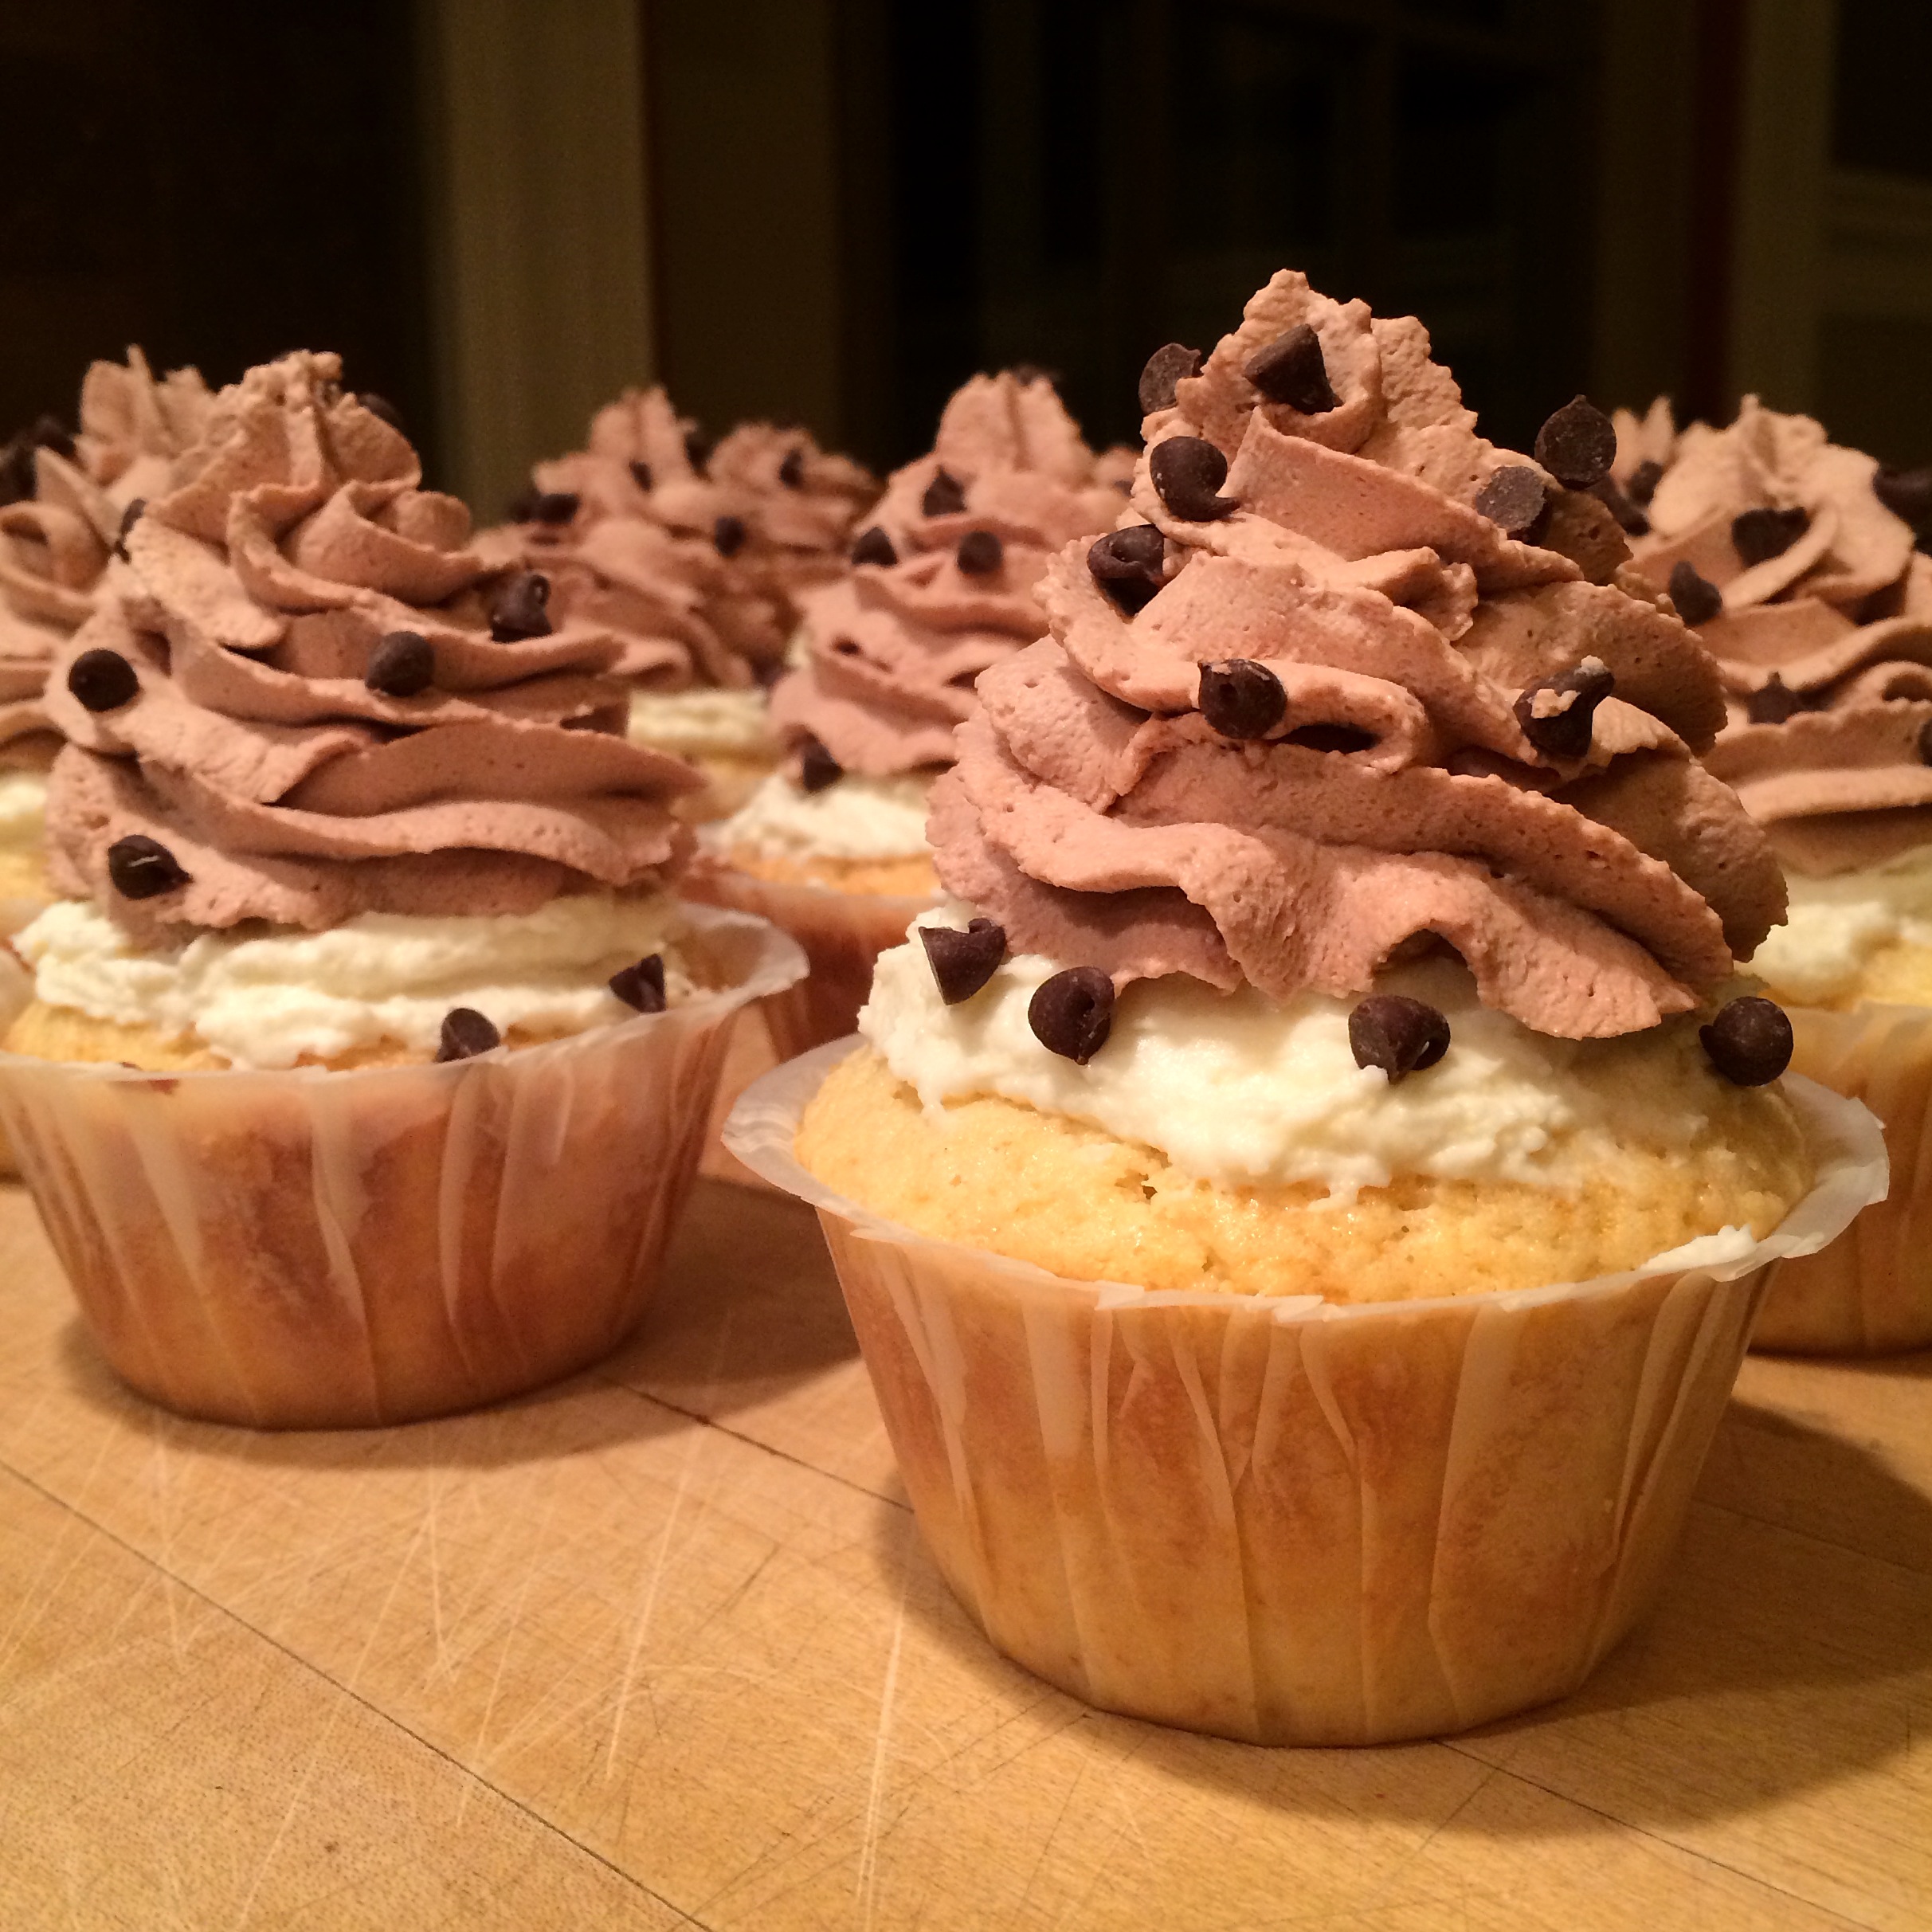
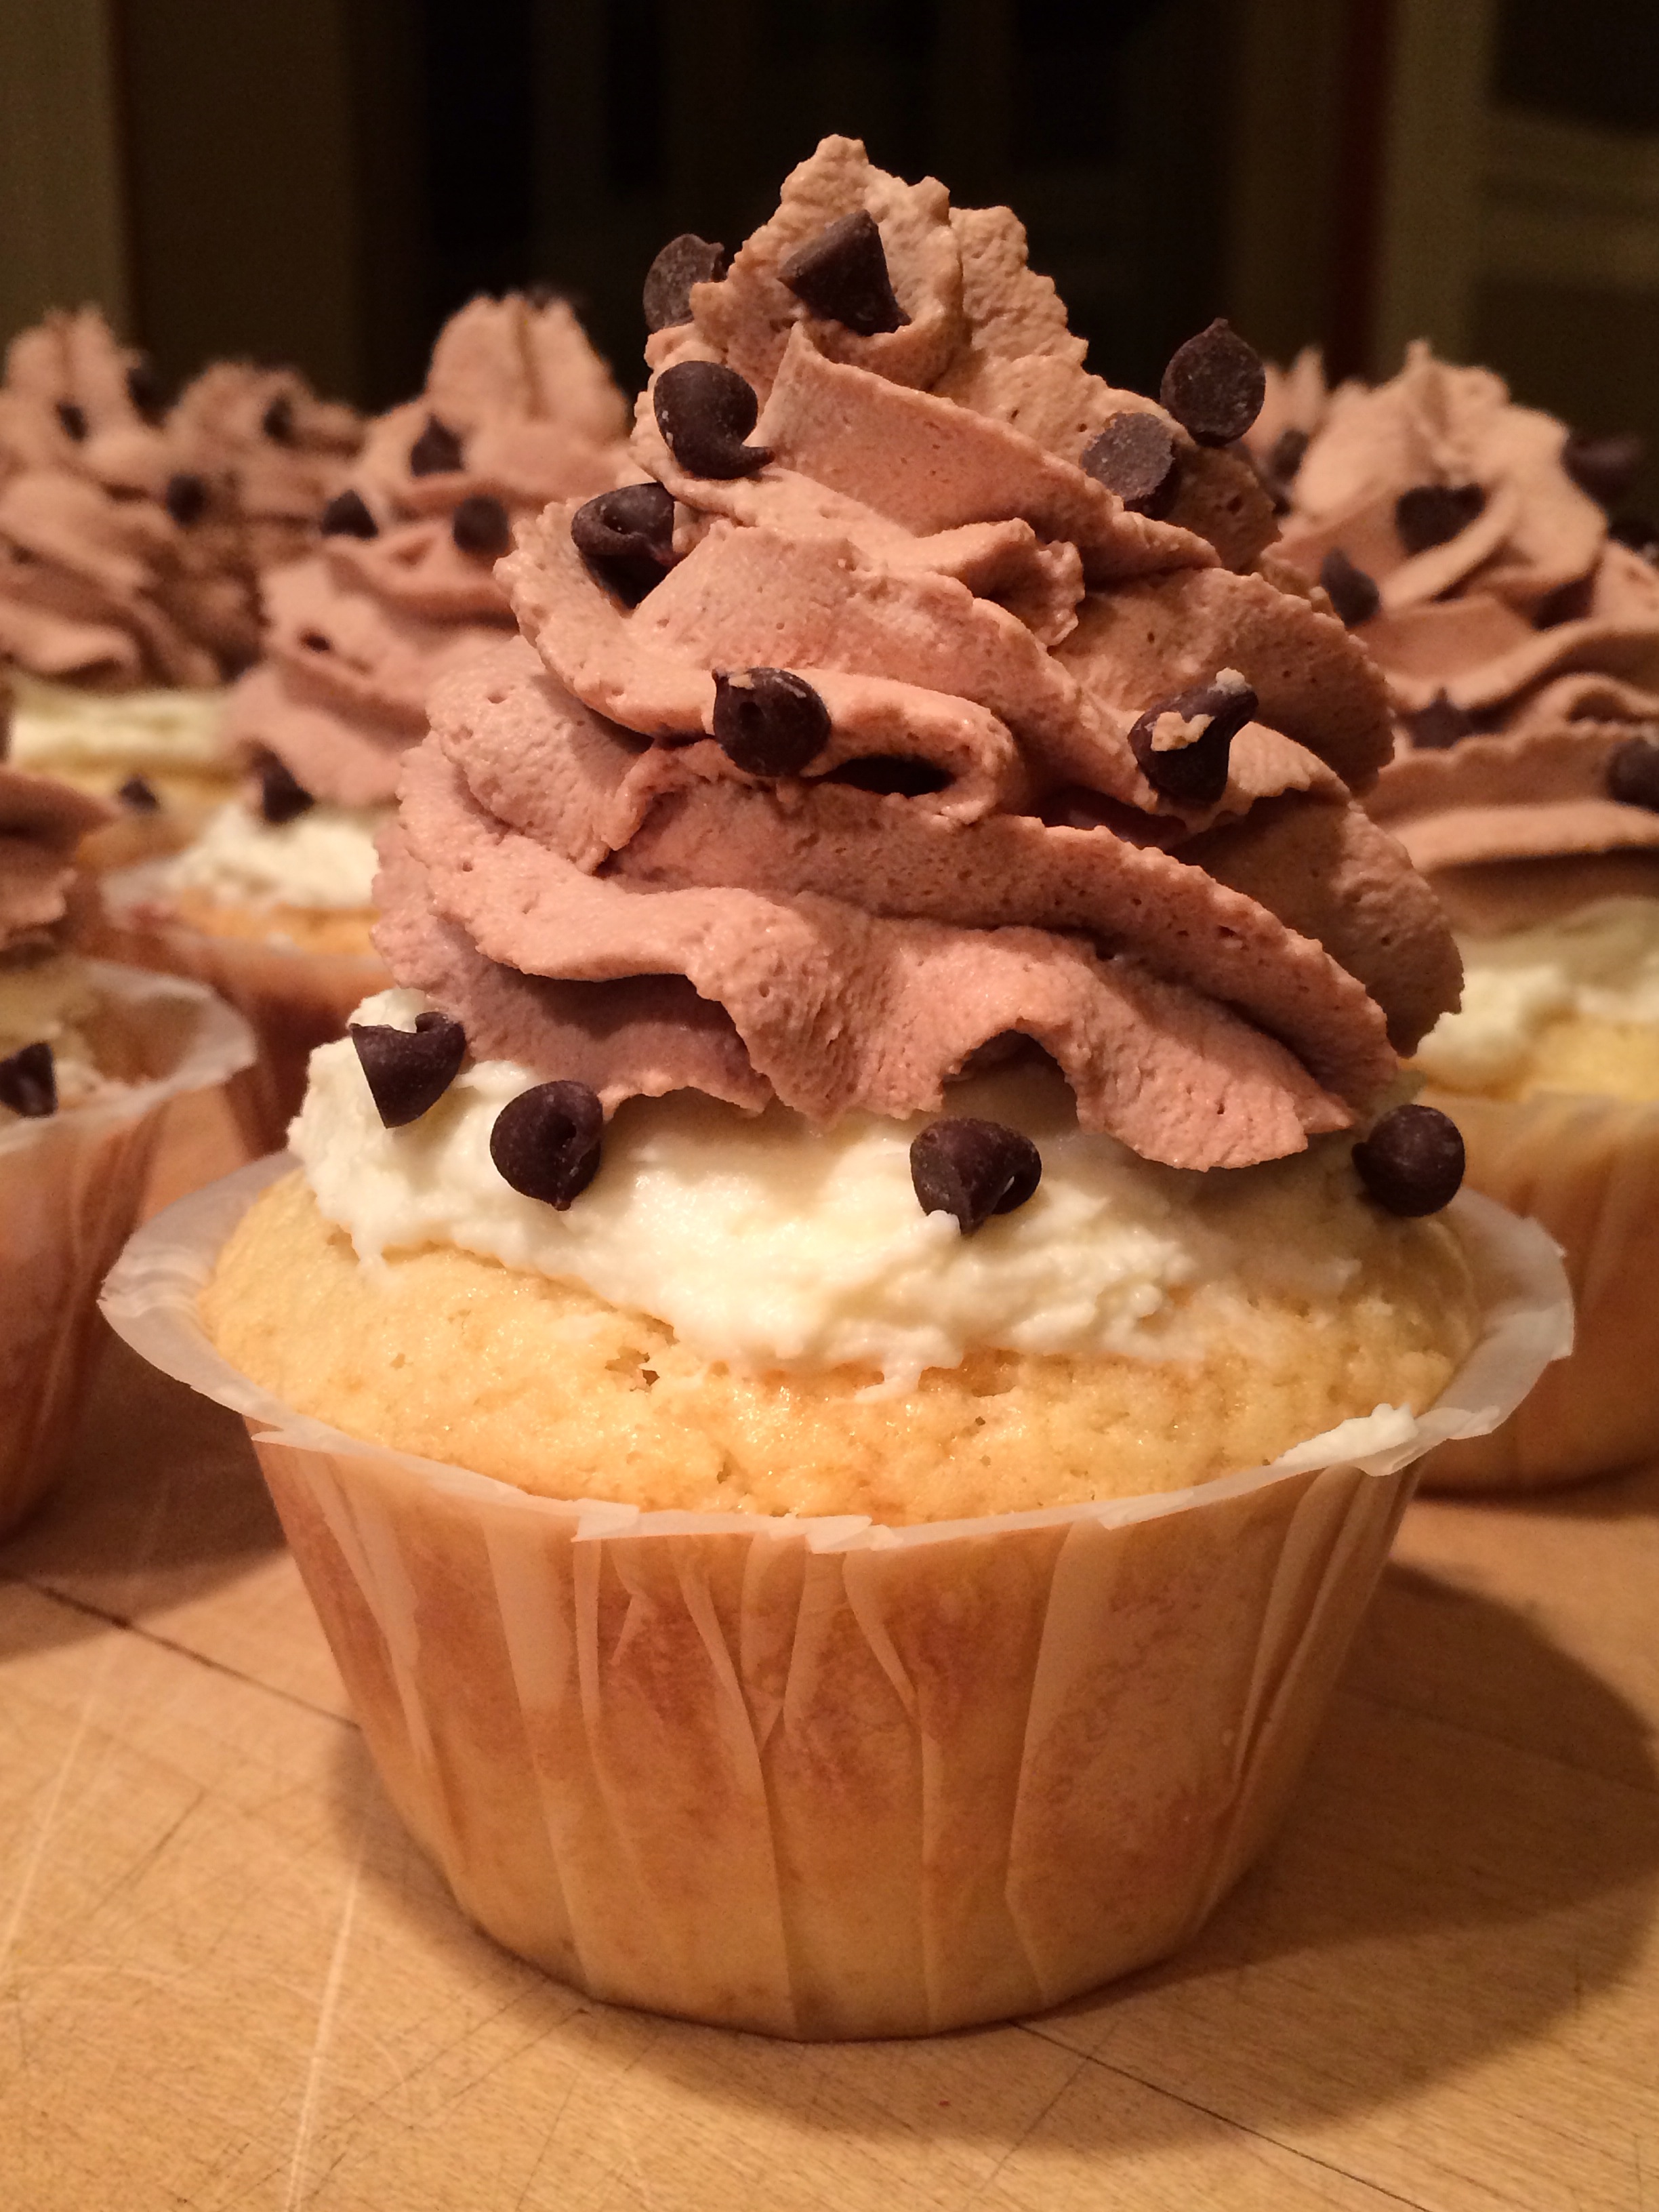
A cannoli cupcake!? Yes I know, sounds too good to be true but it isn’t! These cupcakes are a brilliant combination of moist vanilla cake, smooth cannoli filling, and a light cocoa whipped cream. Every aspect of this cupcake screams perfection. I enjoy this cupcake because it’s filling, yet light at the same time. The frosting is so tasty I could eat it spoonful after spoonful. Don’t get me wrong, a buttercream or cream cheese frosting is delicious but they’re much heavier. This whipped cream frosting hits the spot! Definitely a must try! Also, if you’re a cannoli lover this cupcake was made for you.

Get ready! Another simple recipe..

Cannoli Cupcake 3

Ingredients:

1 1/2 cups Flour
1 1/2 tsp Baking Powder
1 cup Sugar
1/2 cup Salted Butter (room temperature)
2 Eggs
1 1/2 tsp Vanilla Extract
1/2 cup Sour Cream

Cannoli Cream Topping:

2/3 cup Mascarpone Cheese
2/3 cup Ricotta Cheese (strained slightly)
1/4 tsp Vanilla Extract
5 tbsp Powdered Sugar

Chocolate Whipped Cream Topping:

1 1/2 cups Heavy Cream
1/2 cup Powdered Sugar
2 tbsp Cocoa Powder
1/2 tsp Vanilla Extract
3 tbsp Mini Semi-Sweet Chocolate Chips (for garnish)

Cannoli Cupcake 2

Directions:

1. Pre-heat oven to 350 degrees.

2. Mix flour, baking powder, and salt in a medium bowl. Set aside.

3. Beat butter and sugar on medium speed in electric mixer until light and fluffy. Add eggs into mixture one at a time on low speed. Mix in sour cream and vanilla. Occasionally scrape down sides of the bowl. Slowly begin adding flour mixture, again scrapping down sides.

4. Once mixture is smooth, begin dividing batter among 12 cupcake cups.

Note: This batter is very thick compared to other recipes – don’t be startled! Also this recipe only makes 12 cupcakes.

5. Bake for 20-22 minutes. Once finished, remove from oven and let cool for a few minutes in cupcake pan before removing from pan.

Cannoli Cream Topping:

1. In a small to medium mixing bowl mix ricotta and mascarpone. Blend together using a spatula. Add powdered sugar and vanilla extract. Continue to mix vigorously until creamy and smooth.

Note: To strain ricotta, place ricotta onto a layer of paper towels. Wrap it up and squeeze gently to remove any excess liquid. (The ricotta I used did not require straining because there wasn’t much excess liquid)

Chocolate Whipped Cream:

1. In electric mixer, mix heavy cream, cocoa powder, powdered sugar, and vanilla on low speed. Increase speed to medium-high and whip until stiff peaks form.

Assembling:

1. Spread about 1 1/2 tbsp of cannoli filling over the top of each cupcake.

2. Pipe chocolate whipped cream over the cannoli filling layer.

3. Garnish with mini chocolate chips!

Note: Store in an airtight container and refrigerate.

I really enjoyed making these cupcakes. They turned out exactly how I imaged they would. Once finished and garnished they were beautiful!
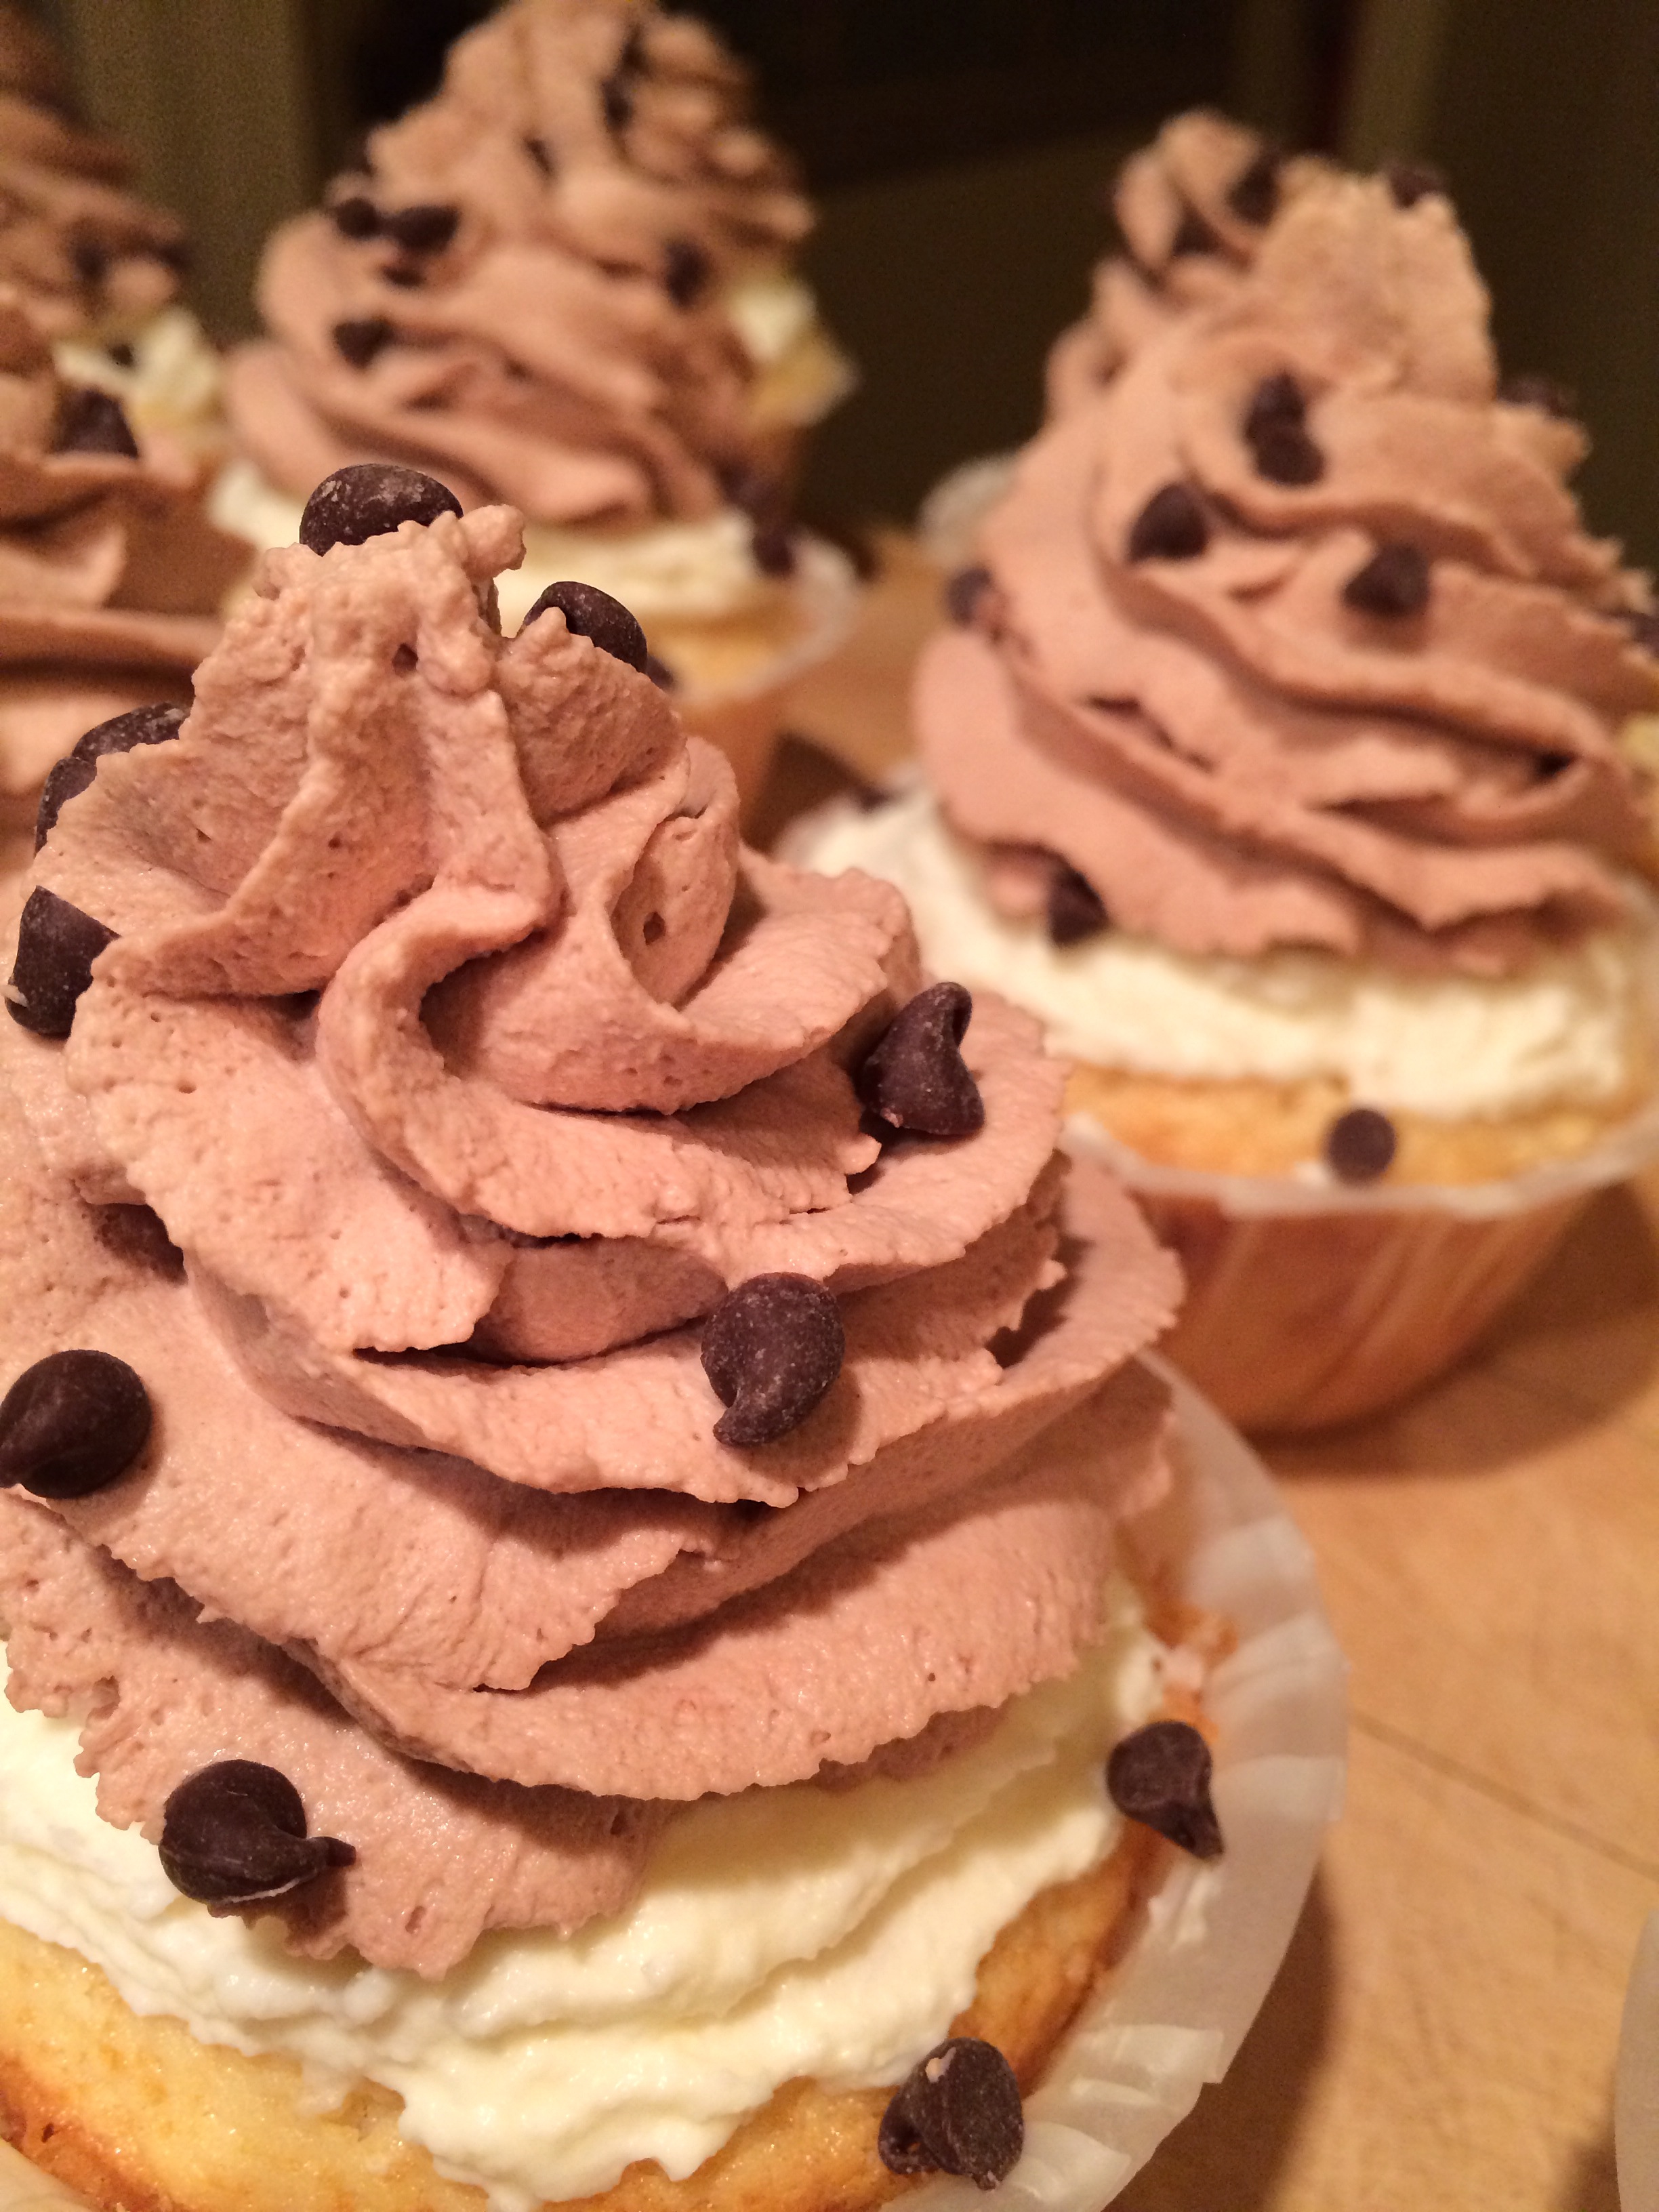
Delicious!

Delicious!

Enjoy! Promise you cannoli lovers will be pleased.

Bayley & Ani

Advertisement

Valentine’s Day Red Velvet Cake Pops

Valentine’s Day is right around the corner which means it’s time to get creative! What’s better than making your own tasty treat? Anyone can buy the traditional heart shaped, chocolate filled box but what about Valentine’s Day Cake Pops? Let’s get started!

I like to keep my Cake Pops simple, so I typically make vanilla, chocolate, or red velvet. For my Valentine’s Day Cake Pops I chose to make red velvet because I thought it was very appropriate! The color is such a vibrant red it screams Valentine’s Day!

Note: I do use a Babycakes Cake Pop maker – BUT I will instruct how to make these cake pops two ways.

Red Velvet Cake Pops

Ingredients:
2 1/2 cups Flour
1 1/2 cups Sugar
1 tsp. Baking Soda
1 tbsp. Cocoa Powder
1 tsp. Salt
2 eggs
1 1/2 cups Vegetable Oil
1 cup Buttermilk
2 tbsp. Liquid Red Food Coloring
1 tsp. Vanilla Extract
1 tsp. Distilled White Vinegar

Note: This is my cupcake recipe but works just the same for Cake Pops.

Directions:
1. Combine flour, baking soda, cocoa powder, and salt it medium bowl; whisk until well blended.

2. In electric mixer, combine eggs, vegetable oil, buttermilk, food coloring, vanilla, and vinegar. Mix on medium until well blended.

3. Gradually add flour mixture to wet ingredients. Mix on low speed until smooth, about 2-3 minutes.

USING BABYCAKES CAKE POP MAKER

1. Fill each cake pop mold with about 1 tablespoon of batter.

2. Bake 4-5 minutes. Insert a toothpick to make sure it’s cooked throughout. Should come out clean.

3. Place cake balls on wax paper and chill in refrigerator for a few hours.

USING A CAKE PAN

What you need:
1 can of cream cheese frosting
Wax paper
Cookie sheet (something to place cake balls on)
9X13 cake pan
Aluminum foil or plastic wrap

1. Preheat oven to 350 degrees.

2. Add cake mixture to 9X13 cake pan – cook for 35-40 minutes. Check middle of cake with toothpick to make sure it’s cooked throughout. If toothpick doesn’t come out clean, cook for an additional 5 minutes.

3. When finished, let cake cool completely.

4. Once cake is cool trim edges and throw away. Then begin crumbling cake into small pieces in large bowl (fine consistency).
Note: I use my hands to crumble cake into the fine consistency.

5. Add can of cream cheese frosting to crumbled cake. Blend thoroughly.

6. Roll mixture into 1.25″-1.5″ balls – place on wax paper.

7. Cover balls with aluminum foil or plastic wrap and chill in refrigerator for a few hours.

valentines zoomed

Frosting Cake Pops

I prefer making my own frosting for cupcakes. However, I believe it’s easier to use store bought canned frosting to frost cake pops.

What you need:
1-2 cans of Cream Cheese Frosting (I bought two to be on the safe side)
1/2 cup Vanilla Chips

1. Spoon frosting into a microwave safe bowl – it’s best to use a deep bowl so cake pop can be fully submerged. Microwave for 1 minute on high.

2. Add 1/2 cup of vanilla chips. Microwave for an additional 15 seconds. Stir to make sure chips are fully melted and smooth.

DIPPING CAKE POPS:

What you need:
Lollipop sticks

1. Remove cooled cake balls from refrigerator.

2. Dip ends of lollipop sticks into melted frosting.

3. Push frosting covered end into cake ball. Now dip cake pop into the melted frosting – straight down and fully submerged. Hold cake pop sideways over frosting and rotate to get excess frosting off cake pop.

Note: You may need to reheat frosting – make sure you stir again.

4. Clean off excess frosting on stick using your finger or cloth.

5. Place (push) lollipop stick into a foam block and let dry – UNLESS YOU’RE DECORATING

IF decorating, make sure you decorate while frosting is still wet then place cake pop in foam block to dry.

I use the Babycake Chocolatier which keeps the frosting warm so you don’t have to keep reheating. I would suggest investing in this if you make cake pops frequently. It makes the process much easier!

Valentines

I used several different types of sprinkles that I bought from my local grocery store and my local Michaels. This is the fun part. Enjoy it!

Sorry this post was a bit longer than usual. I wanted to make sure I covered each step! Hope this helps. Let me know if there’s anything I didn’t cover or if you have any questions.

– Bayley & Ani

Cinnamon Apple Cupcakes with Caramel Buttercream

I’m really in need of some pleasant weather. Living in Upstate New York, January isn’t a very promising month. Fortunately, this week I’ve had the privilege of enjoying some New Jersey weather which is surprisingly about 10-15 degrees warmer with no snow in sight! It’s been great and it has reminded me of an Upstate New York autumn day. I bet you’re wondering why I’m talking about the weather. Well it’s inspired me to whip up these wonderful seasonal cupcakes! These cupcakes are so rich and savory I promise they’ll leave you wanting more! And of course, like the rest of my recipes, they’re simple!

cupcake 1

Ingredients:
3 cups All-Purpose Flour
4 tsp Baking Powder
2 tsp Cinnamon
1 tsp Salt
4 Eggs
1 cup Sugar
1 cup Dark Brown Sugar
1/4 cup Orange Juice
2 tsp Vanilla Extract
1 cup Vegetable Oil
2 cups Apples (finely chopped)

Directions:
1. Preheat oven to 350 degrees.

2. In a medium size bowl mix together flour, baking powder, cinnamon, and salt. Set aside.

3. In a separate mixing bowl, beat eggs and sugars until creamy and smooth. Beat in the orange juice, vanilla extract, and vegetable oil. Add flour mixture slowly. Once the mixture is well combined and smooth add the chopped apples.

4. Bake 20-25 minutes.

Make sure cupcakes are completely cooled before frosting!

cupcake3

Ready to make some frosting? This Caramel Buttercream recipe is one of my favorites because, yet again, simple! Most recipes instruct you to make your own caramel sauce which is alright but it’s much more involved and requires more of your valuable time. I make my frosting with a caramel sauce already made and available! Yes, I buy Smuckers Caramel Sauce and it’s awesome!

Caramel Buttercream Frosting

Ingredients:
1 cup Butter
1/3 cup Caramel Sauce
1 tsp Vanilla Extract
2 cups Powdered Sugar
Pinch of Kosher Salt

Directions:
1. Beat butter in electric mixer for 1 minute (until smooth).

2. Add caramel sauce and vanilla extract. Continue to beat for about 2 minutes.

3. Add powdered sugar (in increments) and salt. Continue to beat, increasing speed or until smooth.

4. Frost your cupcakes!

cupcake 2

Enjoy!

These cupcakes won’t disappoint!

-Bayley & Ani

Super Easy Banana Cupcakes

I love using Pinterest to find cupcake recipes which is where I found this awesome one for Banana Cupcakes! This recipe is super simple, convenient, and most of all delicious. It’s simple because the ingredients are easy to find. Anything I didn’t already have I found right at my local grocery store. It’s convenient because like I previously said, I found most of the ingredients already in my house! (Inexpensive also!) Lastly, it’s delicious! I think the cupcakes are pretty self explanatory as to why they’re so delicious. Who doesn’t like bananas?

cupcake

Ingredients:
2-2/3 cups of All Purpose Flour
1 1/4 tsp Baking Soda
1/2 tsp Salt
1 1/2 sticks of Butter – room temperature
1 cup Light Brown Sugar
3/4 cup Sugar
2 Eggs
1 1/2 tsp Vanilla Extract
2 Bananas, mashed (ripe bananas)
1/2 cup Buttermilk
1 cup Coconut (shredded) – I didn’t use coconut because I knew someone with a coconut allergy – perfect with or without

Directions:
1. Pre-heat your oven to 350 degrees F. Whisk your flour, baking soda, & salt into a medium bowl. Set aside.

2. In a large mixing bowl (LOVE my KitchenAid Stand Mixer) beat butter. Add sugar and beat for a few minutes. Add eggs, one at a time at low speed, then add vanilla. This mixture should look smooth – now add your mashed bananas.

3. Now begin adding flour mixture (dry ingredients) and buttermilk alternatively, beginning and ending with your dry ingredients.

4. Begin filling your cupcake cups (about 2/3 full). You should fill about 18-20 cupcake cups. Bake for about 18 minutes.
helpful hint: I prefer using PaperChef Culinary Parchment Large Baking Cups! Nothing sticks – awesome!

5. Once removed from the oven and cupcake pan let cool completely before frosting – trust me it’ll slide right off!

Note: I have tweaked this recipe to make it my own!

What’s a cupcake without the frosting, right? I made a Cream Cheese Frosting which is by far my favorite and the easiest frosting to make. This frosting is perfect for this Banana Cupcake recipe because it doesn’t overpower the banana flavor. People have asked why I didn’t think to use a banana frosting. I think a banana frosting takes away from the fresh banana taste!

So you’re almost there… I bet you’re excited for the finished product! I promise you’ll go back for more.

Cream Cheese Frosting:

Ingredients:
1 stick Butter – room temperature
1 8 oz package of Cream Cheese – room temperature
2-3 cups of Powdered Sugar
1 tsp Vanilla Extract

helpful hint: Remember any brand of cream cheese and butter works! I use my market’s store brand. Less expensive for the same great product.

Directions:
1. Using your electric mixer, beat butter and cream cheese until creamy, about 3-4 minutes. Don’t forget to scrape down the sides of the mixing bowl periodically.

2. Add vanilla and continue mixing. Slowly begin adding powdered sugar at a low speed. Trust me it will fly everywhere if the speed is too high.

3. Once your frosting is thick and creamy (to your desire) begin frosting your cupcakes!

(I added yellow sprinkles just for some color!)

YAY! You’re finished. I hope this recipe worked for you and I hope you enjoy your cupcakes! If anyone has any feedback for me comment below! Thanks!

– Bayley & Ani

Hi Everyone!

Hello bloggers! This is my introductory post and I hope it sparks your interest! This blog involves two of my favorite things which are my dog and my baking. I’ll start off with my dog. Ani is a 9 month old Wheaten Terrier who pretty much consumes my life. She’s energetic, yet relaxed. She’s a diva, yet doesn’t mind getting her paws dirty. She’s queen bee, yet runs to mama when her feelings are hurt. She’s my perfect puppy and I couldn’t/wouldn’t imagine her any other way. She’ll make me smile even on my worst days and I’m sure she’ll do the same for you. However, like I said, she’s just one of my two favorite things.
My second favorite thing I enjoy doing is baking. I’ve never been much into sweets and to tell you the truth things haven’t really changed, but that doesn’t mean I can’t enjoy creating them. Personally, my favorite desserts to bake are cupcakes; cupcakes of all shapes, sizes, flavors, colors, etc. I’d like to consider myself a creative person and I began my infatuation with creating cupcakes when I didn’t have anything to focus my creative juices on! Cupcakes were just the trick and I’ve developed a real love for creating them. To sum this all up, I love my dog and my cupcakes! Enjoy!

Bayley & Ani

ani me